Bookcase Burlap Curtain
Bookcase Burlap Curtain
Sometimes it is hard to get started with a blank slate- a bookcase.
Especially when there are piles of STUFF, storage issues, and a thousand ways it could be decorated. Well,…here is a great place to start!!
Today’s primitive craft, in my 40 fall crafts series is: make a bookcase burlap curtain!
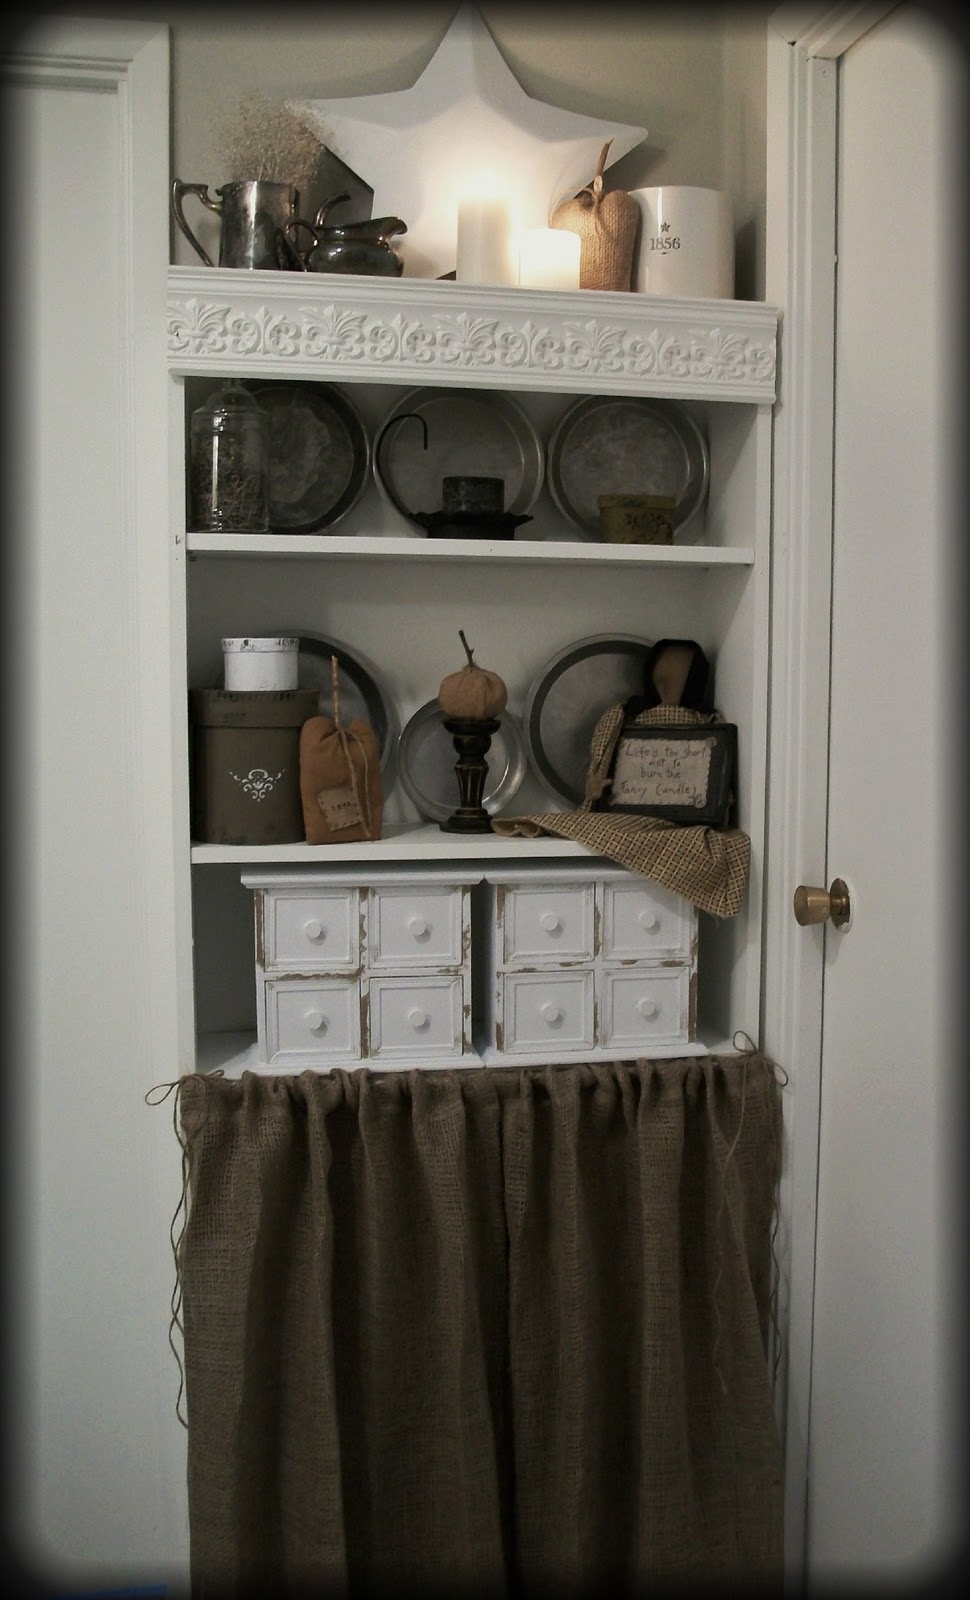
A wonderful way to hide toys, books and whatever else, a burlap curtain goes excellently with fall themes, and even looks great all year round.
How to:
-You need enough burlap for 2x the width of the bookcase + 16″ for side hems.( 8″ hem allowance on each.) Make 2 panels. (easier to work with)
–Where to get burlap?: A roll of burlap may be found at your local hardware store, in the gardening section at this time of year, as it is used as winter weather protection for small trees and shrubs.
-****Use the factory edge for the top and bottom of the curtain, or else you will go mad trying to get it straight, as burlap shifts and stretches.**** I didn’t hem the bottom. No need. Don’t worry about the height for now (so long as it’s amply long enough.)
–Squaring off the sides: Lay the roughly cut & measured burlap on the floor. Line up the factory edges with the lines in your flooring (tile or wood). Cut with the lines on the floor. A long measuring stick might help, but I didn’t have one long enough…
-Transfer to your sewing table, fold, then fold again. Check. Yes, it will appear crooked ( How did that happen!!!) It’s burlap. LOL. Fold, eyeball it, and trim off slightly to square off once more. It should now be pretty straight. Use an iron to press a 2 “ double hem fold. You need this much so the burlap strings do not loosen and come apart. Sew with matching thread each hem with #4 wide straight stitch, twice. This will ensure it will stay together.
-***For the height: What I did: I hung the rod. I sat on the floor with my panels and some long pins.
One panel at a time, I threw the burlap over the rod, and let it fall straight, and pinned the top. Because burlap moves and stretches, doing it on the rod will make sure it will look perfectly straight. I tried it by just measuring, and it was less accurate due to the shifting, than the eyeball method on the rod.
-Press well. Remove pins. Cut off excess at top, while leaving enough to fold under (hem) and for the rod pocket. Sew as previously mentioned.
– Hang, and finish off with jute bows on the sides.
SECRET: looks billowy and messy? Use an electric hair straightener (a hot iron hair crimper) to press pleats while it hangs, from the top to the floor. Whew! It’s done!
Facebook Conversations