How remodel you pop-up camper in one week
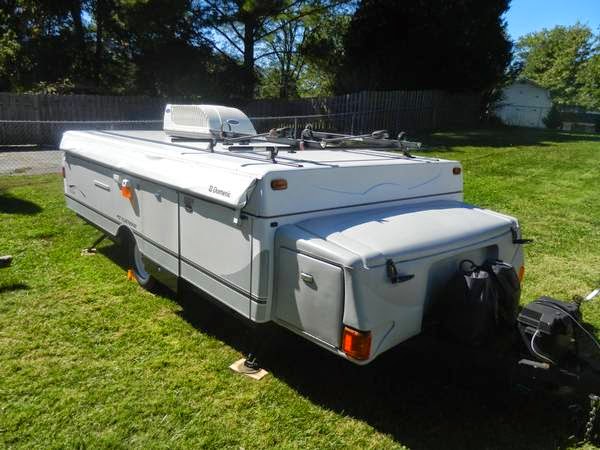
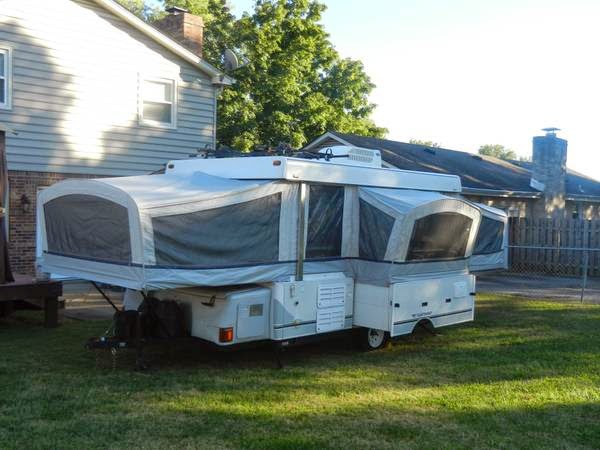
Although when we bought the camper, it was very clean and in wonderful condition, we didn’t like the brown, camo-green & rust color scheme.
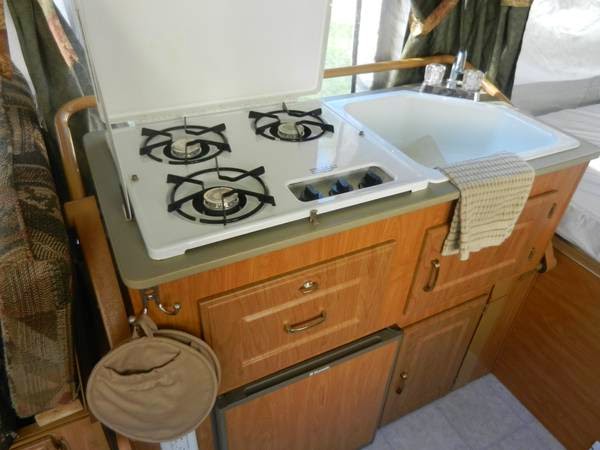
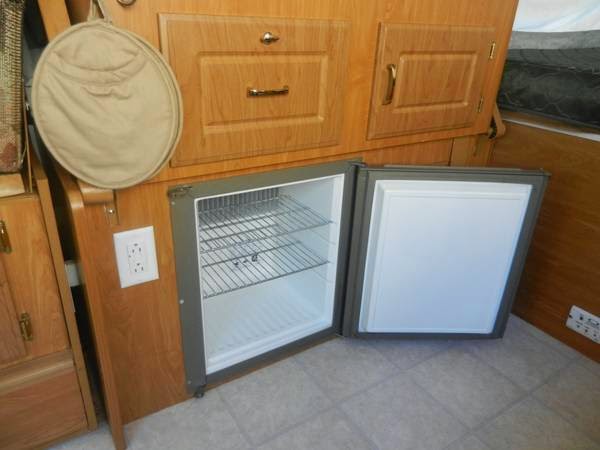
Laminate oak wood grain cabinets with brass pulls…a little outdated.
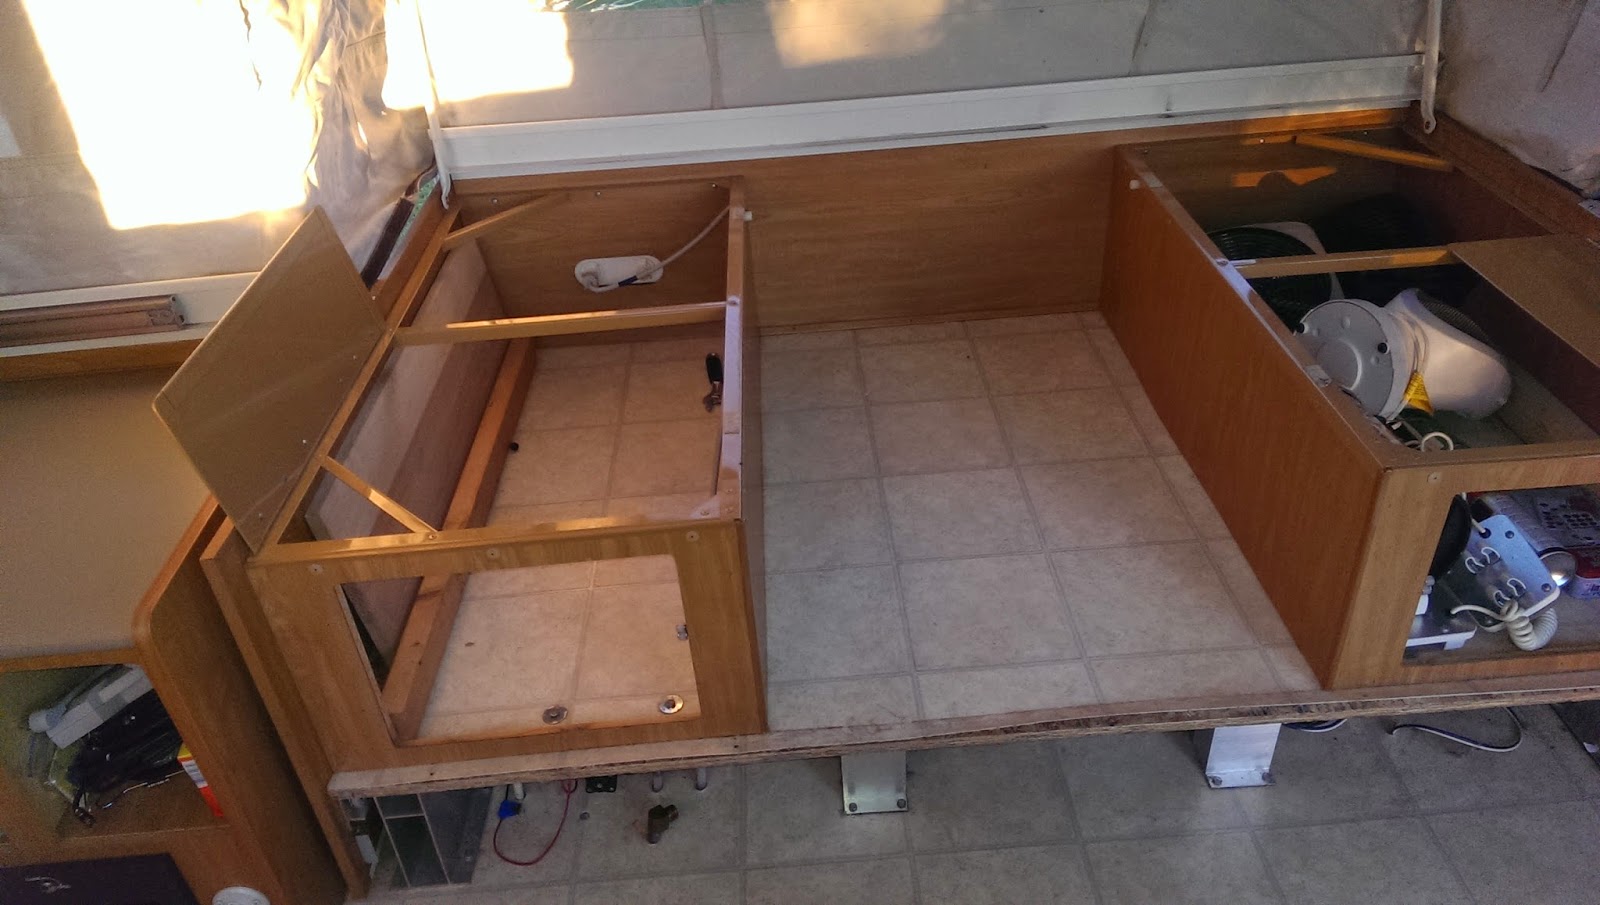
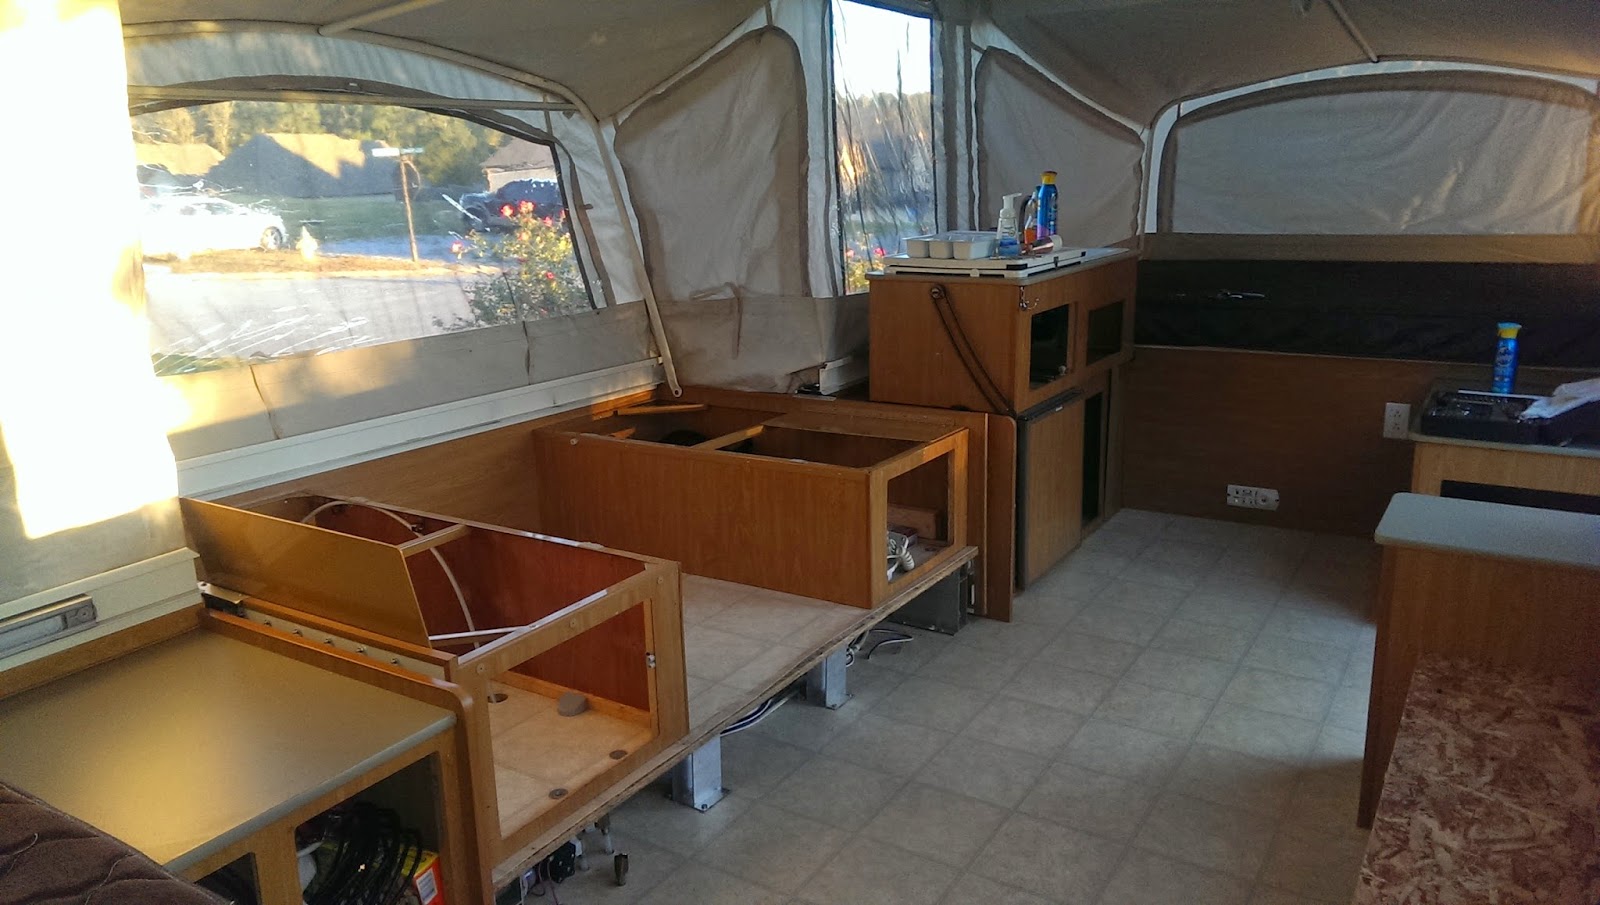
These are some “in the process” photos during prep and before painting by my diligent husband. All cabinet doors removed, hardware removed and painted then covered with a clear coat sealer spray paint.
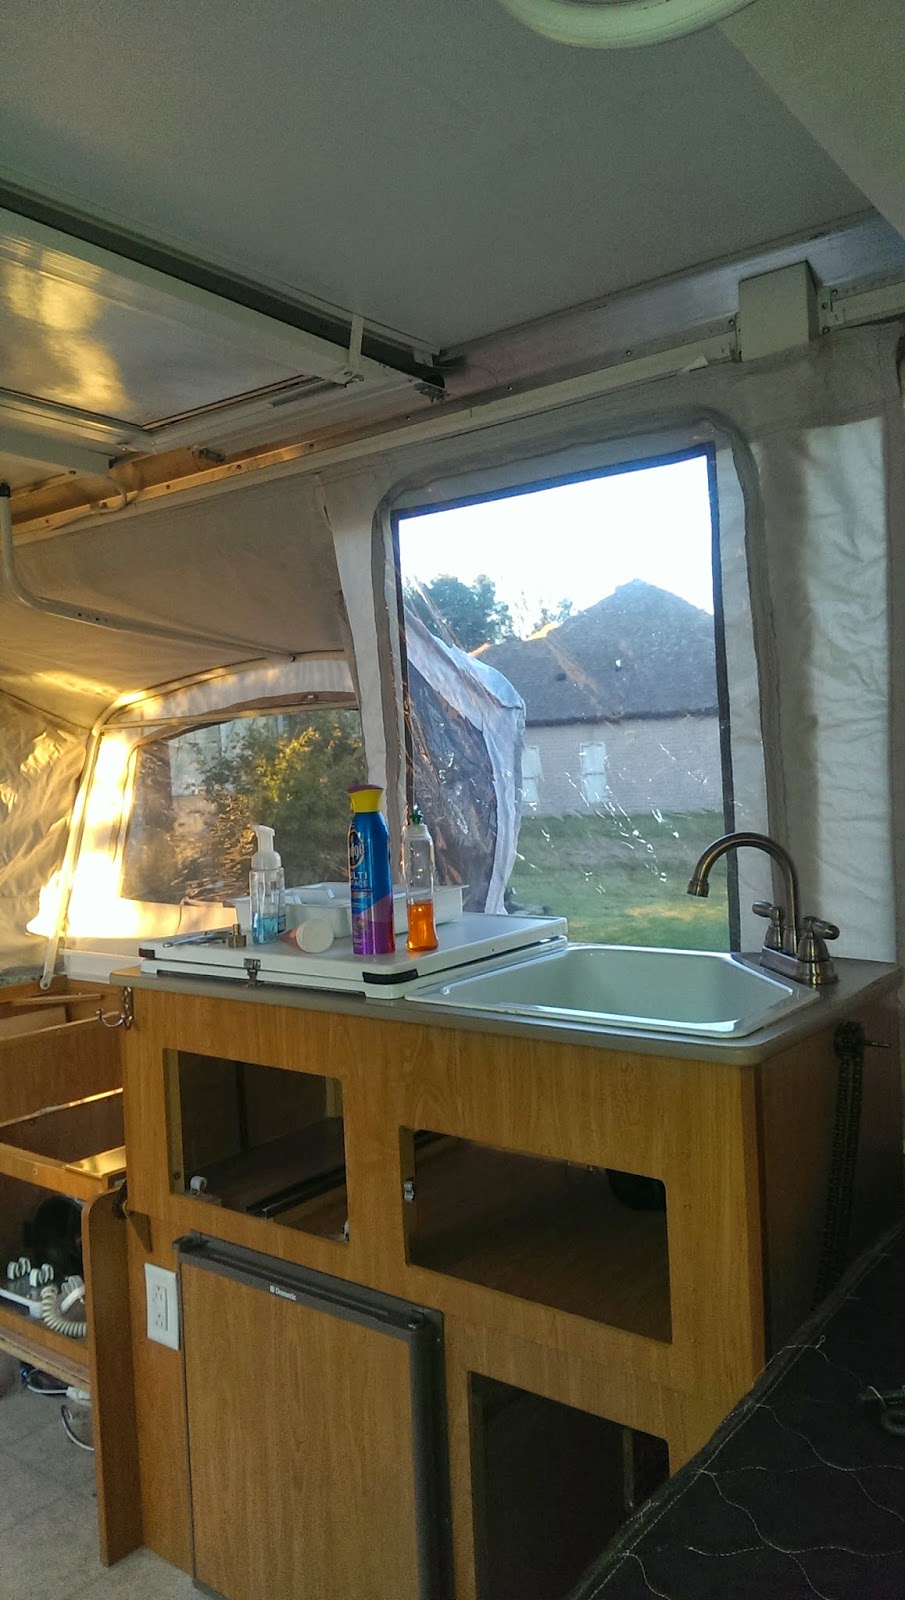


Scuffed up white-ish linoleum that has started to yellow…had to go!

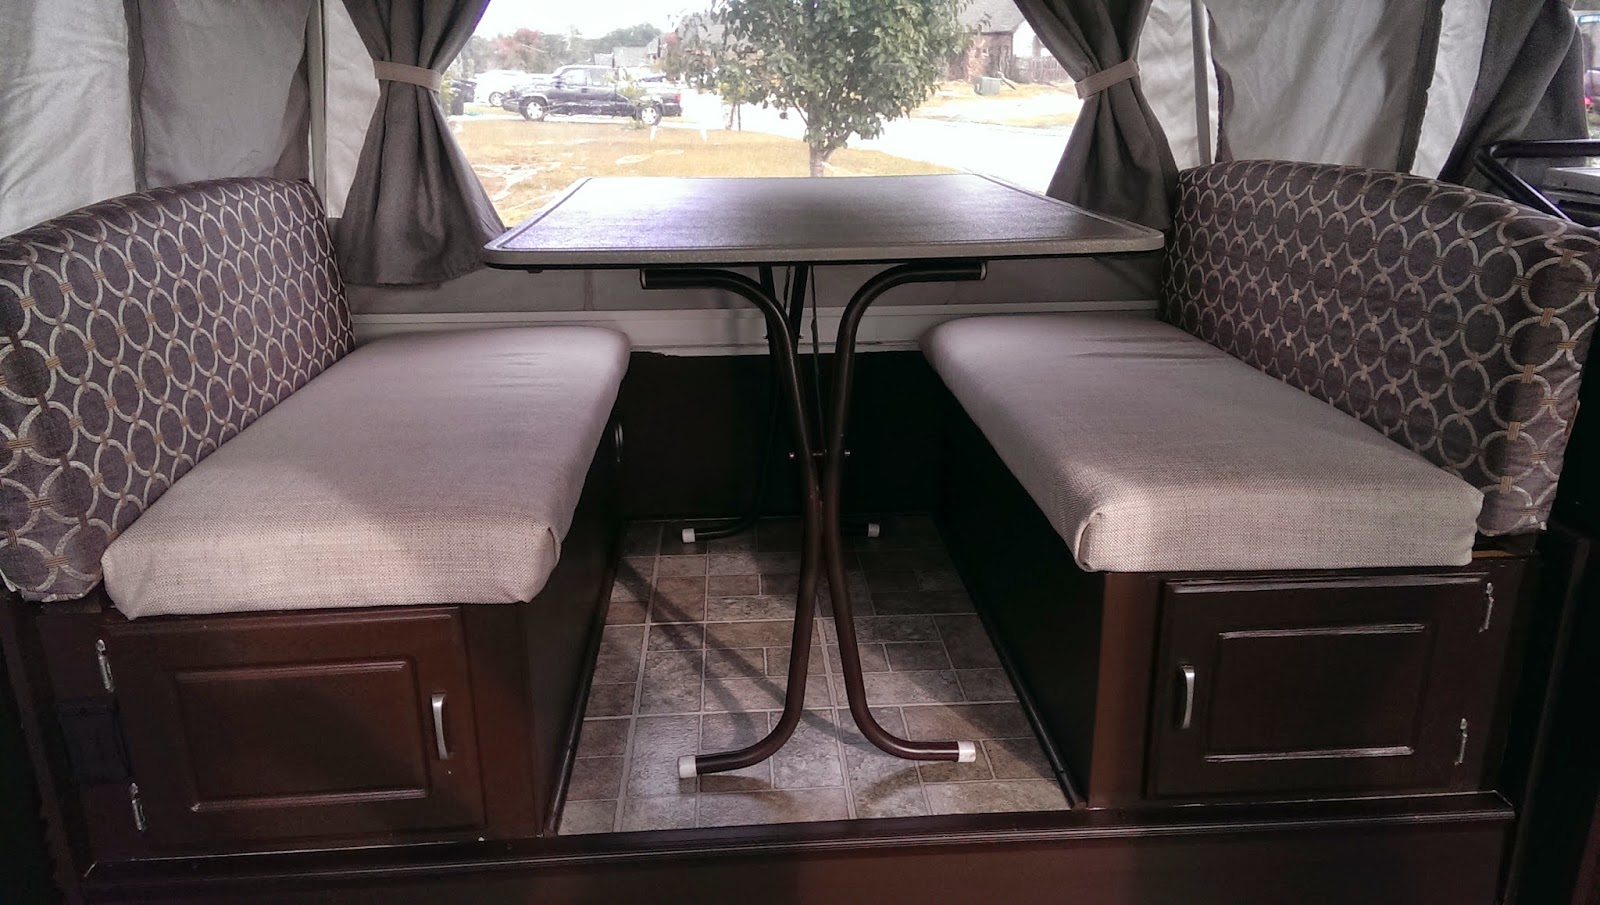
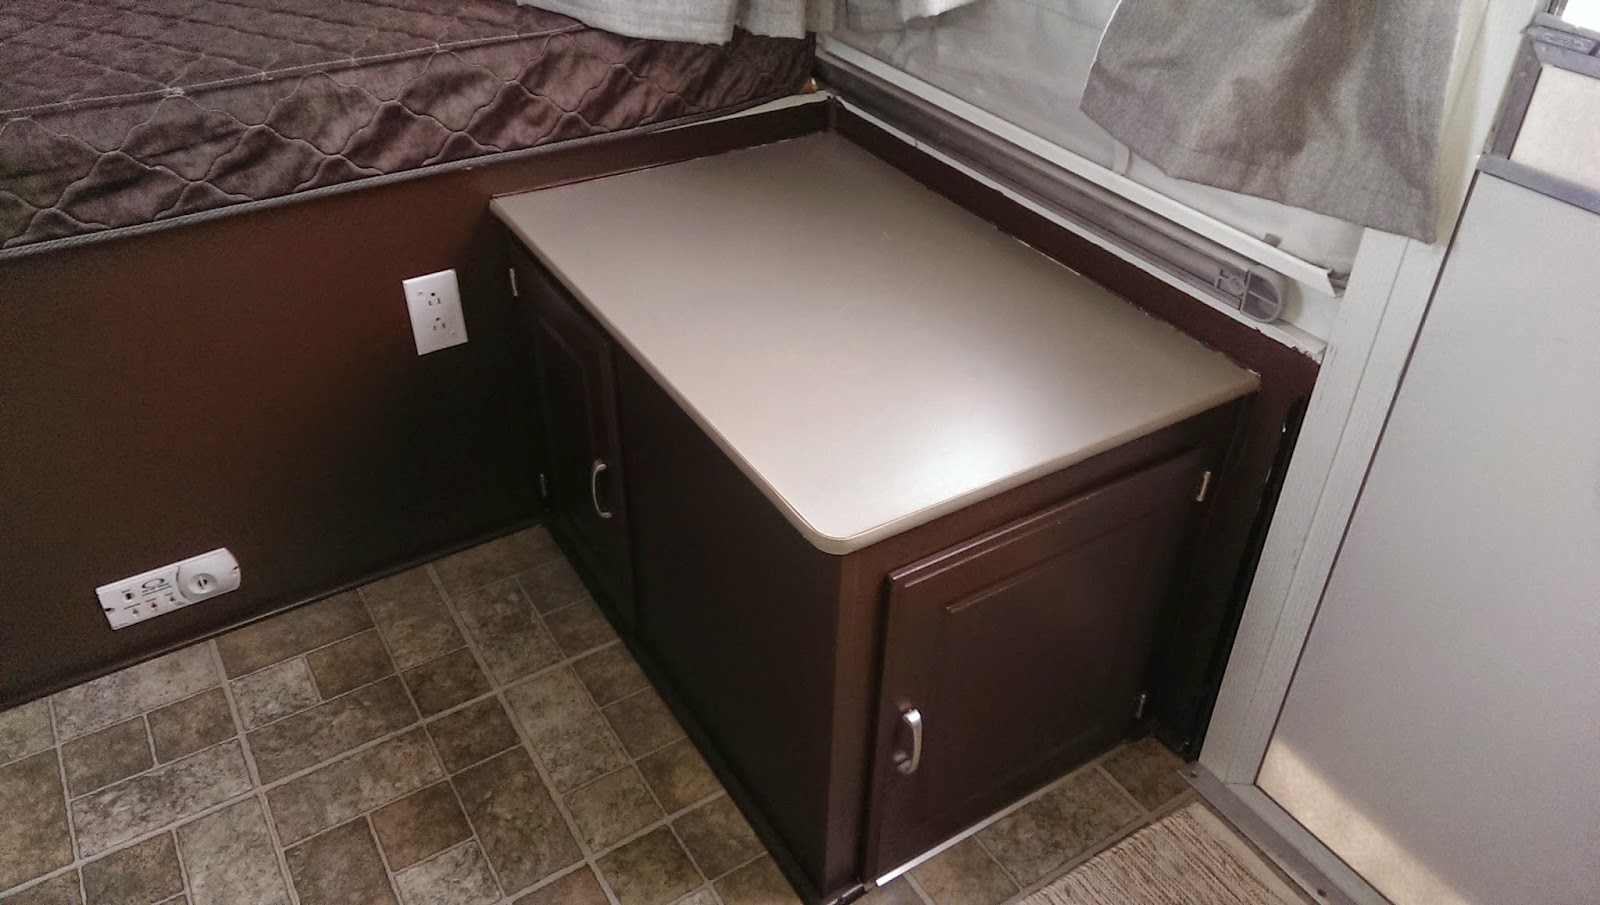
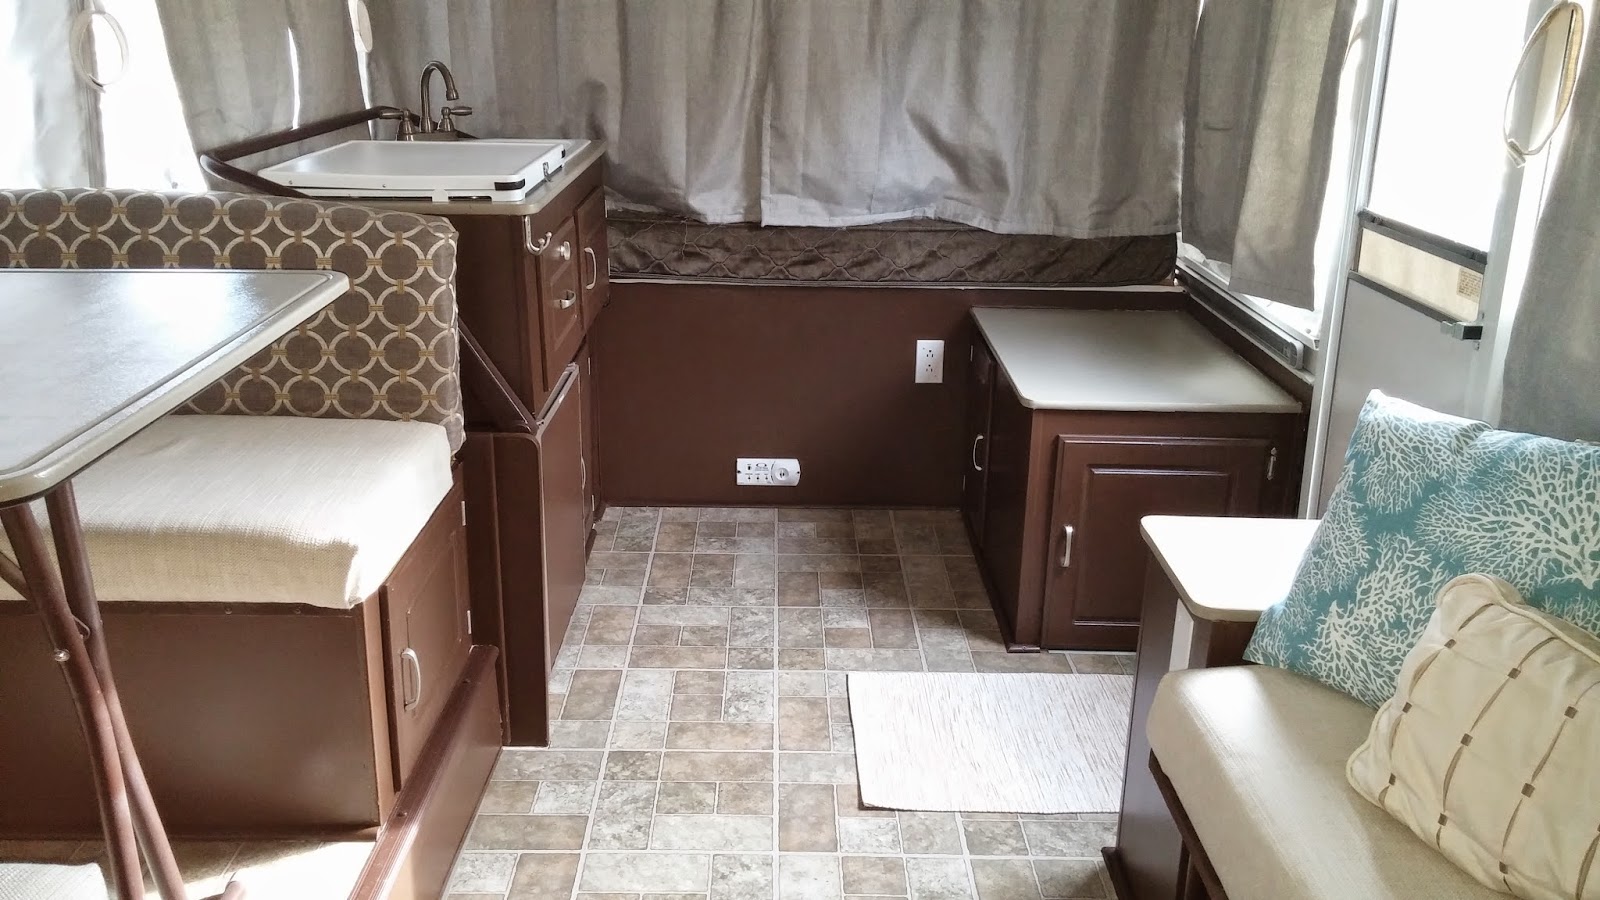
My husband used Rustoleum Satin Brown spray paint on all the metal surfaces that were “caramel” brown before, including the table legs, the metal thresh hold plate on the dining slide out and the bar that raises and lowers the sink area.
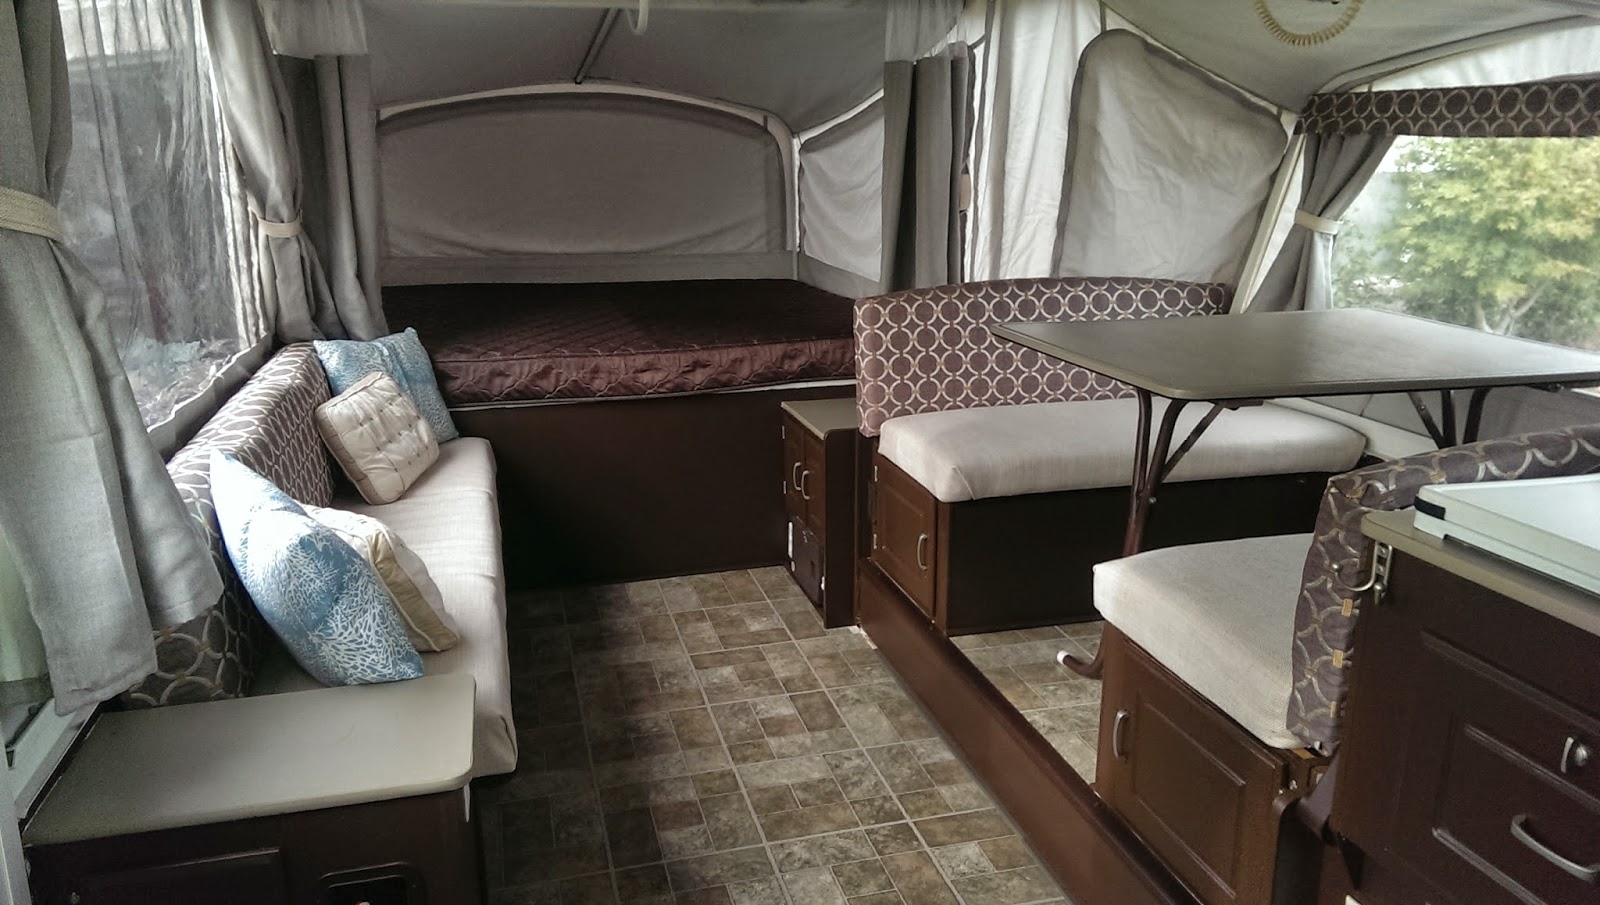
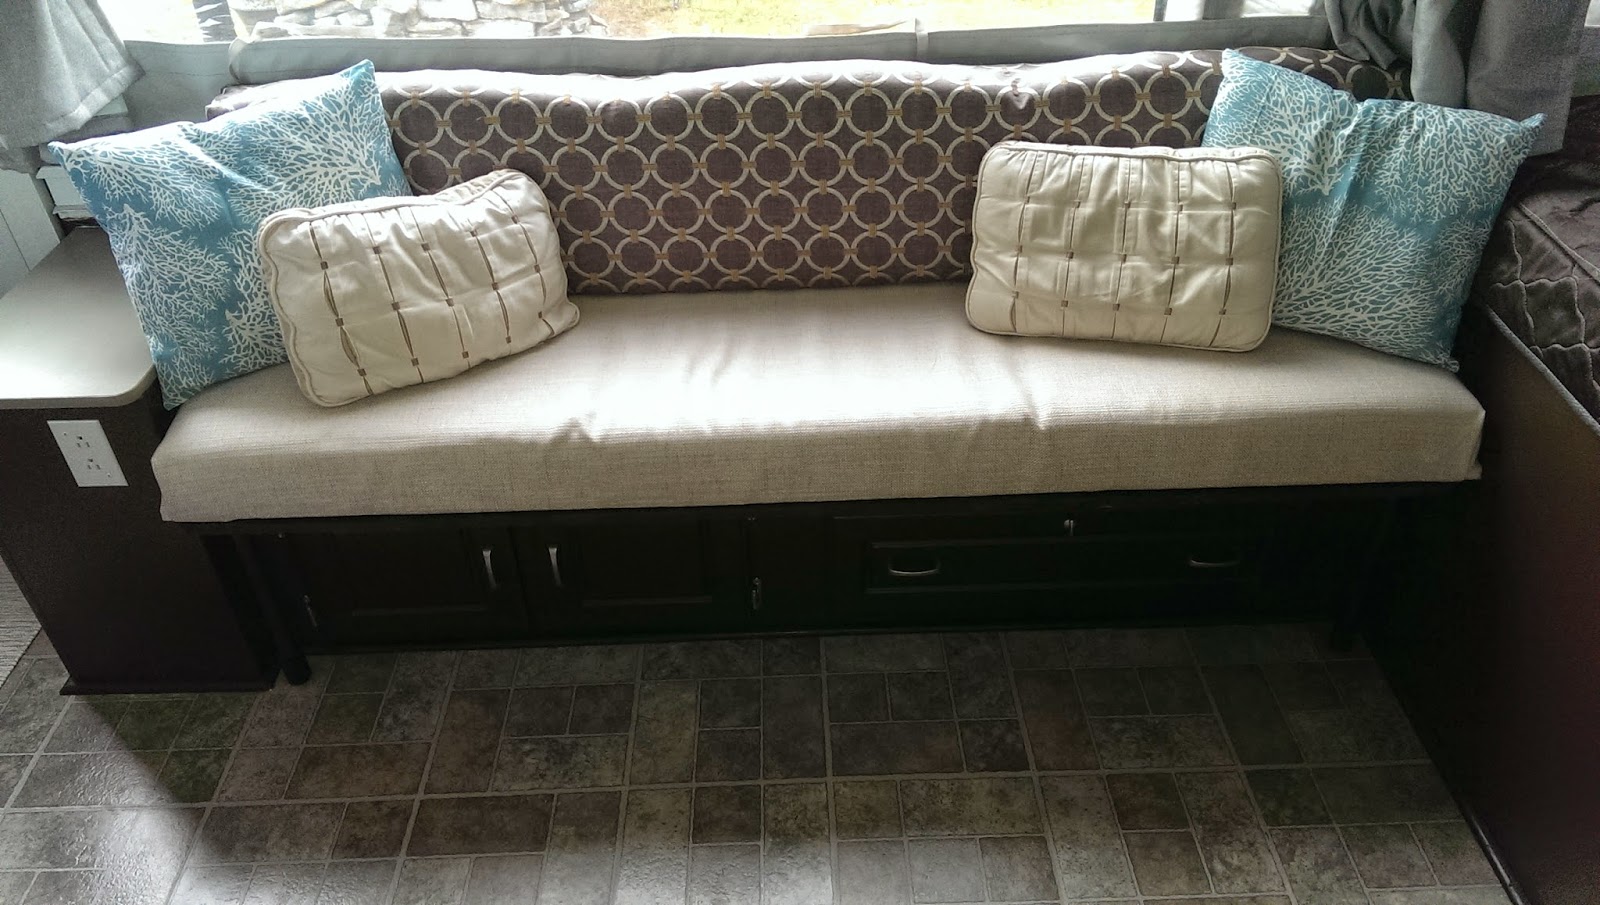

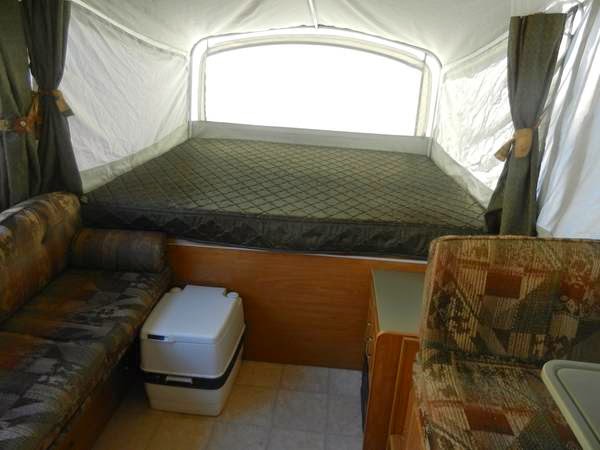
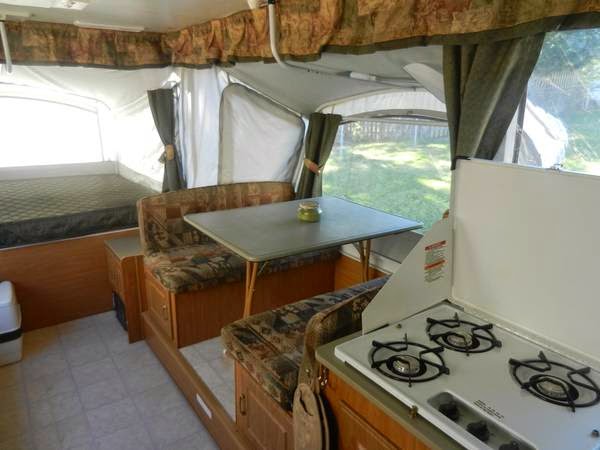
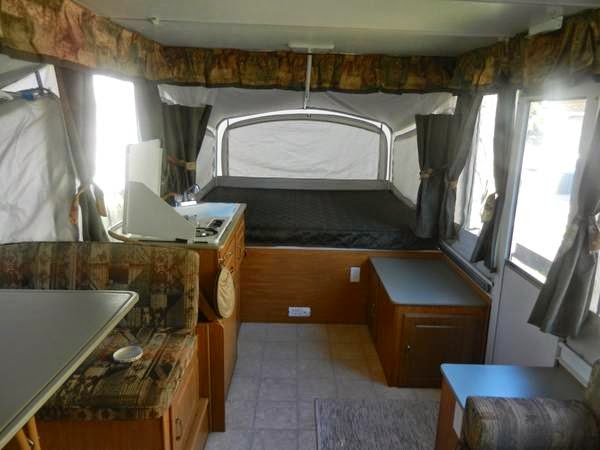
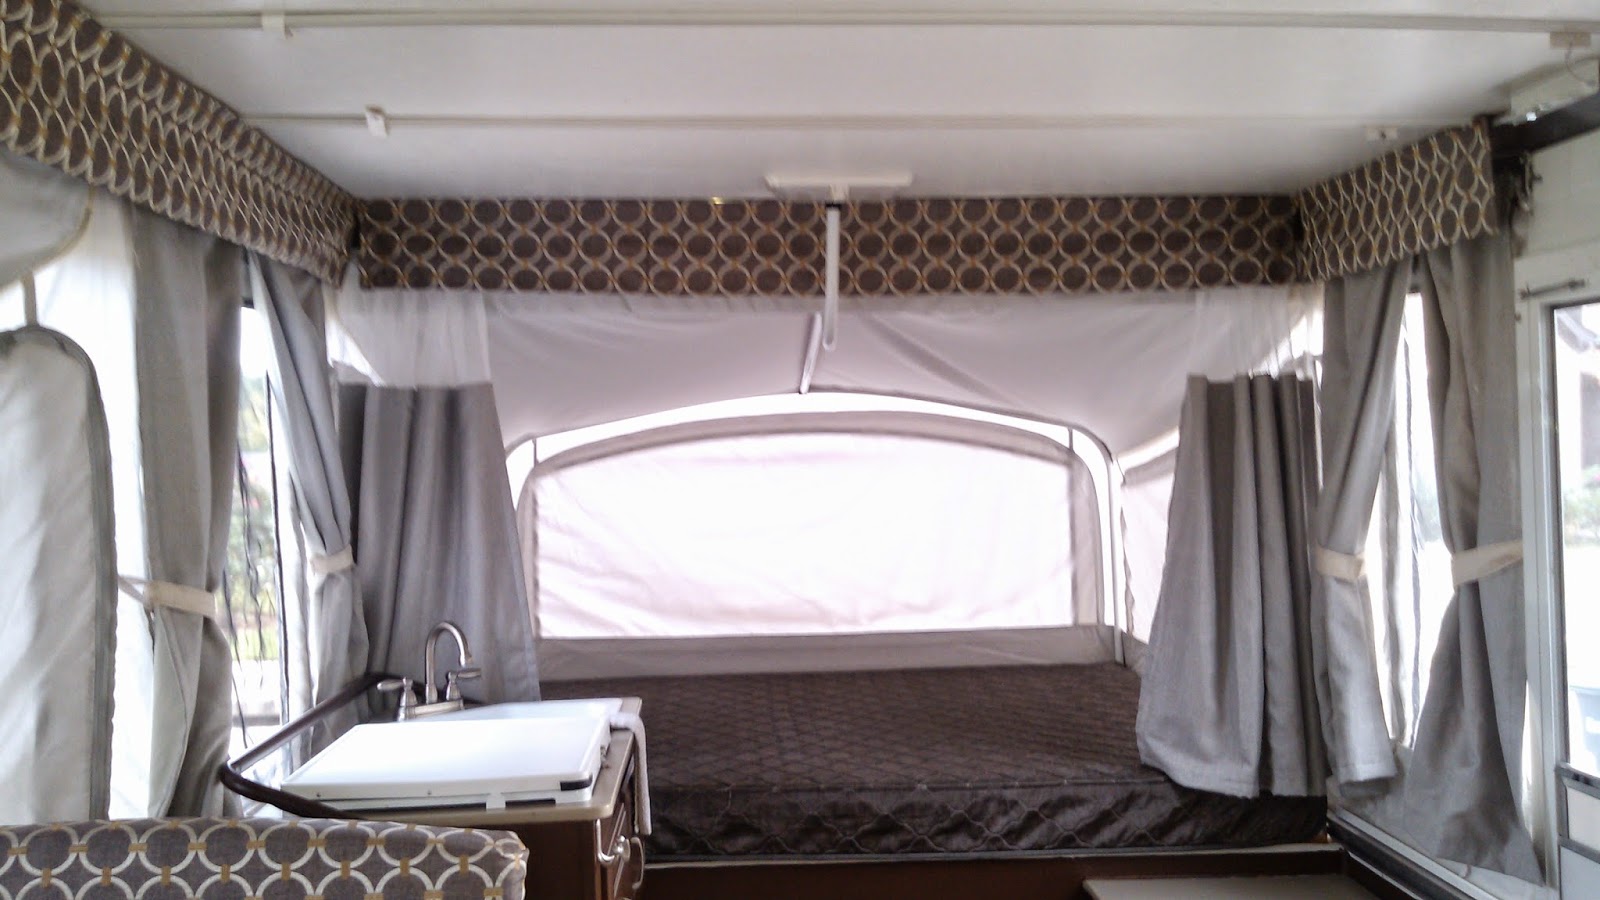
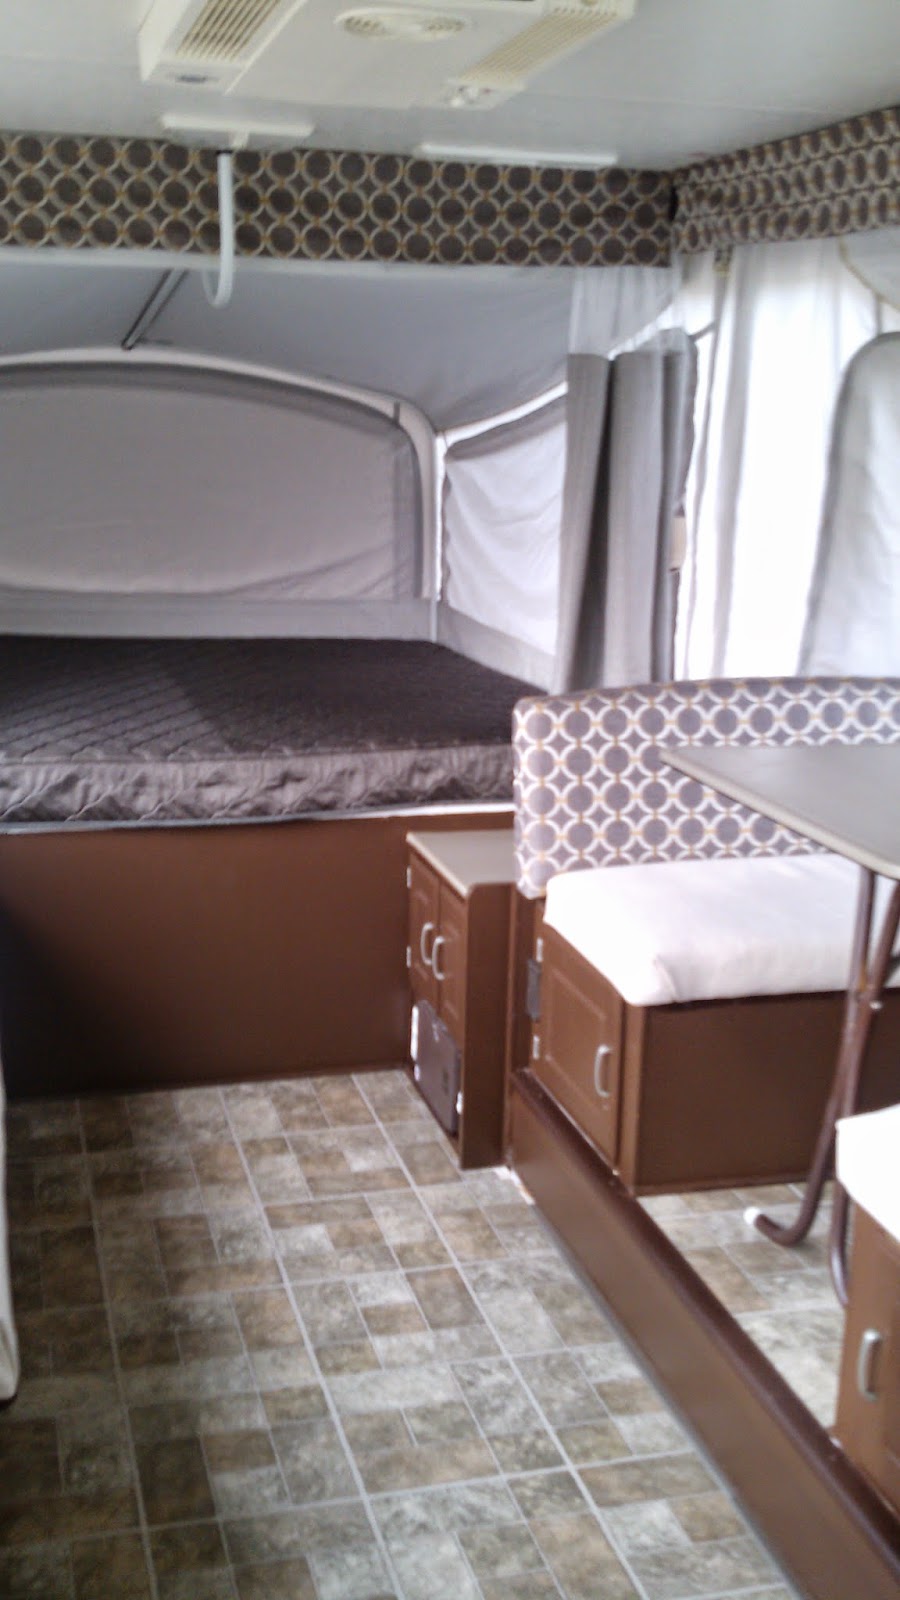
The valances were one of my favorite turnouts. The old ones were ruffled and just reminded me of a 1980’s hunting lodge…I wanted to do a smooth, more modern look. Unsure of exactly how to re-hang the valances, I sort of did what I did with the drapes. I measured, cut and sewed the valances, which I made 8″ instead of the 10″ the old ones. I think it makes the camper feel a little larger and not so crowded. I cut the backing clips that slide onto the metal track and hold the valance in place. I left about 2 inches of existing elastic on each clip then sewed the clips onto the new valance back.
The valances attach at each end onto a screw, so I made a button hole at each end of the valance and it loops onto the screw. (hindsight note: didn’t realize a geometric pattern would be more difficult to work with but it all worked out)
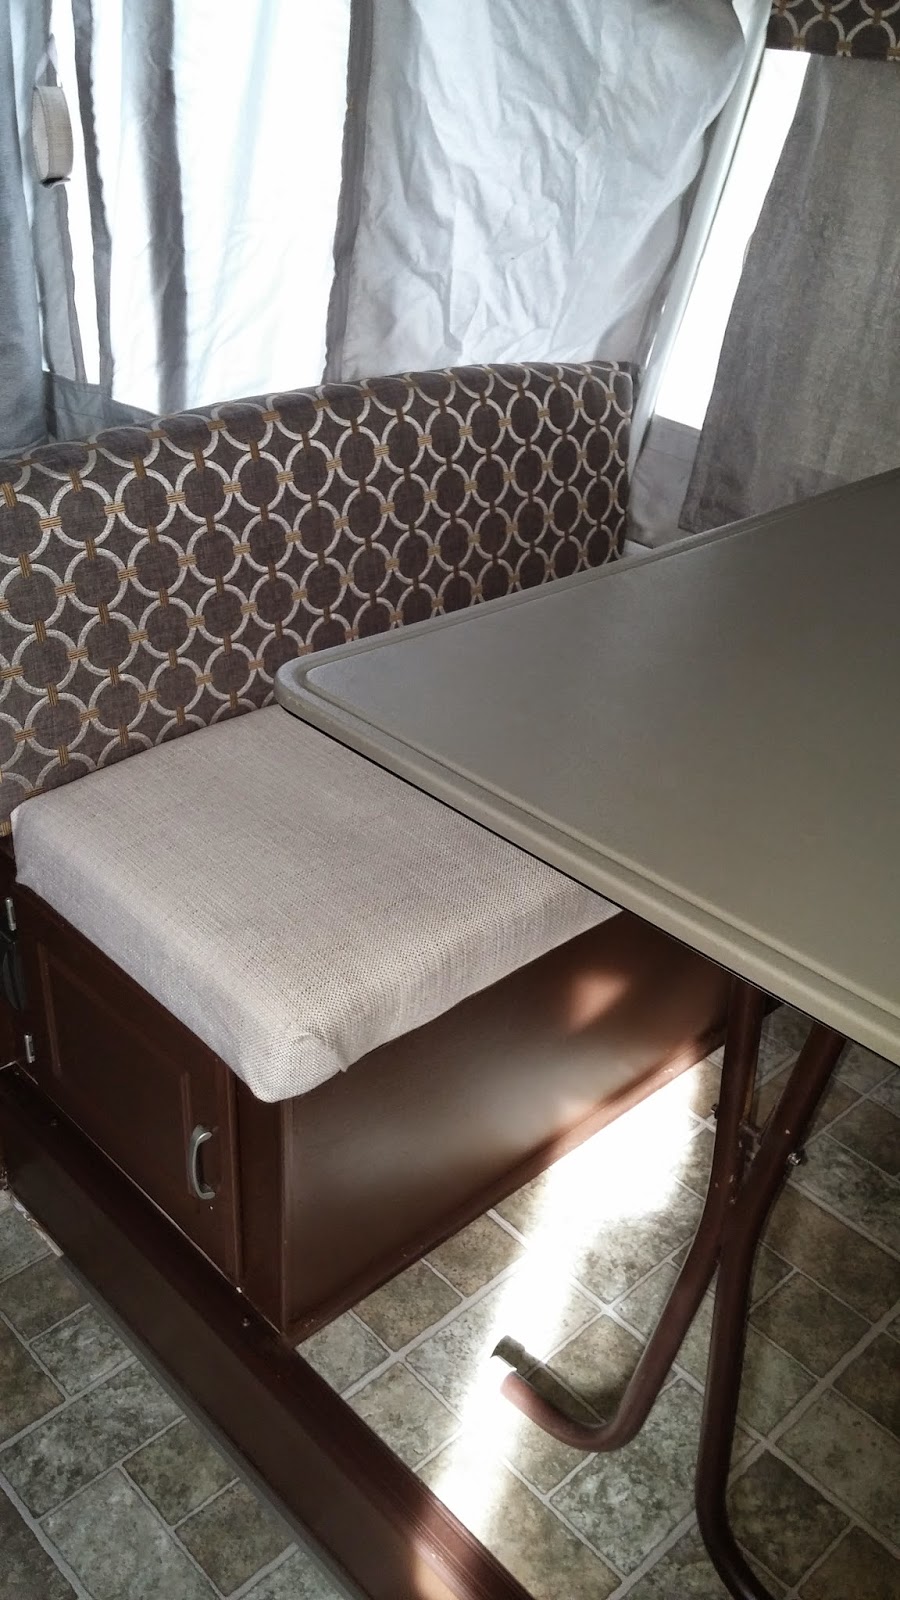
The bench cushions look very light but are a nice oatmeal colored tweed, surprisingly soft and smooth fabric. Unlike the previous fabric, scratchy and ugly.
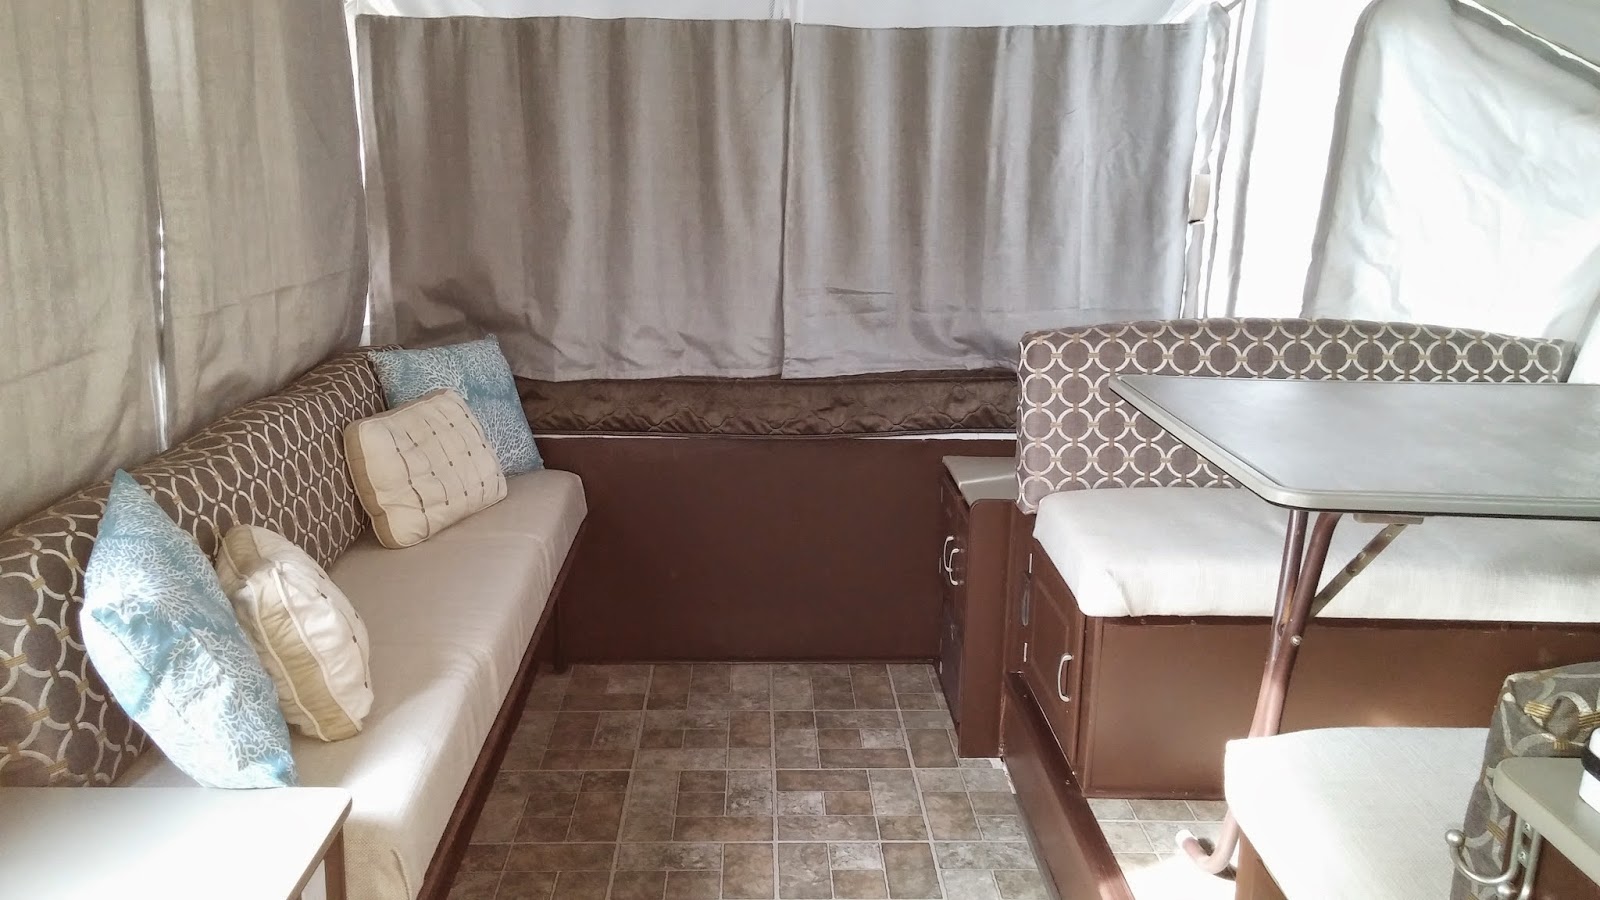
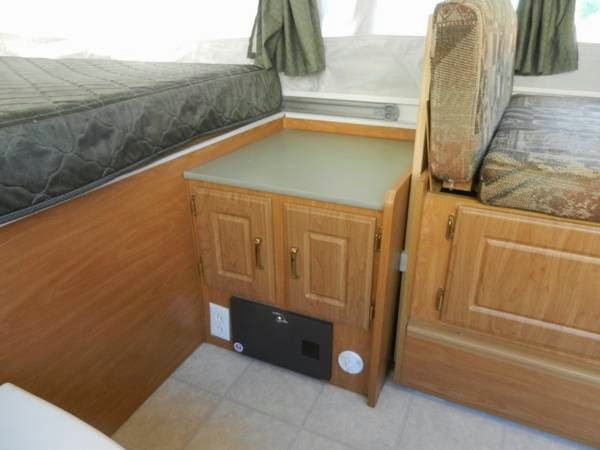
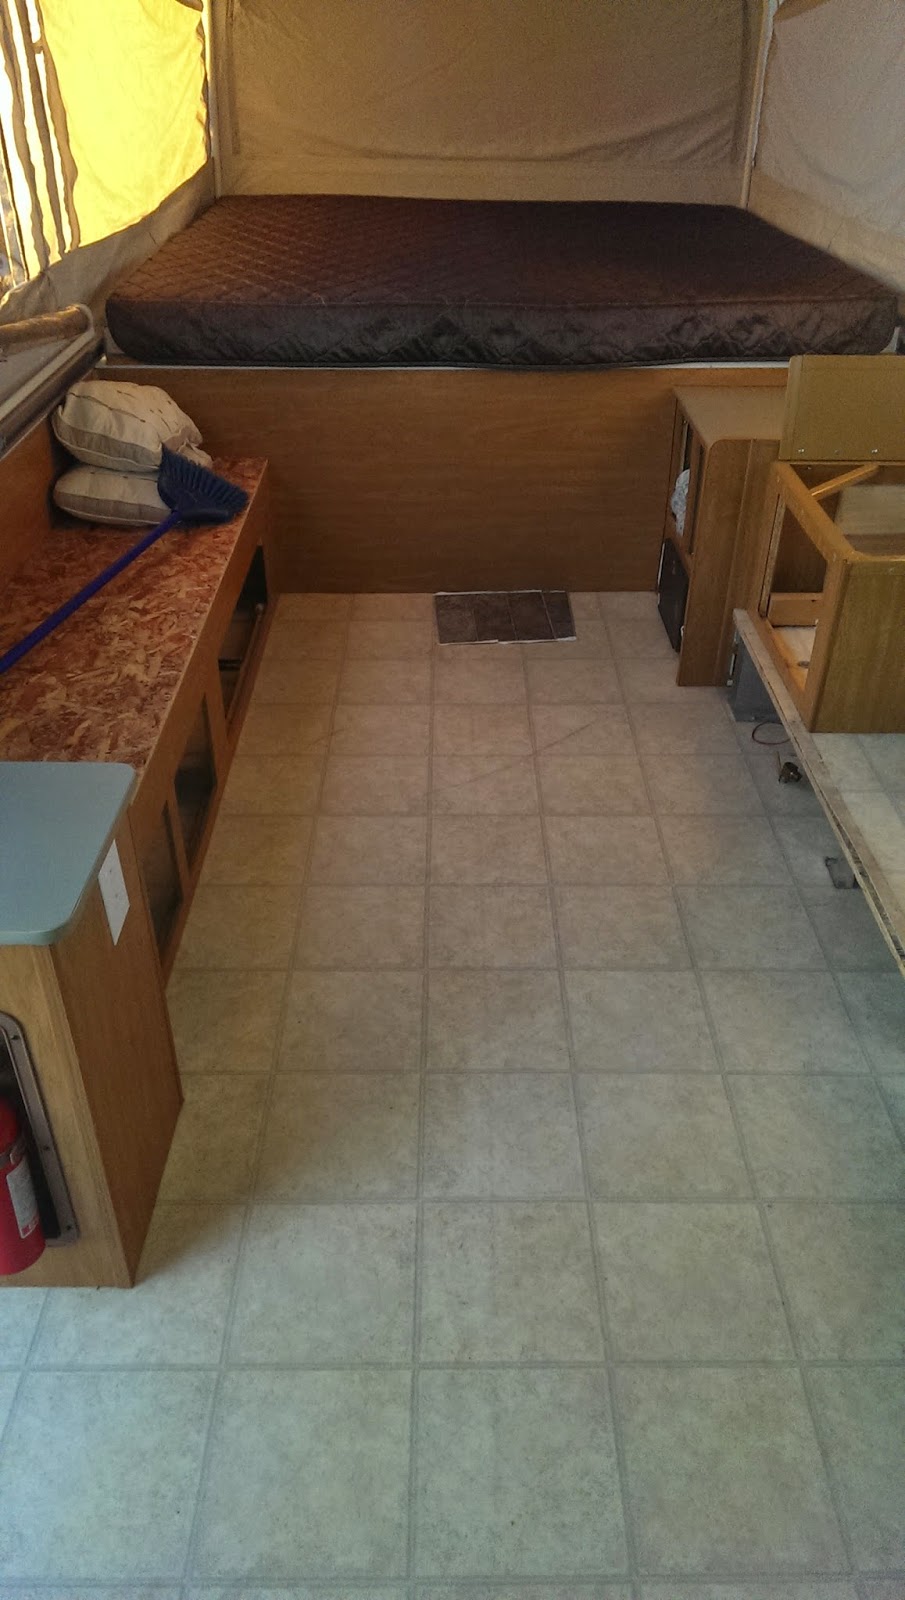
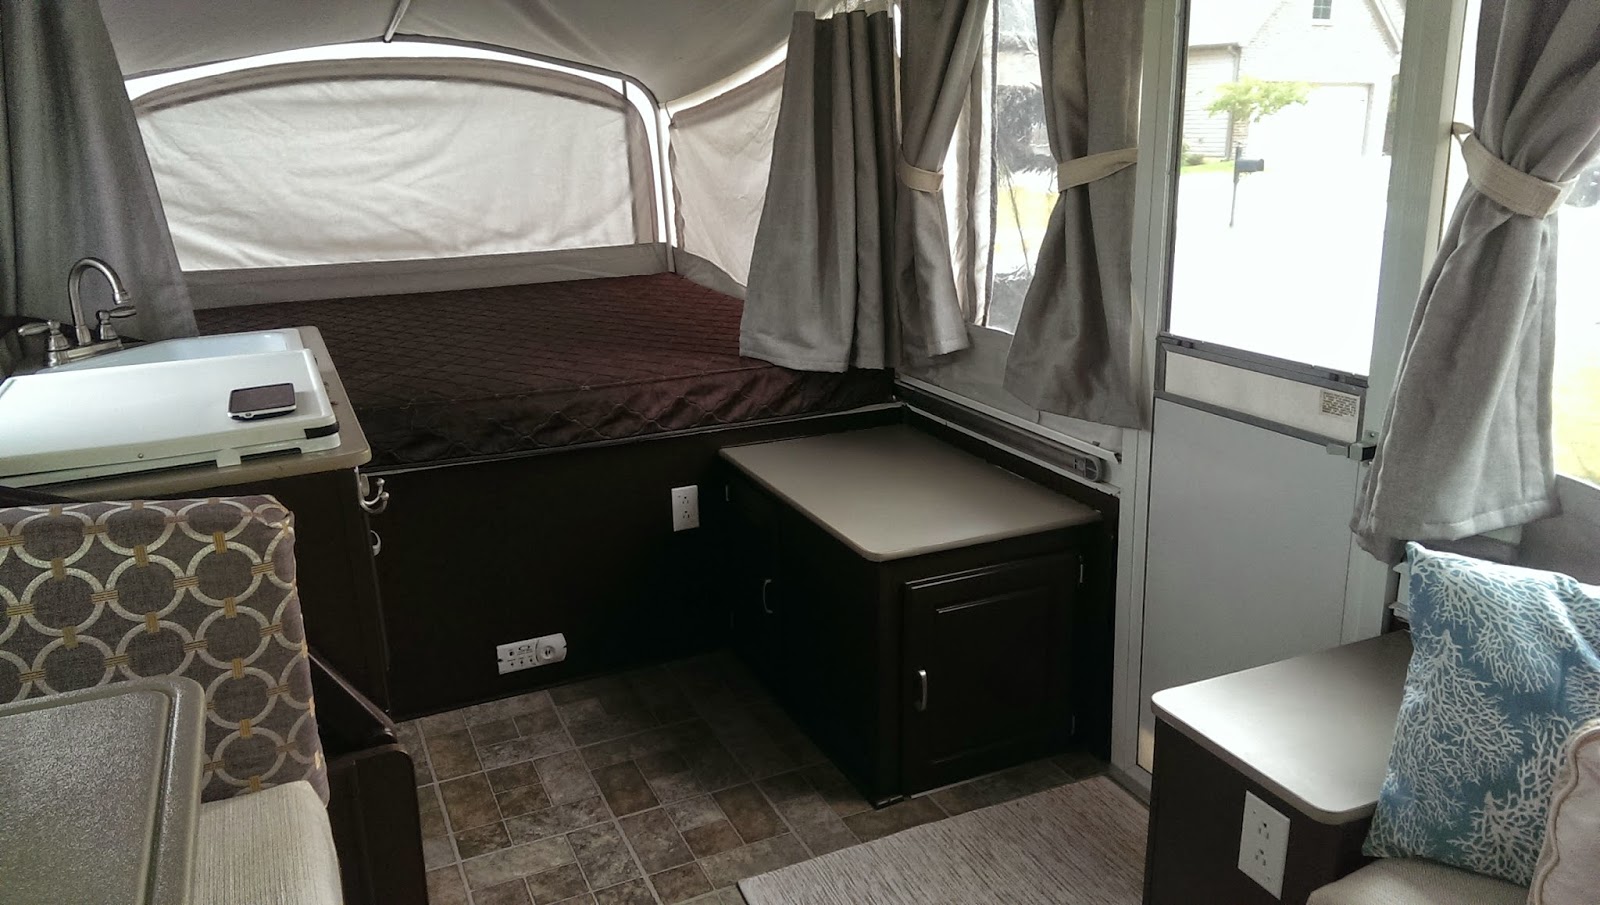
The floor was a huge improvement. My handy husband (who did a marvelous job on all the priming, plumbing, painting, flooring and trim while I was sewing, stapling, sewing and more sewing!) used a “sticky tile” floor from Home Depot and added, which wasn’t there before, quarter round to add a very finished look to the floor. We went with a mixed-shaped pattern tile so it looked more like real tile with grout lines. The counter tops were left alone as they were already a color of grey that coordinated with our color scheme and in really good condition.
We’re not sure but we may go back and swap out the outlet plates with a brushed nickel to go with the re-do…the white stands out but doesn’t look terrible.

Facebook Conversations