HOW TO ATTACH ZIPPER (BAG WITH LINING)
We made wristlets two nights ago and here is a tutorial. I’ll probably make more. I’ll give some to my Mom who asked me months ago to make her and her friends cosmetic bags. I’ll sell some in here, too.
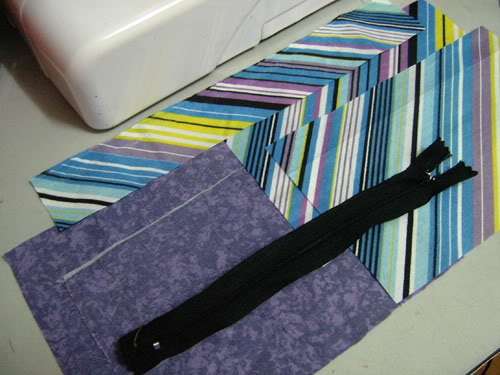
1. Materials.
a. Zipper
b. Strip (1″ x 12″) for handle.
c. Outer fabric of bag. 5″ x 7″. Do not forget allowance.
d. Lining. 5″ x 7″. Again, do not forget allowance.
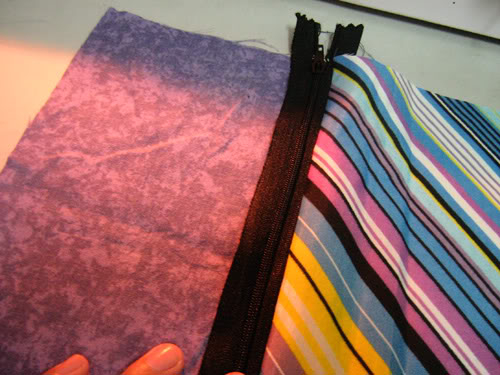
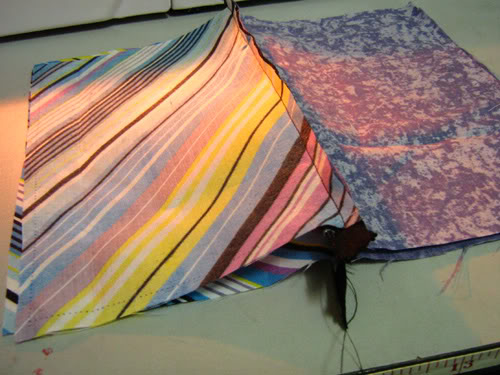
2. Layout your lining (right side up), zipper (right side up) and outer fabric (wrong side up) on top of each other.
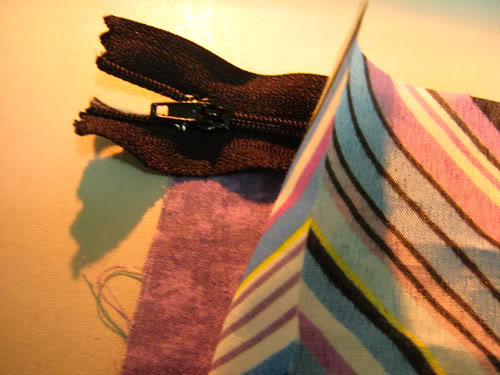
3. Pin and sew.
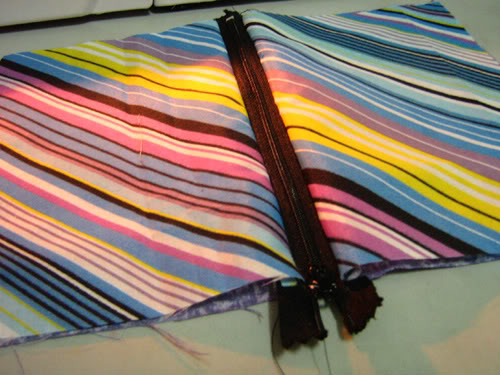
4. Now, you will have something that looks like this:
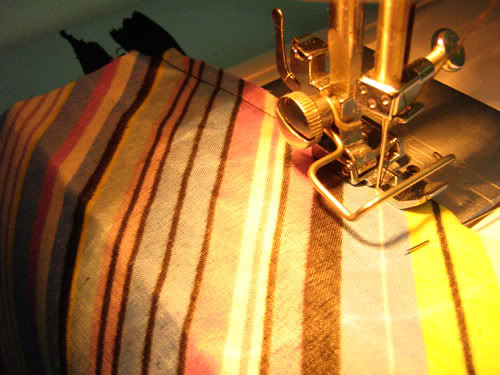
5. Lay your other lining (right side up) under the other edge of your zipper (right side up). Put the other outer fabric on top, wrong side up.
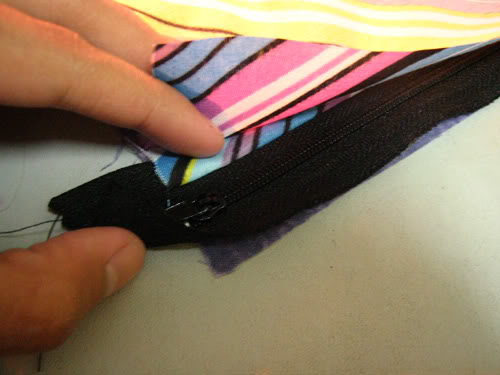
6. Pin and sew. At this point, your bag will look like this:
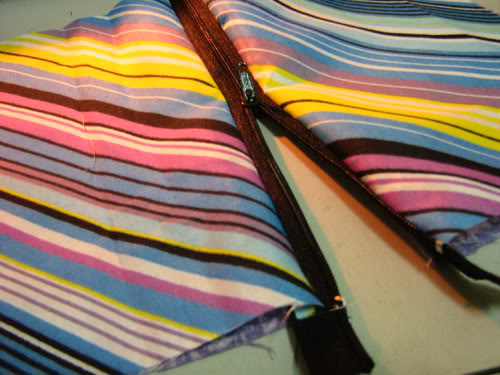
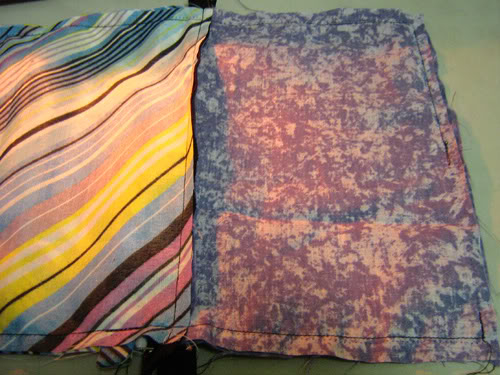
7. Open the zipper halfway.
8. Bring the outer fabrics together, right sides kissing. Do the same to the lining. Your zipper would be in the middle.
9. Pin. Insert your handle near where your zipper opens. Insert it between the two outer fabrics, not the lining.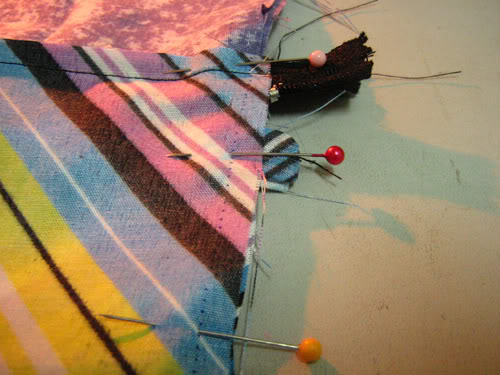
10. Sew. Leave a little area in the lining open, for turning your bag inside out.
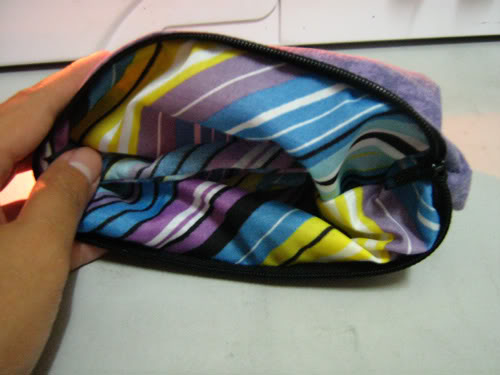
11. Turn your bag inside out. Your bag will look like it has a reversed zipper. Do not worry. This is the reason you zipped it open in the first place.
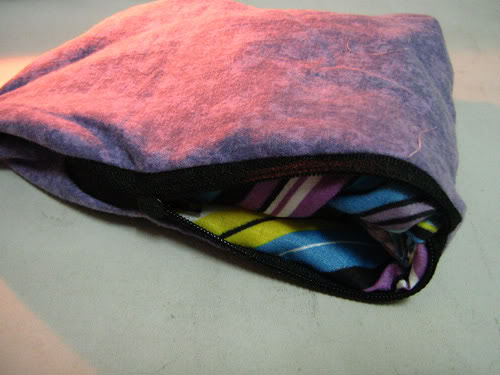
12. Just turn it inside out again, pulling the outer fabric out.
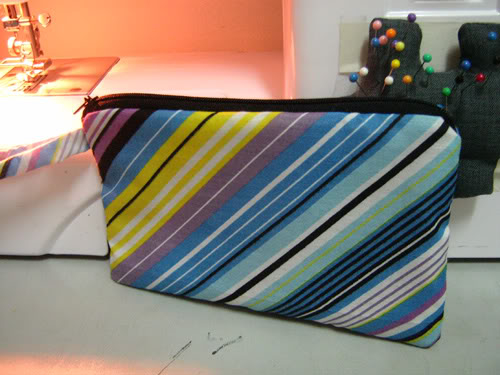
13. Flatten your bag and voila! Now, do not forget to sew your lining shut.
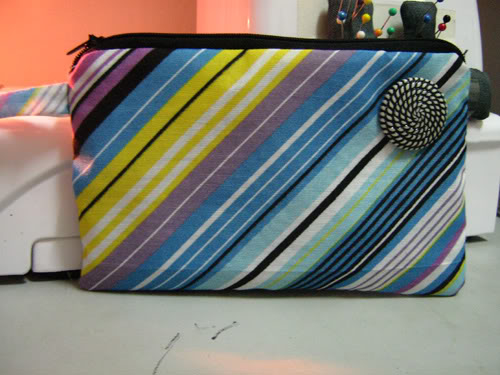
14. Get crazy and embellish!
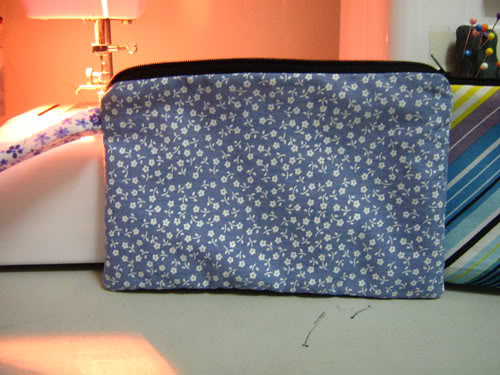
Here is mine:
Easy, huh? Happy sewing!
Facebook Conversations