HOW TO MAKE A PORTABLE HARD DRIVE CASE
I have realized that I could not be bothered to purchase a gadget unless someone offers to shoulder at least half of the price. Aside from my laptop, DSLR, and sewing machine, I did not pay for the full price (or for a part of the price) of my smartphone, monitor, and Wacom tablet. In other words, people (the boyfriend, mostly) think it’s a good idea to gift me with techie doo-dads. I’m not complaining. I understand it’s hard to buy me typical gifts, such as books and clothes and shoes, ‘coz I got too many of those.
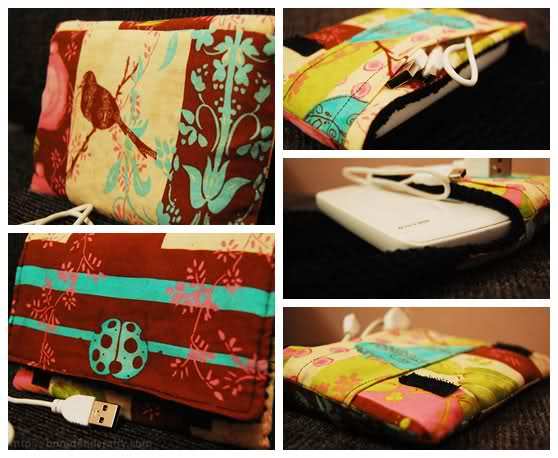
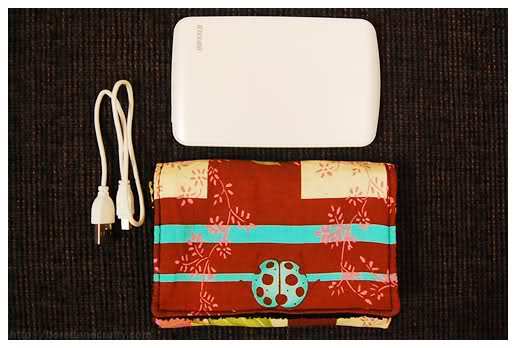
So my latest acquisition is a Buffalo portable hard drive — partly paid for by my dad. (Thanks, Father, you’re awesome.) He recommended another brand but I had to get this one because it’s white. And matches my netbook.
And I have this goal to keep it pretty as long as I can so I made a DIY case for it.
Here is a tutorial for the DIY portable hard drive case in case you’re interested:
MATERIALS
Measure the length and width of your portable hard drive. Mine is the Buffalo MiniStation Cobalt. My pieces, lining included, measured 4″ x 6″
You will also need an external pocket for the USB wire. Length should be the same as the length of your case piece. Width is 2 inches.
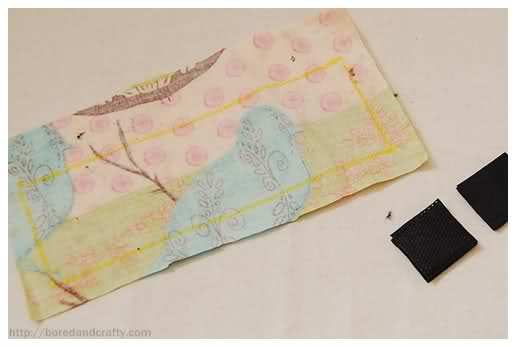
Cut Velcro in tiny rectangular pieces.
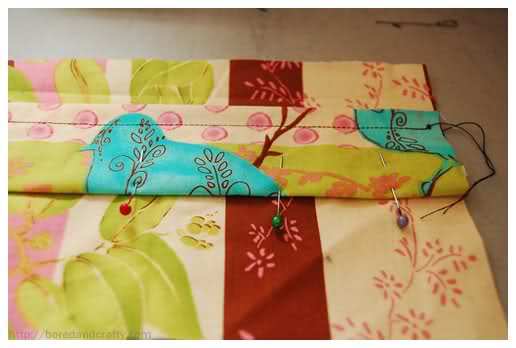
SEWING THE FLAP
1. Take the underside of your flap and sew one side of the Velcro pieces. They should be attached near the lower end of the flap. (Photo for this part was accidentally deleted. Booo.)
2. After attaching the Velcro pieces, take the front part of your flap and attach to the underside, right sides together.
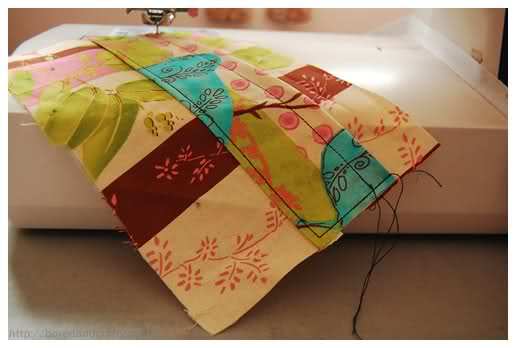
3. Sew all around, except the top part. Trim the corners and turn inside out.
4. Sew the sides to keep your flap flat.
SEWING THE USB WIRE POCKET
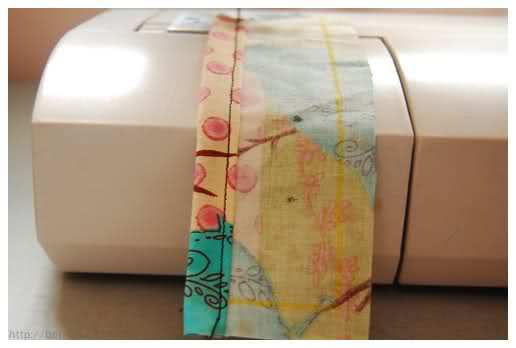
5. Fold one side of the USB pocket twice and sew.
6. Fold the other side once and attach to the upper portion of one part of your case.
7. Sew to the case.
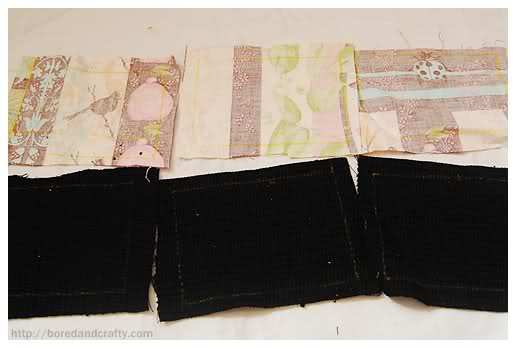
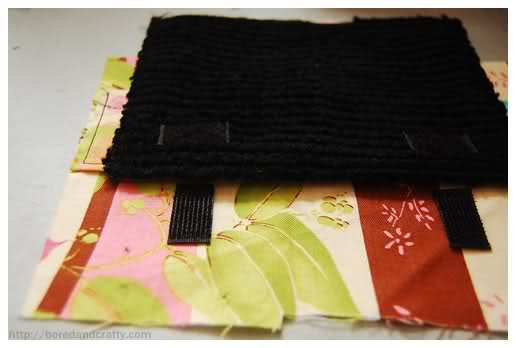
SEWING THE BODY OF THE CASE
8. Taking the Velcro placement on your flap as guide, attach the other sides of the Velcro to the part of the case with the USB pocket. Sew these particular Velcro pieces vertically.
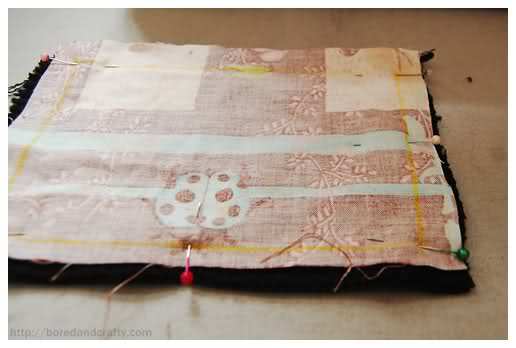
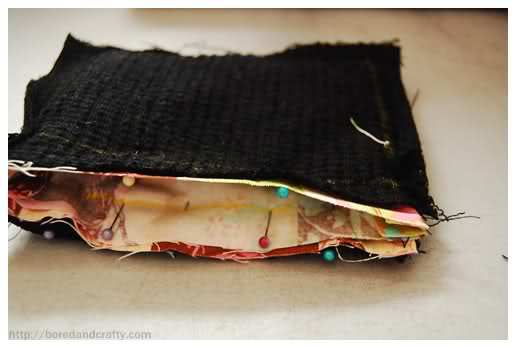
9. Pin and sew the two sides of the case, wrong sides out. Turn inside out and set aside.
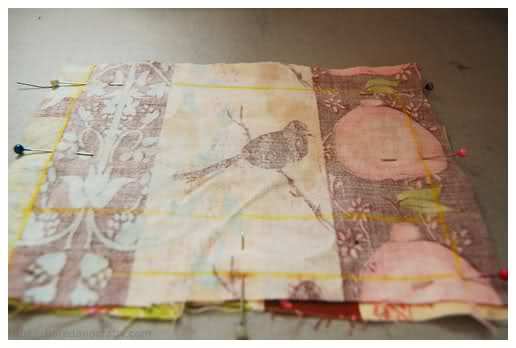
10. Pin and sew the two sides of the lining, wrong sides out. Leave allowance at the bottom for turning inside out.

11. Pin the flap to the back of the outer case. The unsewn part should be attached to the opening of the case, right sides together. (Note: When you pin the flap, make sure that it will meet the other sides of the Velcro nicely when you flip it. Take into consideration the thickness of your fabric and portable HD.)
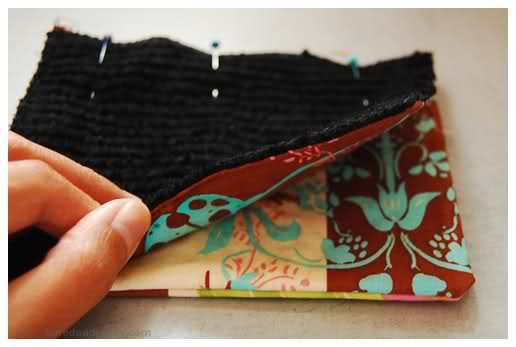
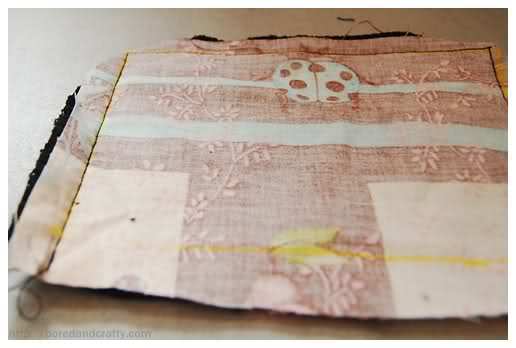
12. Insert the outer case into the lining. Sew along the lines, attaching the lining to the outer case.
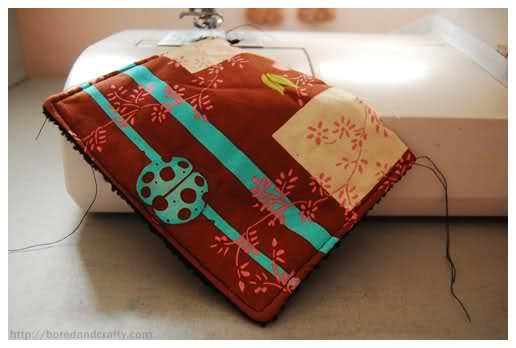
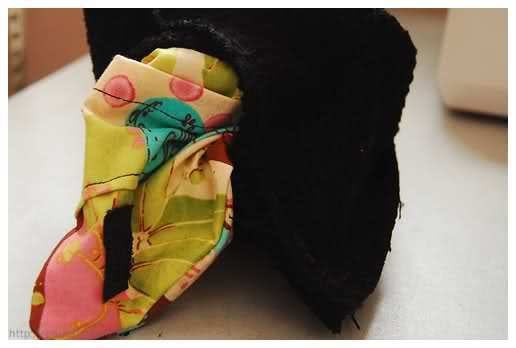
13. Turn inside out by pulling the outer part through the lining allowance. Sew the allowance shut.
14. Flatten and you’re done!
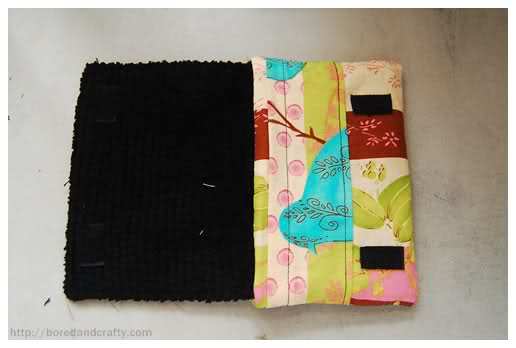
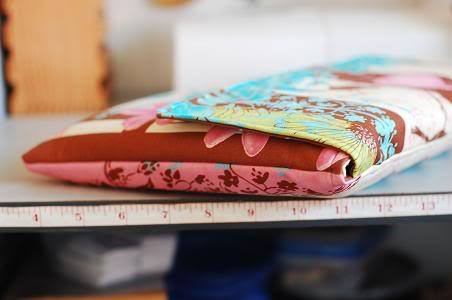
The best part, of course, is that it matches my DIY netbook sleeve:
Facebook Conversations