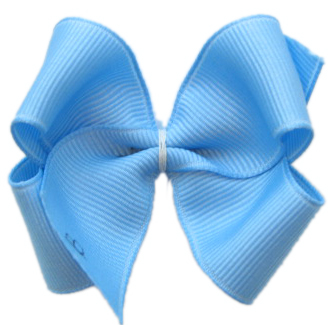
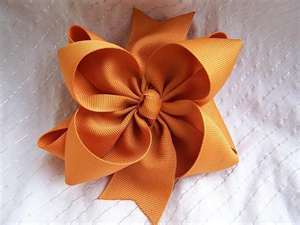
How to tie this awesome bow as well as many, many others.
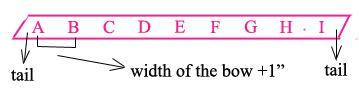
Say you want to make a 2″ wide hair bow. You need 7/8″ ribbon, 13″ long. Every loop has to be 2.5″ long plus 2×1.5″ for tail. You can take a pen, measure the ribbon and mark it. But there is an easy way, no measure tape is needed. Here is the step by step instruction.
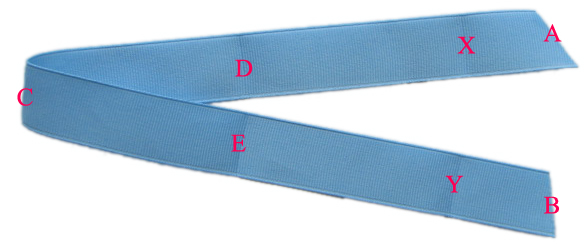
1. Take a piece of ribbon. Fold in half. Finger press the end at point C.
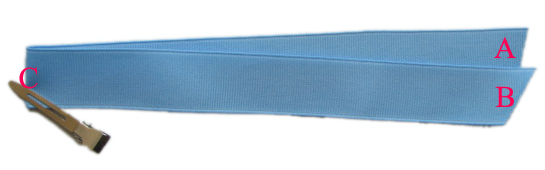
2. Measure or eyeball 1,5″ for tail, fold the end and press at the points X&Y.
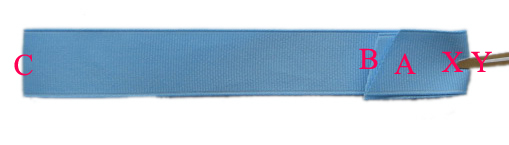
3. Then fold in half again, press at point D&E.
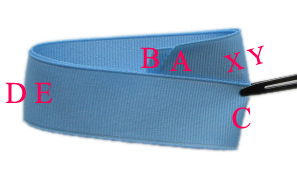
4. It looks like this when you finish, you can’t see A&B so I drew a line.
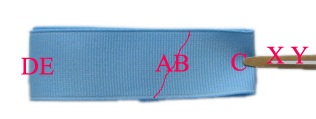
5. Now you get 4 even 2.5″ long ribbon plus 2×1.5″ tails. Please note that X, D, C, E, Y are the center of the creases. Use the creases as guideline to fold the bow.
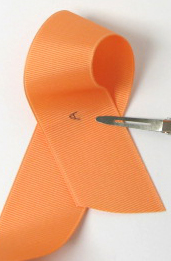
6. Now 4 loops are even. Here comes another important step: make sure you wrap the center of the bow, not too right, not too left.
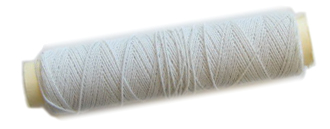
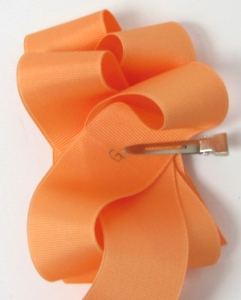
7. You need to use Elastic Thread. Not dental floss, not embroidery floss, not wire; do not sew because you cannot adjust the loops later. This will make everything much much easier. You can find it at craft store. The brand is stretchride.
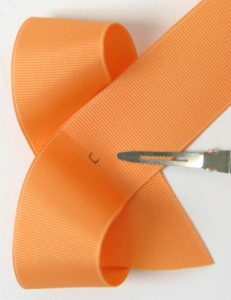
8. After crease the center, use elastic thread to wrap it. It may look like this:

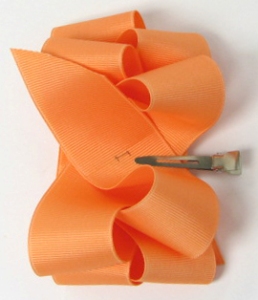
9. You didn’t wrap at the center. It makes 2 left loops bigger than right ones. What you need to do is to adjust the thread. Just move it to the center. It’s hard to adjust if you use dental floss or embroidery floss, but with elastic thread, it’s super easy. Then it’ll look like this:
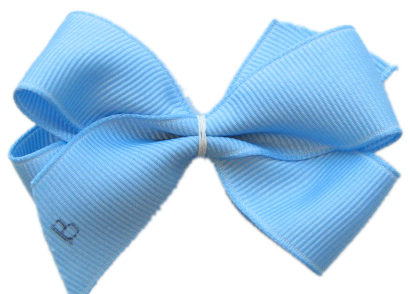
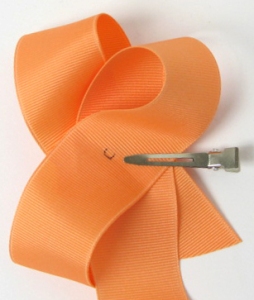
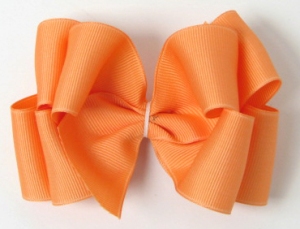
10. Adjust the bow, fluff it up. Now you get the bow you want–4 loops are the same.
Thumb of rule template
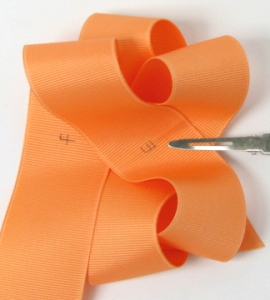
Use 1.5″ ribbon, 44″ long. 2″ for each tail and 5″ for each loop. Fold and press the ribbon to get the creases as guide. For beginners, please write ABCD… on creases as shown. On back, please write lower case abcd…
1. ‘A’ on top, ‘a’ touch ‘b’
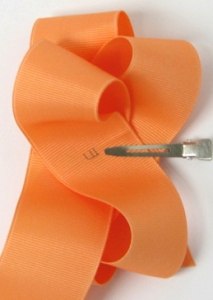
2. ‘C’ on top, ‘c’ touch ‘A’

3. Iinsert the ribbon between ‘c’ & ‘A’. ‘C’ on top, ‘c’ touch ‘d’, ‘D’ touch ‘A’
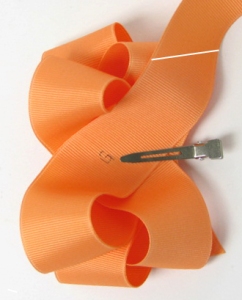
4. ‘E’ on top, ‘e’ touch ‘C’.
5. Prepare to insert ribbon between ‘e’ and ‘C’
6. ‘E’ on top, ‘e’ touch ‘f’ and ‘F’ touch ‘C’
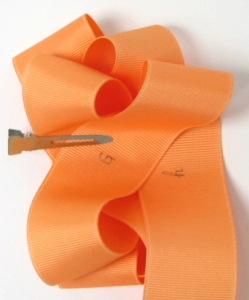
7. ‘G’ on top, ‘g’ touch ‘E’. Stop here and cut at the white line, you’ll get 6 loop 2 layer bow. Please see image in page 2
8. Prepare to insert ribbon between ‘g’ and ‘E’
9. ‘G’ on top, ‘g’ touch ‘h’, ‘H’ touch ‘E’.
10. ‘I’ on top, ‘i” touch ‘G’
11. Crease center and this is what we get.


Facebook Conversations