SIMPLE GARTER SKIRT
A simple garter skirt that will look totally cute this summer. Pair it with gladiator sandals, a thin tank top, and layered necklace for a dose of effortless summer sweetness.
TO MAKE THIS DIY SIMPLE GARTER SKIRT, YOU WILL NEED:

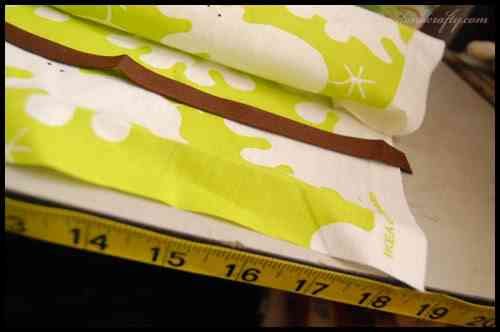
– Two pieces of fabric (width: half of your hip measurement + 14″ / length: your desired skirt length), with allowance. The top part should have enough allowance for the width of your garter. Use garter that is more than an inch thick for a cuter look. I don’t know why it’s cuter, it just is.
– Bias tape or any trimming you fancy (width the same as your skirt fabric)
– Garter (length: your waist measurement minus an inch)
SEWING
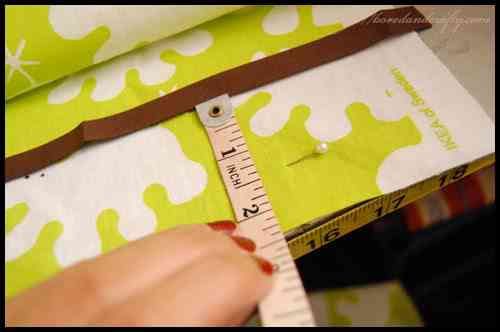
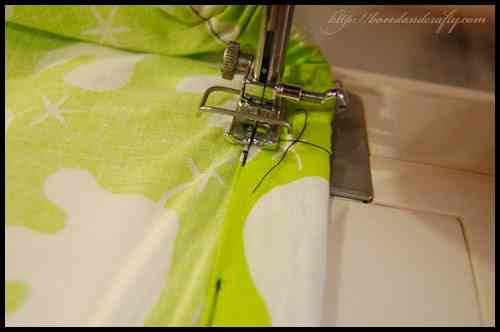
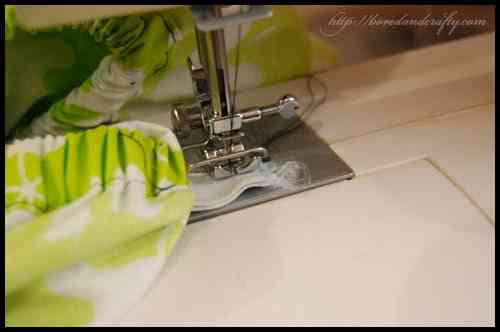
1. Take the bias tape and decide it’s placement near the hem. Pin and sew to the fabric. Do this to both sides of your skirt.
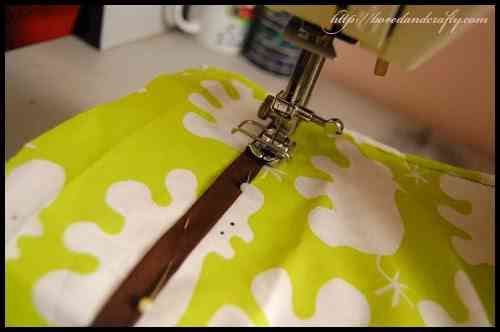
2.Take the two sides of your skirt and sew the sides together. Make sure that your bias tape trims meet perfectly.
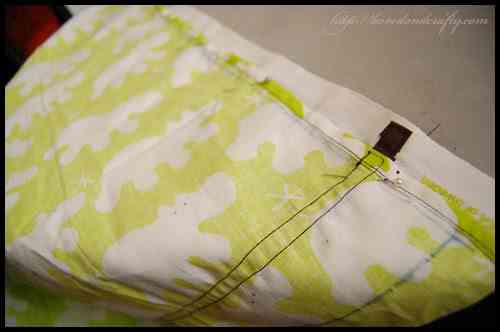
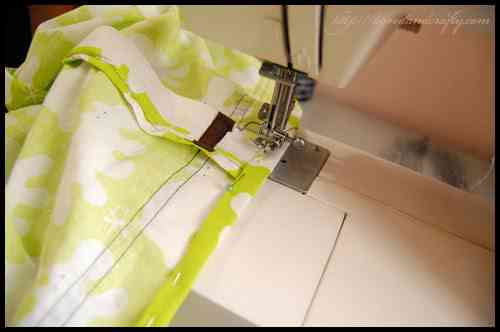
3. Now fold over the top part where you will insert the garter. Leave a 2-inch allowance.
4. Sew the hem of the skirt.
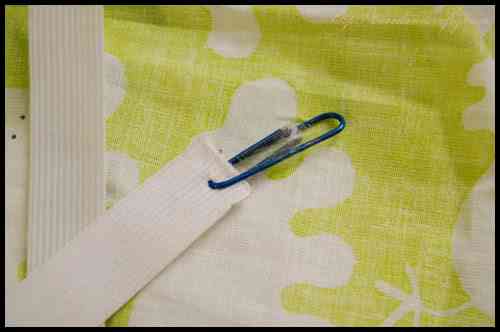
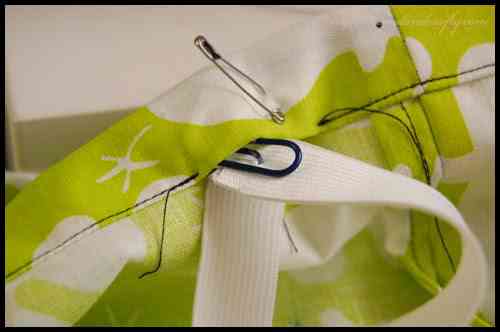
5. Now we move on to the garter part. Take a paper clip and pierce one end of the garter with it. Wrap with clear tape securely. This is my very uh, unglamourous method to doing garters.
6. Take a safety pin and pin the other end of the garter to the part of the casing allowance.
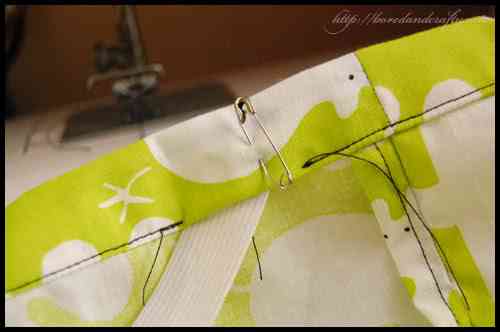
7. Insert the other end of the garter, the one with the paper clip, through the casing and pull until the two ends meet by the casing allowance.
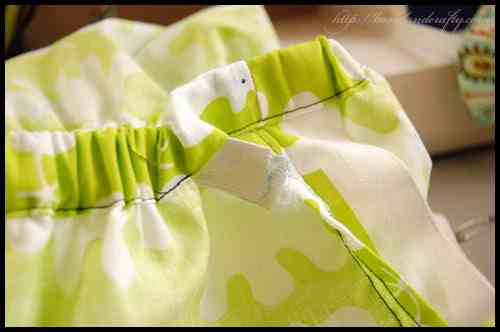
8. Sew the ends together securely.
9. Sew the casing allowance shut and you’re done! Enjoy your DIY elastic skirt!

Facebook Conversations