I signed up for an Adult Beginner’s Ballet class.
I bought some clothes to dance in. {no tights, leotards, or tutus though!}
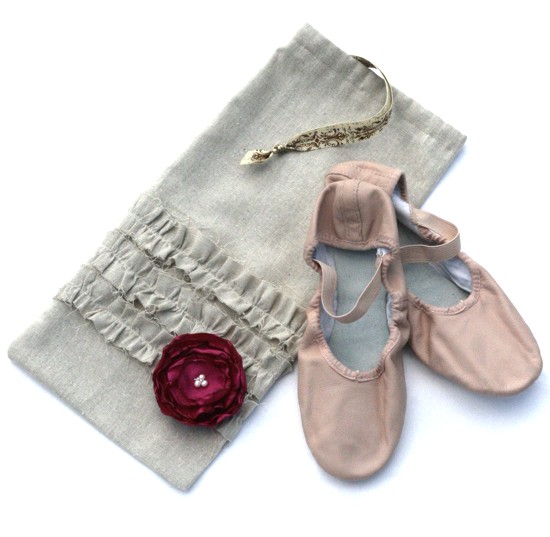
And I bought some ballet slippers. {squeal! so excited!}
And tonight is my first class! Exciting! Scary! I’ll be sure to report back.
It’s feel so good to be working towards my 12 in ’12 goals.
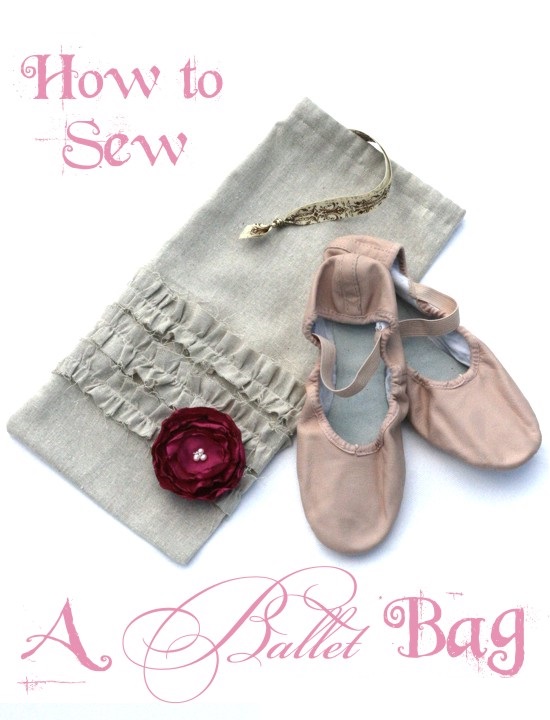
Since I didn’t want my ballet shoes to get banged around in my bag with my water bottle and such, I decided to let them ride in style and whipped up a sweet little ruffled ballet bag!
You can make one too!
And if you’re not into ballet, there are so many other great uses for this adorable drawstring bag – little toys, diapers and wipes, a simple snack, the sky’s the limit. And you can adjust it to any size that you want by cutting your fabric bigger or smaller – so the sky really IS the limit!
Tutorial: How to Sew a Ruffled Drawstring Pin
You’ll need:
- a sewing machine
- scissors
- fabric
- thread
- ribbon
- a flower pin {optional}
You should know that I kind of eye-balled some of the measurements, but I’ll tell you approximates for all my measurements.
Let’s get started!
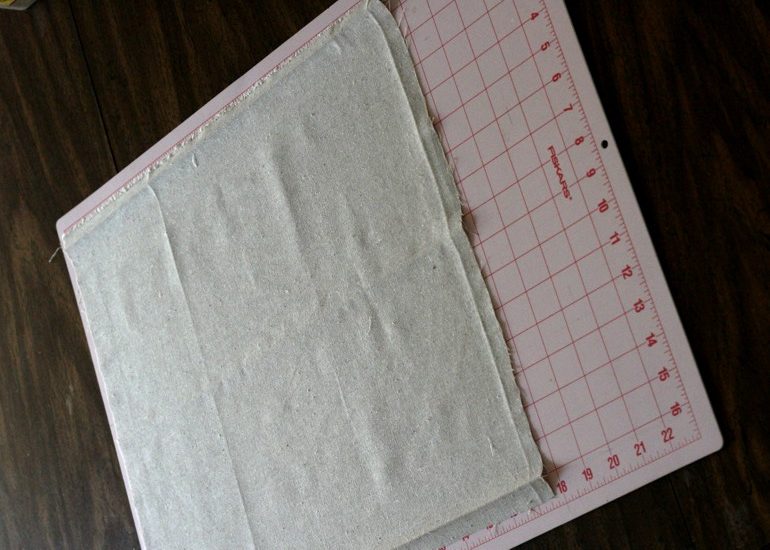
Cut your fabric; you want a rectangle. Mine was approximately 18″ long x 16″ wide. {I could have made mine about 3-4″ shorter and still fit my shoes beautifully.}
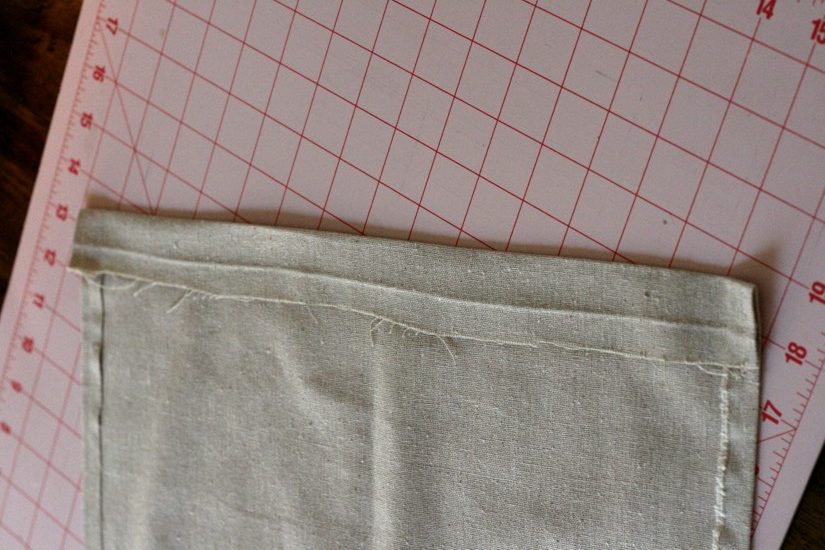
You want to finish your side seams so the drawstring part at the top will not have raw edges showing.
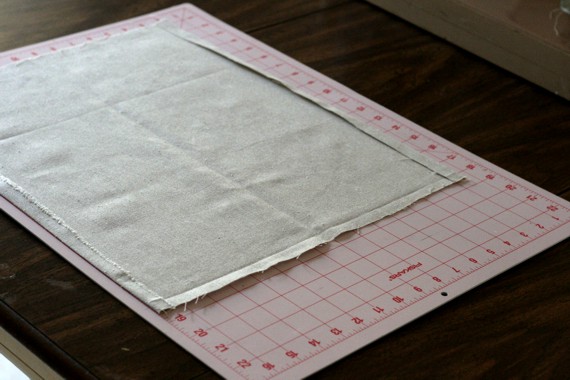
Iron in the fabric approximately 1/2″ on each of the long sides of your rectangle.
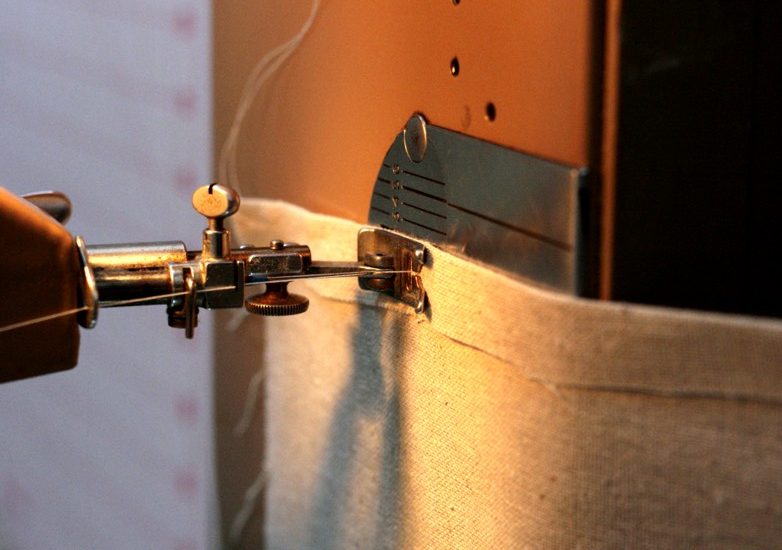
Using the width of my presser foot, I sewed these seams down. You want to make sure this seam isn’t too wide so that it will be hidden inside the bag once it’s sewn all together.
Iron those seams.
Always, always – sew and then iron. It will make things look a million times better if you iron everything!
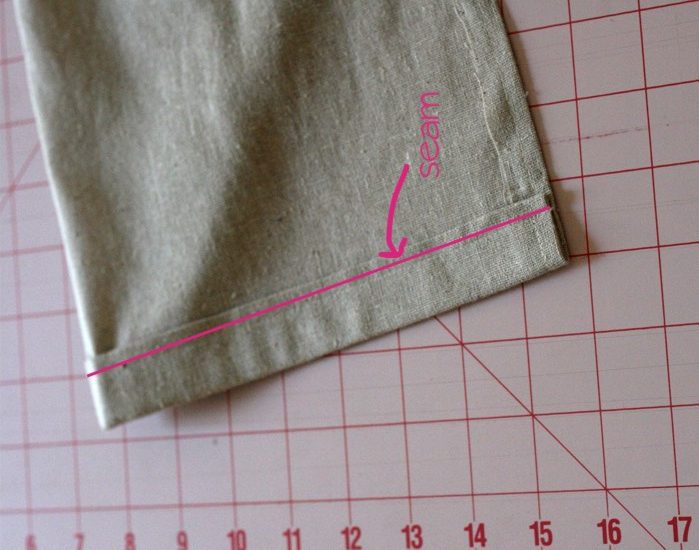
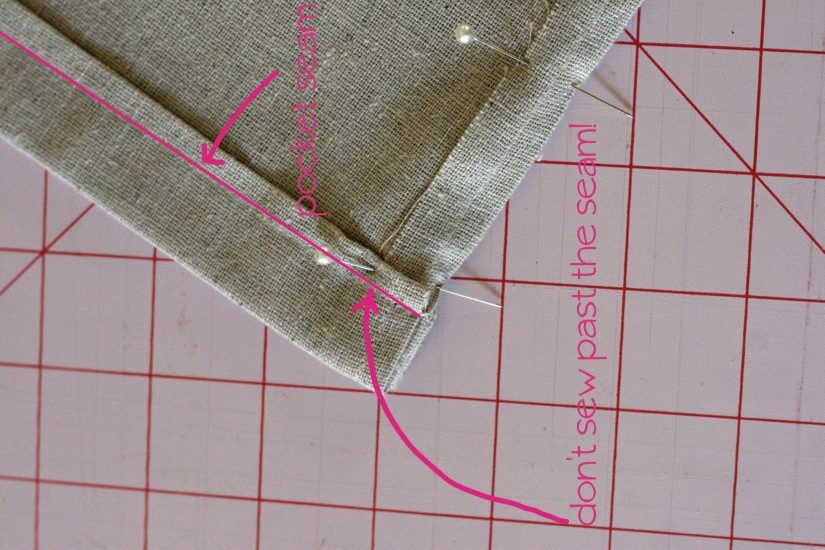
Now let’s make the top pocket part that the drawstring will run through.
Fold down the top {one of the short sides of the fabric} about 1 and 1/2 ” and iron.
Now before you stitch, let’s fold it down again.
You want to start your fold just above the raw edge of the fabric. Thus hiding it behind your fold. Kind of like this:

Sew it down creating a clean pocket for the drawstring. Here’s a picture of where the seam should go in case your visual like me.
Now let’s make some ruffles! Unless you don’t want ruffles, of course. ![]() If you don’t want ruffles, just scroll down a bit.
If you don’t want ruffles, just scroll down a bit.
Ruffles:
Cut three strips of fabric about 45″ long and 1 1/2″ wide. {You want them good and long because they’ll lose a lot of length in the ruffling process.}
Ruffle your fabric by sewing down the center of each fabric strip. I use the cheater’s way of ruffling, and play with my tension and stitch length until I get the ruffly look I’m going for. I ended up setting my tension between 8 and 9 and my stitch length to 8. This will automatically ruffle up your fabric and save you from having to pull on basting threads. Be sure not to backstitch!
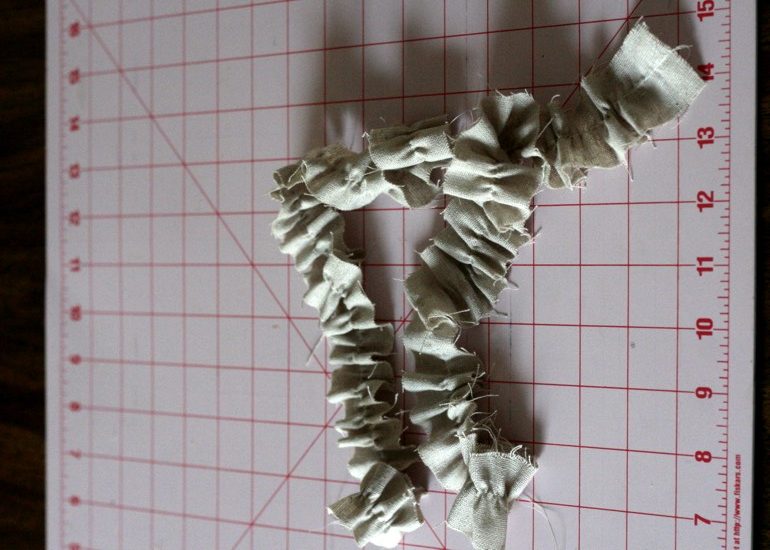
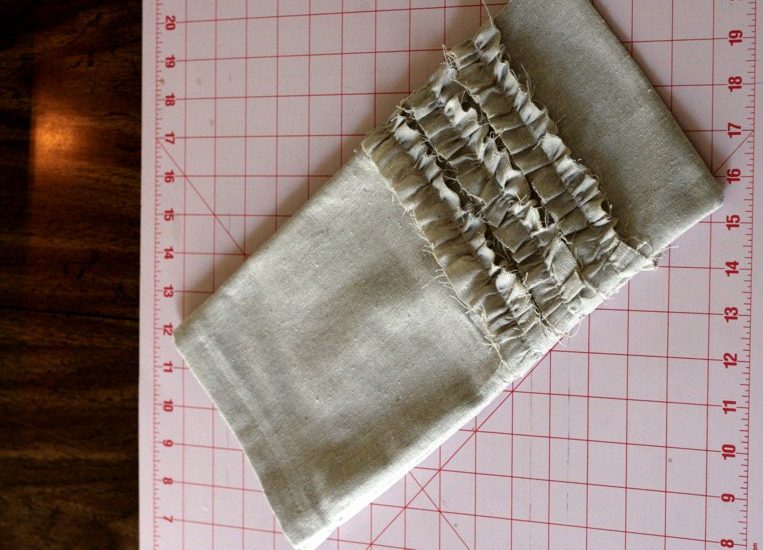
I thought the ruffles looked a little too flat for my taste, so I choose to iron them in half on the stitch line. Just try not to pull your ruffle out {see how I did at the end?}. But it’s okay if you do a little, because you can pull on the basting thread to make it ruffle back up again.
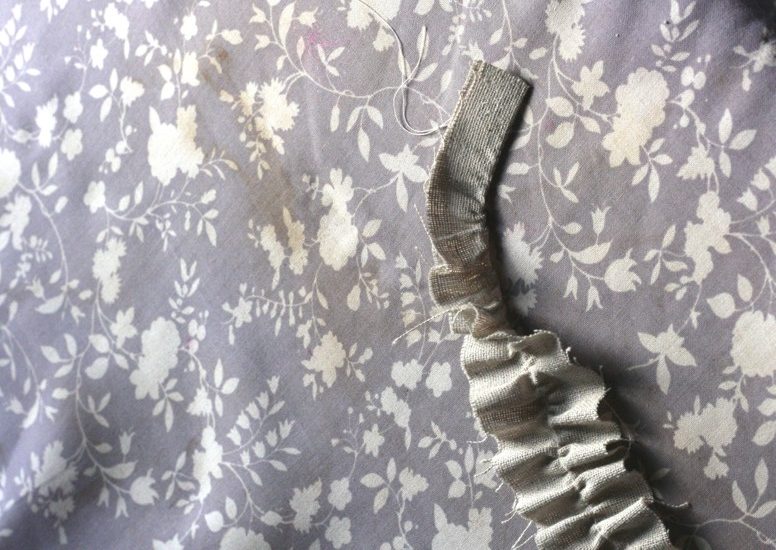
And here it is once it’s ironed. Keep in mind it’s going to fluff once you stitch it to your bag so don’t worry if it looks too flattened.

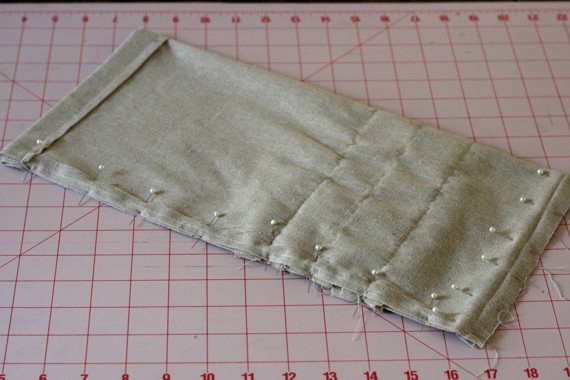
Now pin those ruffles to your bag!
I put my ruffles about 3 and 1/2 ” from the bottom of the bag to the center of the first ruffle. And spaced them 1 and 1/2″ from the center of one ruffle to the center of the next. I wanted them the be pretty close together, so you should certainly experiment until you get the look you love!
You do want to get your ruffles as straight as possible across the bag so that when you sew the bag shut the ruffles won’t meet at the seam all cattywhampus or anything.
Now sew them on straight down the middle of each ruffle.

Trim the excess ruffle off the end. Don’t need that anymore!
I did pull the basting stitch {that first stitching I did to make the ruffle} out of one ruffle, but found it rather annoying to do so. Not to mention that unless you looked closely you couldn’t really tell that the ruffles had two stitch lines going down the middle {all the more reason to use a thread that closely matches your fabric}. So…I say skip pulling that basting stitch out! {But you can if you want to.}
Now let’s sew the whole thing up! We’re just inches from the finish line!
Fold the bag in half, right sides {ruffle sides} together and pin in place.
I matched my ruffles up as much as possible and also made sure to line up the drawstring pocket seam.
Now before you sew… Make sure you don’t sew your drawstring pocket shut! Here’s about where you want to stop.
Now sew it up! I think I used 1/2″ seams.
Woo hoo!!! You’re finished with the hard part!
Trim your corners so they’ll be nice and sharp when you turn it right side out. Be careful not to cut into the seam you just sewed.

Now iron those seams open. The better job you do ironing, the better your bag will look.
Turn the bag right side out, poke out the corners with some something blunt {I use a closed pair of scissors}, and iron it again {avoiding the ruffles}.
Cuteness!!!
Now let’s add the drawstring, shall we?
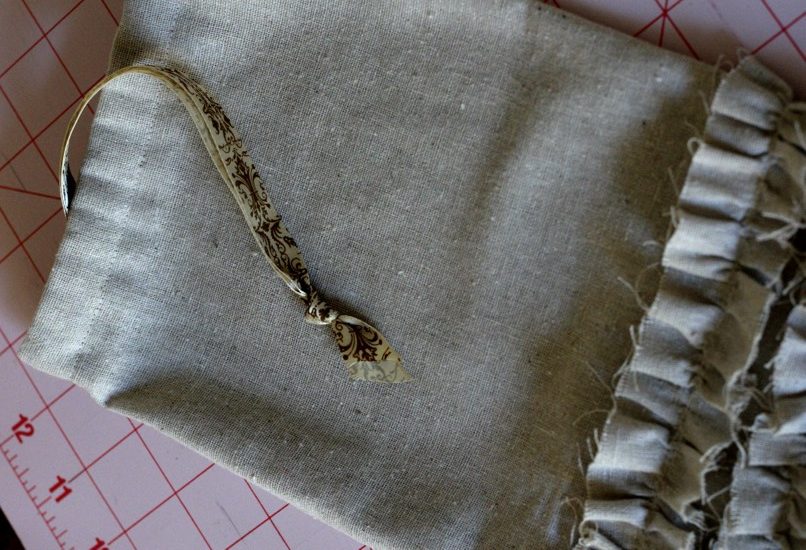
Grab some ribbon. Mine was 5/8″ wide and about 34″ long. Pin a safety pin to the end.

When you look at the pocket you created, you want to thread it through the pocket closest to the inside of the bag. Like this:
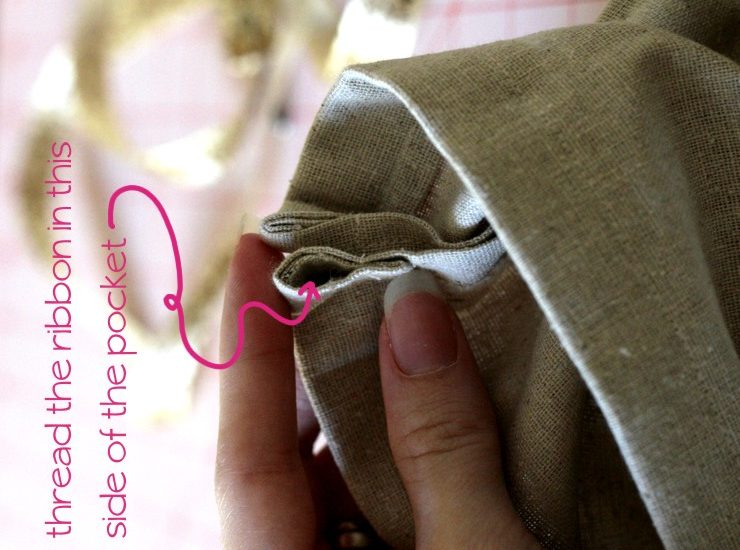
Now thread it through!

Once you’re all the way through, knot the ends so the ribbon doesn’t get pulled out.
And…
The bag’s done! Yippee! Do a happy dance!
Pin a flower on it to make it even prettier.
 Wait!
Wait!
What?
You wanna know how to make the flower pin??
Come back and I’ll show you. ![]() I’m working on a tutorial for it.
I’m working on a tutorial for it.

Here’s what it will look like from the top where the ribbon drawstring is.
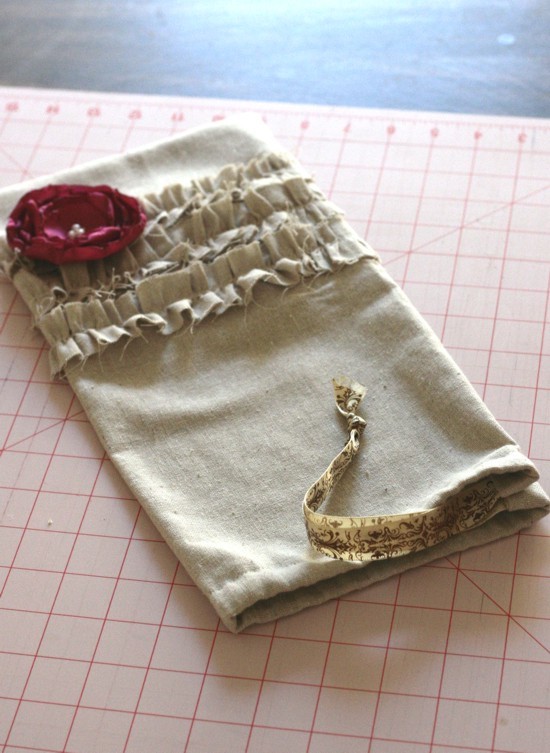
Now your lovely ballet slippers have a lovely bag to travel in!
PS – Because these ruffles have raw edges, you won’t want to launder it and they will fray over time. If you’re worried about that you could try spraying them with fray check before your ruffle them.
{Did I not explain something very well? Let me know, and I’ll do my best to make this tutorial better!}
Enjoy!
Facebook Conversations