Pottery Barn Knock-Off Mirror
I love Potterybarn. L.O.V.E.
But I do not love their prices. yuck.
Almost a year ago I found a blog that held those same sentiments. The funny and super-talented-with-a-skill-saw gal from Tidbits with the Tremeyans (one of my favorite blogs to read) did this project and it’s been on my to-do list ever since!
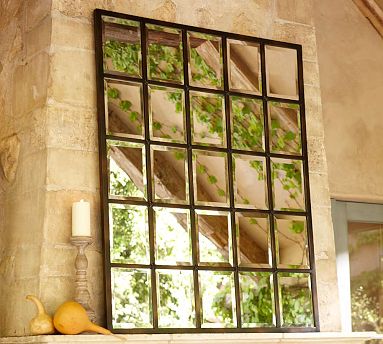
This mirror from Pottery Barn was the inspiration.
Wanna know the price?
Oh, just a measly $699.00
I’m not even kidding.
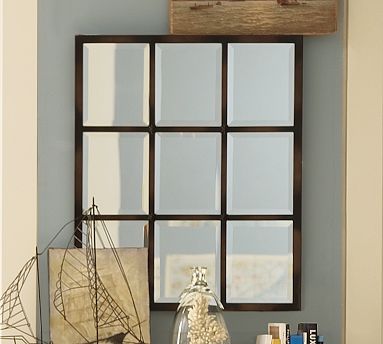
But hey, can’t fork out the $699.00? That’s ok! They have this scaled down version for only $249.00!
Break out the checkbooks people!
Or…….
You can do what I did and copy Mandi at Tidbits and Do It Yourself!
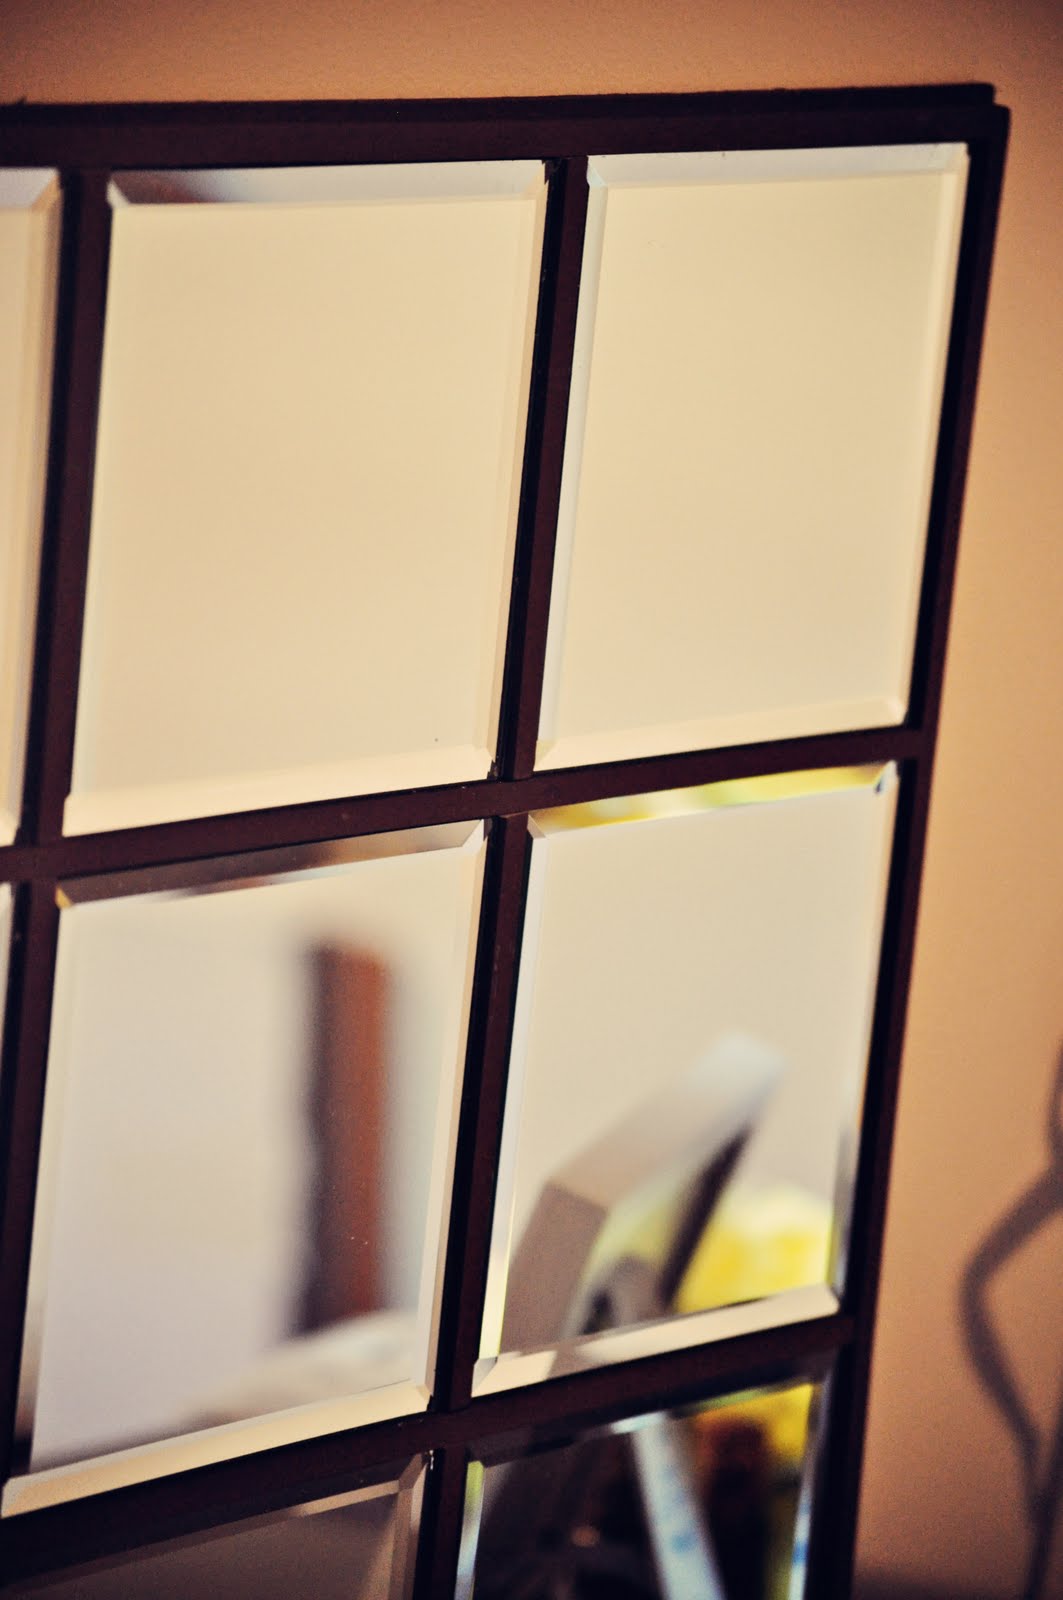
Mine:
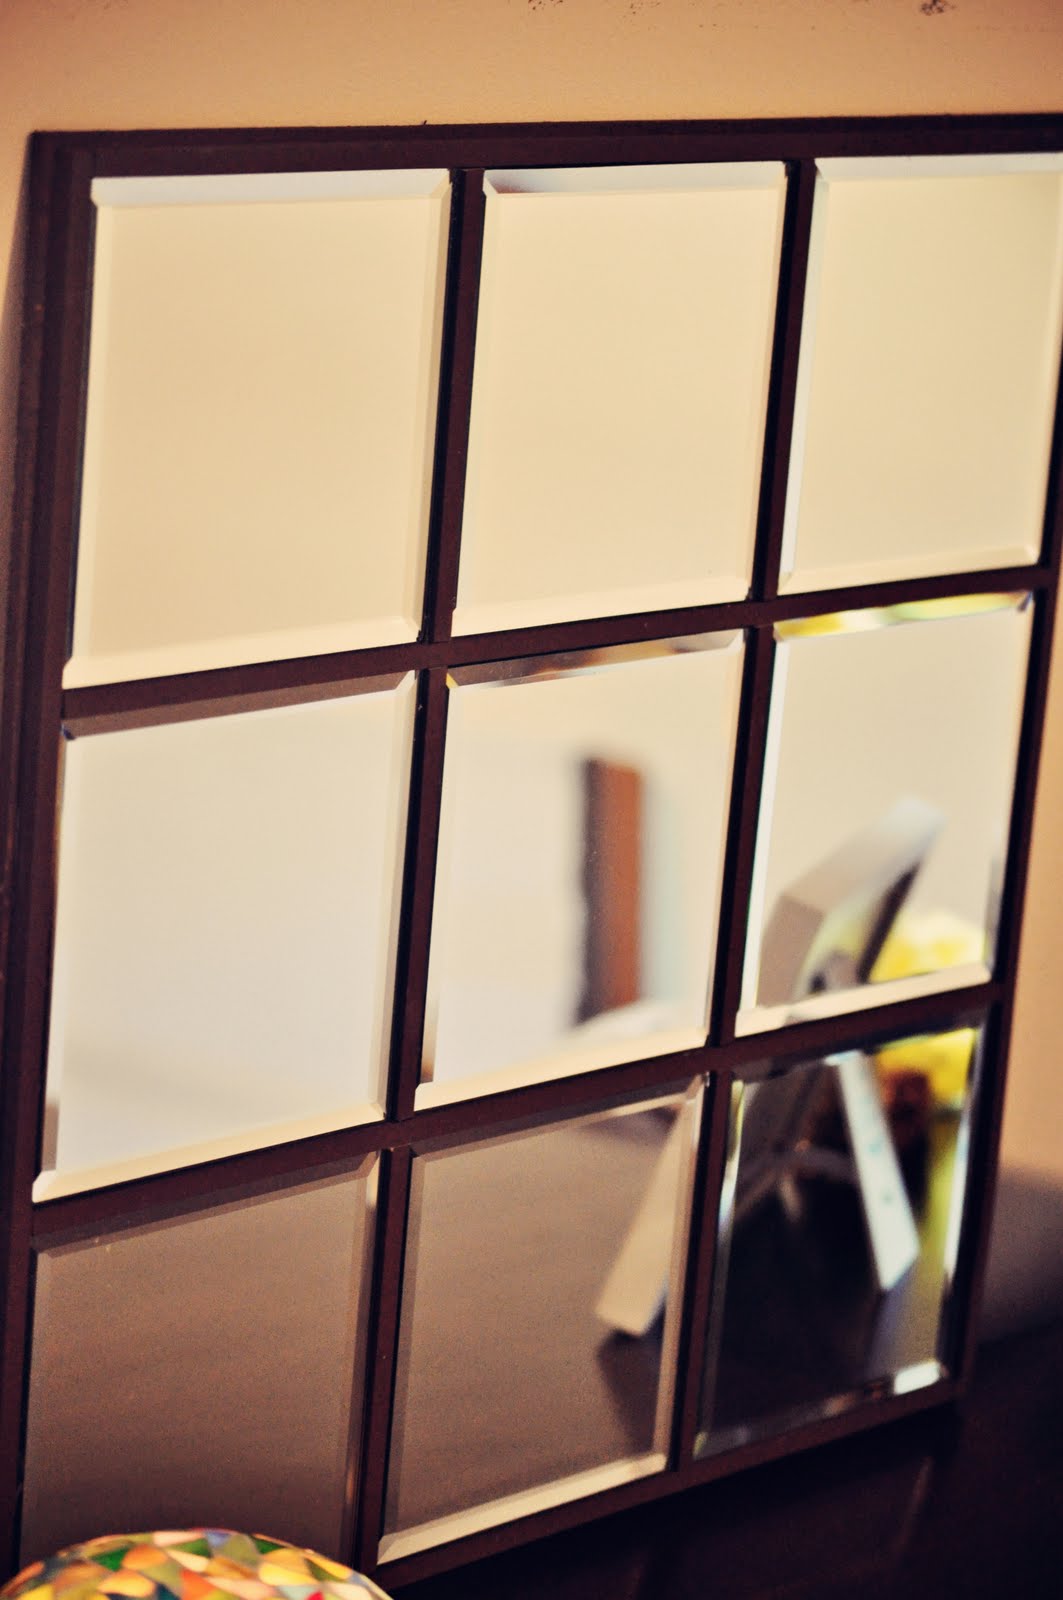
Cost: under $20.
Big difference huh?
I think I’ll save the $679 and do it myself!
Besides the amazing savings, making something yourself is soooo much more satisfying, isn’t it?
Here is what you need to make one yourself:
- Small mirrors from the Dollar Store (check yes for cheap!!) I used 9 square mirrors about 5 inches around, but I’d like to do this project again with more mirrors and make a REALLY BIG ONE!
- 1/4 inch trim. I found this at Hobby Lobby
- Strong glue
- Plywood
First, measure your mirrors CAREFULLY! I had to re-cut too many times.
For this mirror:
- cut 6, 1/4″ trim pieces to the EXACT length of each mirror piece to run vertically between the mirrors
- cut 4 pieces of 1/4″ trim the length of 3 mirrors plus 1/2 inch (to compensate for the two 1/4 pieces on the end) to run horizontally between and above and below the mirrors.
- cut 2 pieces of 1/4″ trim to run the length of three mirrors, plus 1 inch to frame the outside of the mirror on the left and right (vertically).
- go to Lowes to get a piece of plywood (thin) cut the length of 3 mirrors +1″ x 3 mirrors +1″ (Square) find the small pre-cut pieces and have them cut it more for you, this will save money over buying a large piece to be cut. Plus if you keep the scraps you have great signage pieces left over!
- Paint all of the trim and plywood before you put the mirror together! I used dark brown craft paint.
- Put the mirror together before gluing in case you need to trim any pieces down! (trust me!)
One of the measurements work to fit the mirrors tightly between the trim pieces, glue that sucker down!
(If this sounds difficult, it’s only because I explain things horribly! It’s really easy and you’ll figure it out as you go along!)
Feel free to use these photos as a reference for which size pieces go where.


I’ve got to give mad props to the hubby for helping me out with this one. If it weren’t for him. I’d still be trying to figure out how to cut the wood! (we used a jig-saw) And I’m not “allowed” to buy more project pieces until I’ve knocked out a few I already have going 😉 So I’m glad this one is finally finished!
Facebook Conversations