Shirtdress
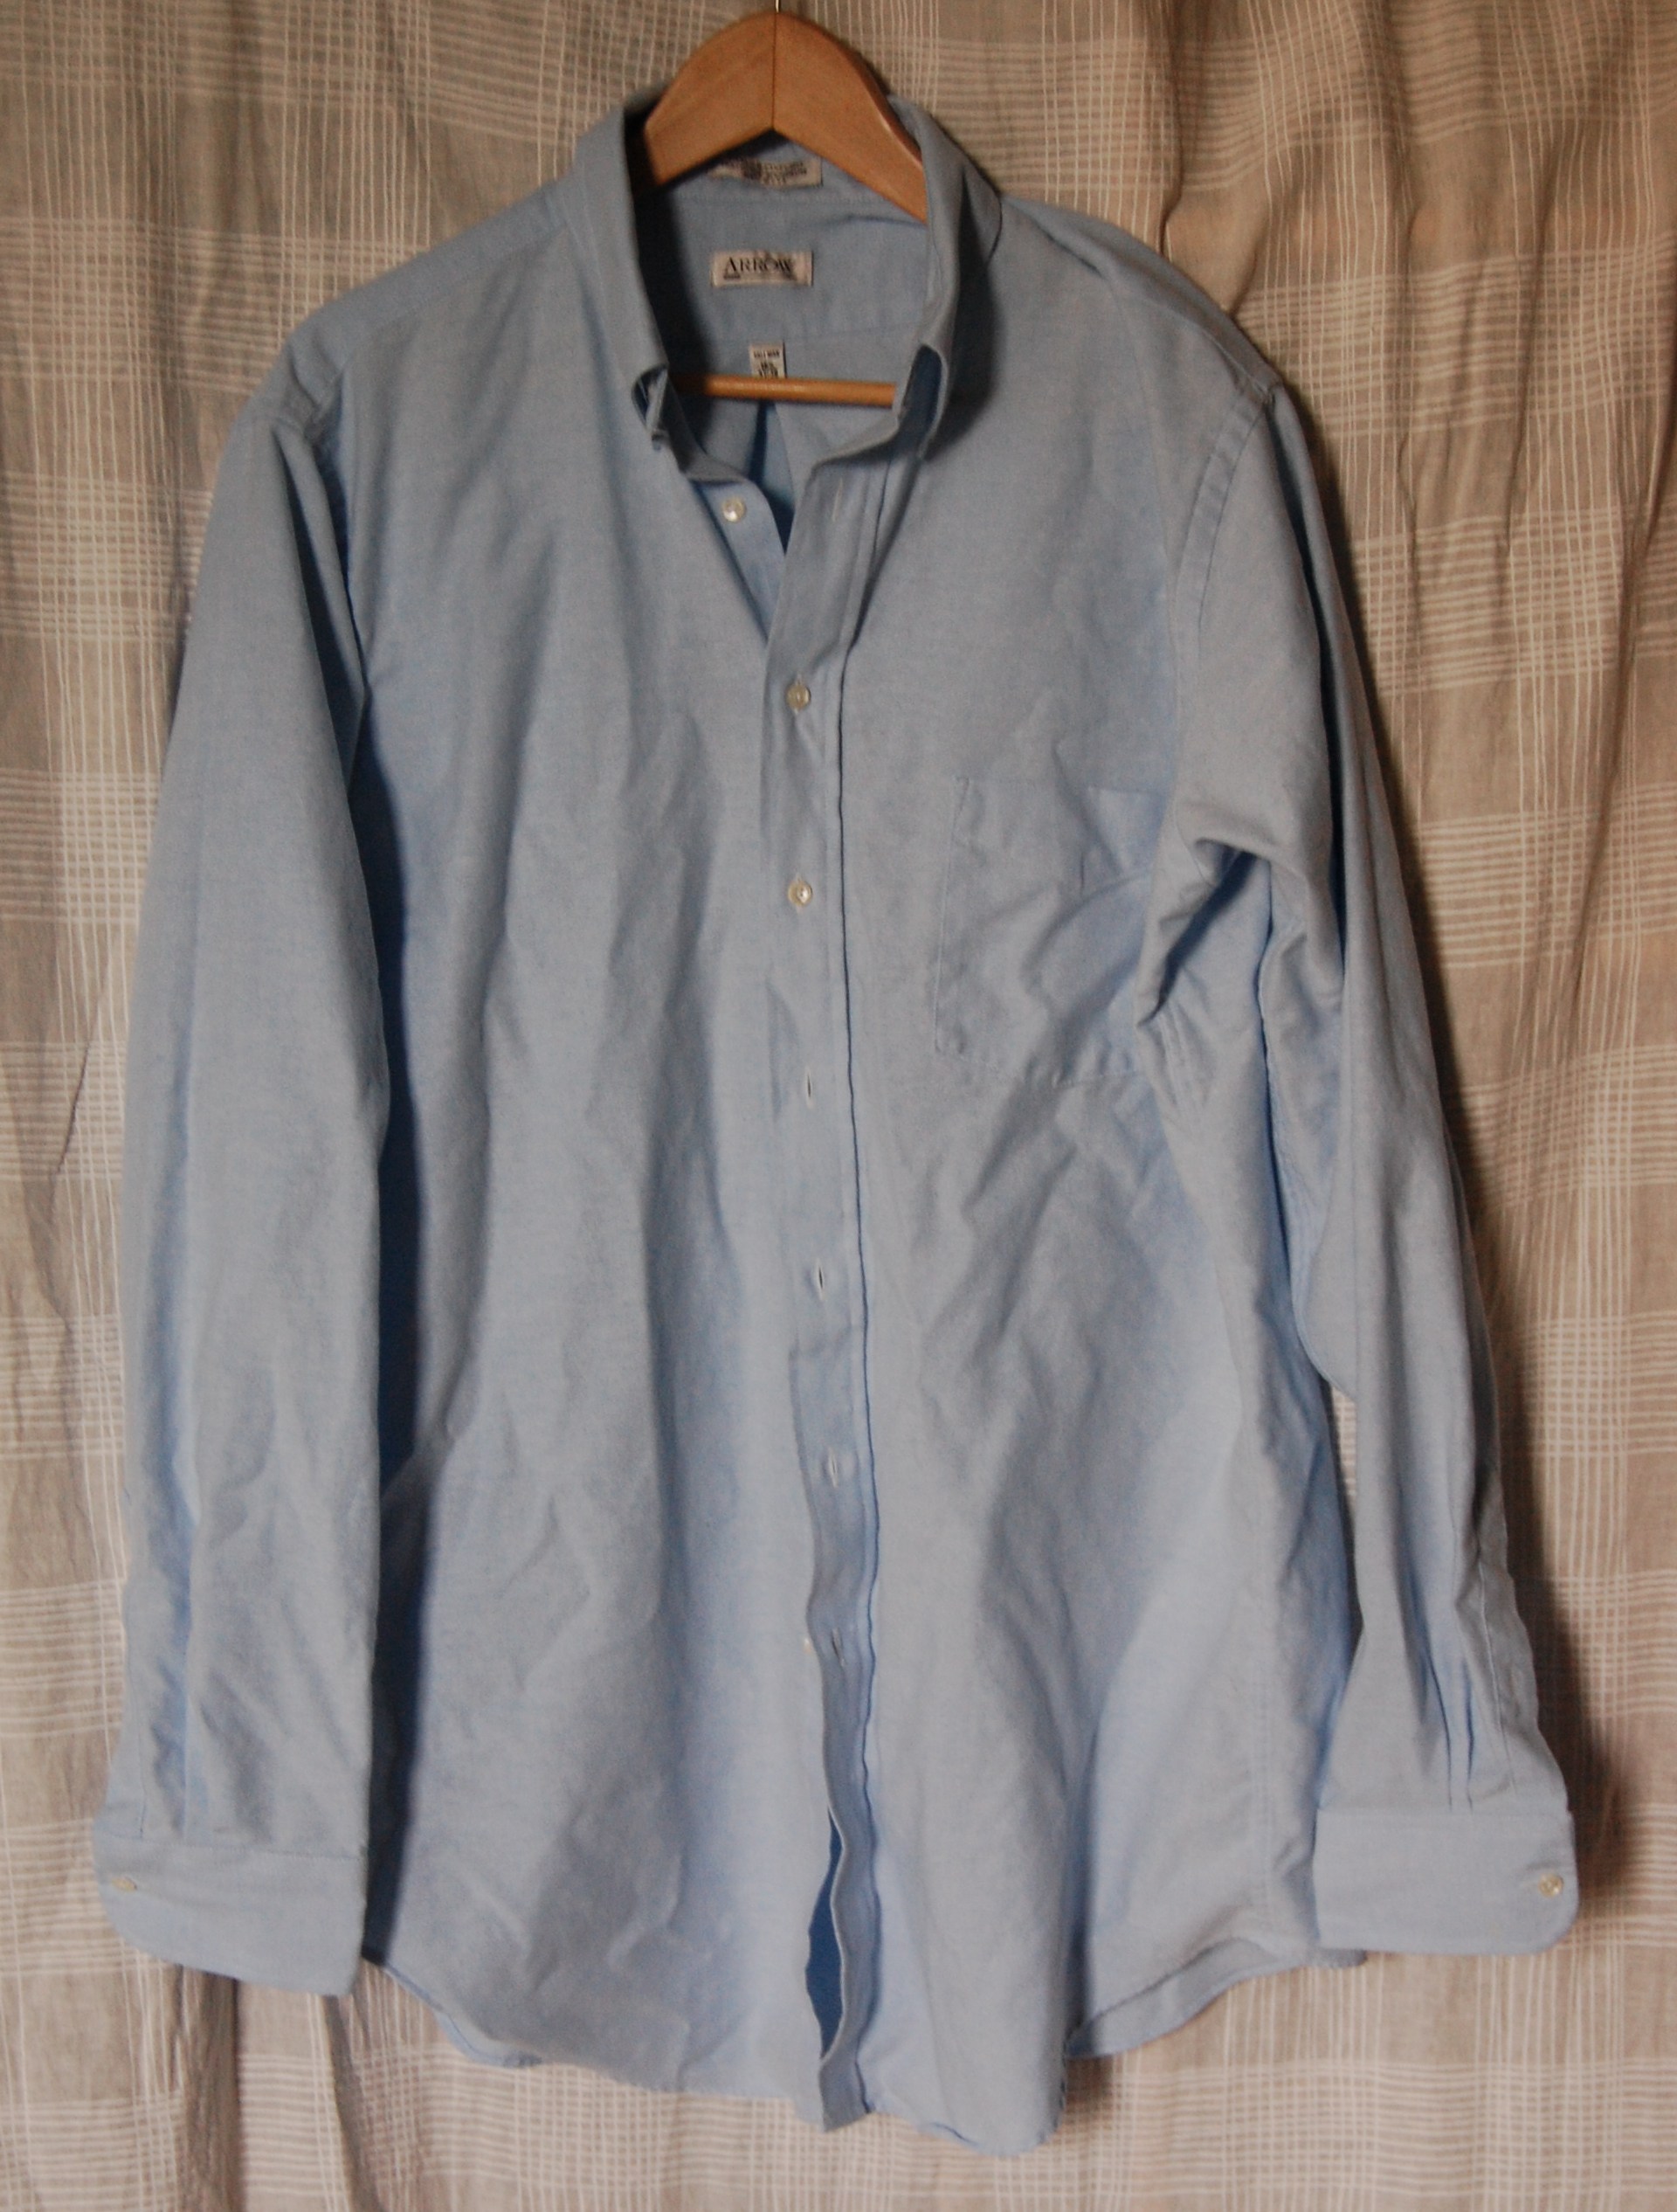
Several months ago a friend of mine and I both attempted to turn men’s shirts into dresses, thinking that it would be an easy project. I think it’s safe to say that we both found it harder than we expected, and our results weren’t so hot. I gave up on mine for the time being, and I think she did, too. But this weekend I saw this long men’s chambray shirt, and decided to give it another go. This time I was much more successful and ended up with a springy dress that I’ll hopefully get to wear outside soon, if the weather cooperates.
Before you take on this project, I should probably warn you: I don’t have much in the boob department, but if you do, it might not work for you. Or maybe you can adapt it to accommodate a larger chest–be creative!
Materials:
Large men’s shirt. (Because I’m tallish, I had to wait until I found a men’s shirt labeled “Tall” in order for it to be long enough as a dress. If you’re shorter you can probably be less picky.)
Thread
Elastic thread
1/4″ Elastic
Sewing machine
Scissors
Iron
Methods
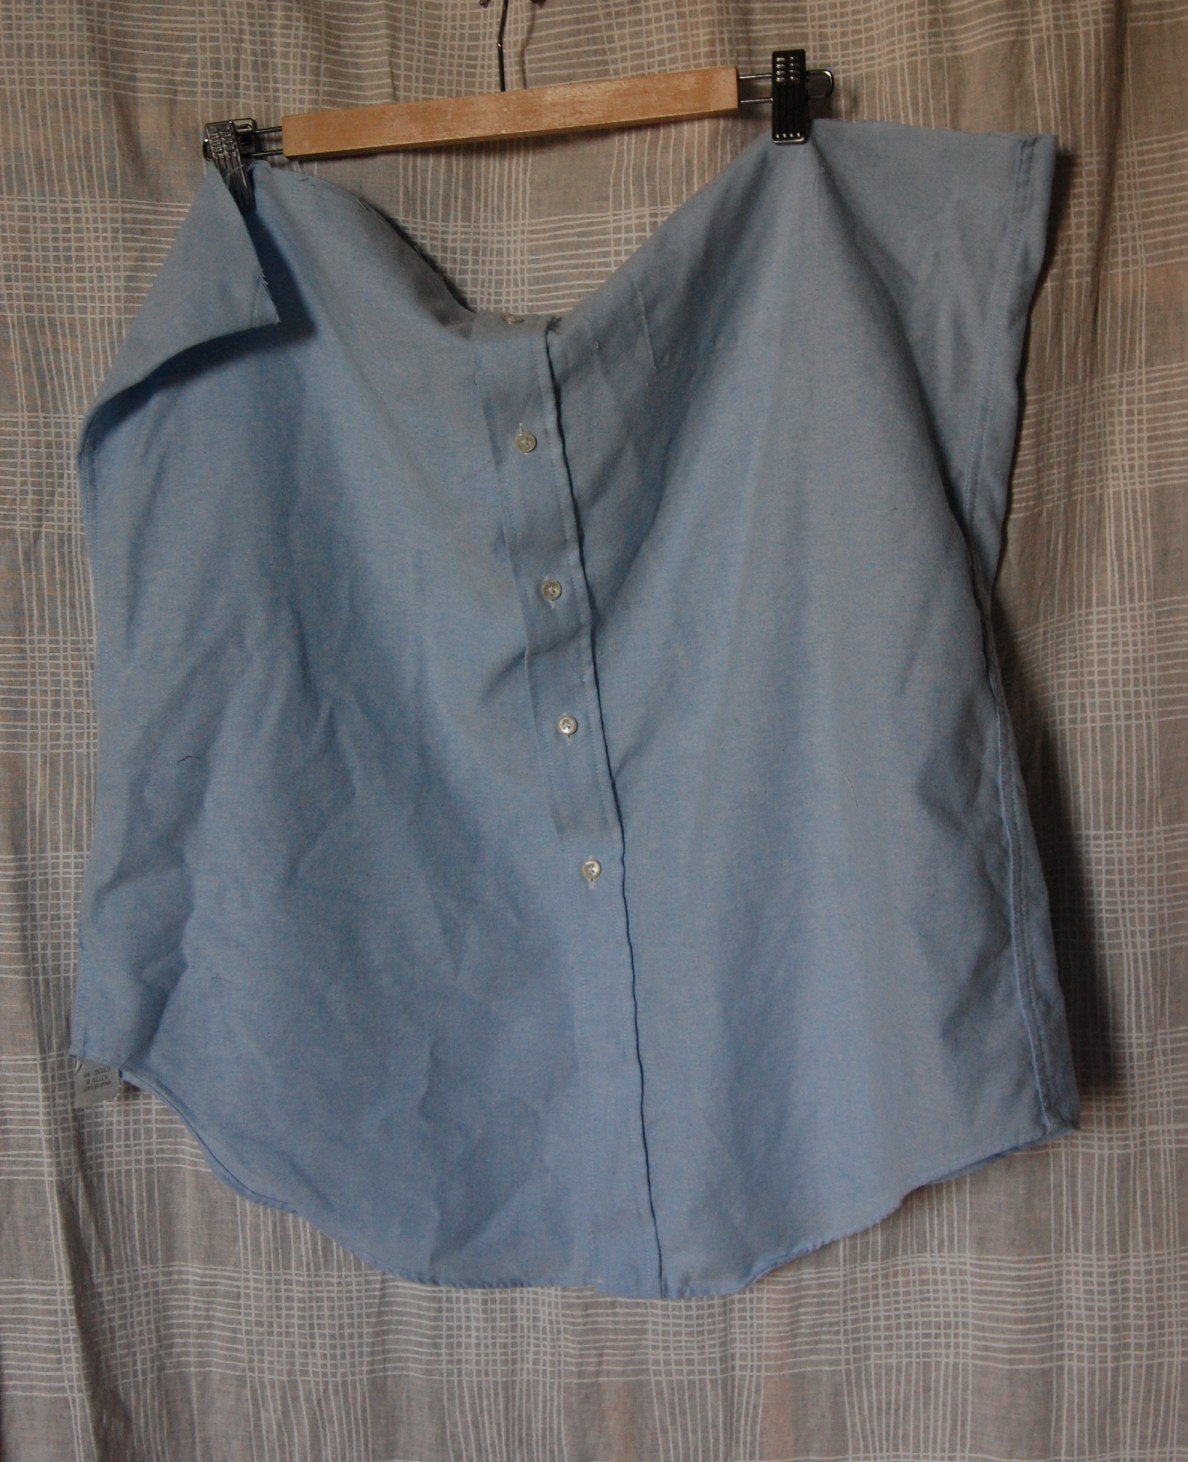
1. Lay your shirt flat and cut it straight across under the arms. This will be the skirt of your dress. Keep the other pieces intact for now.
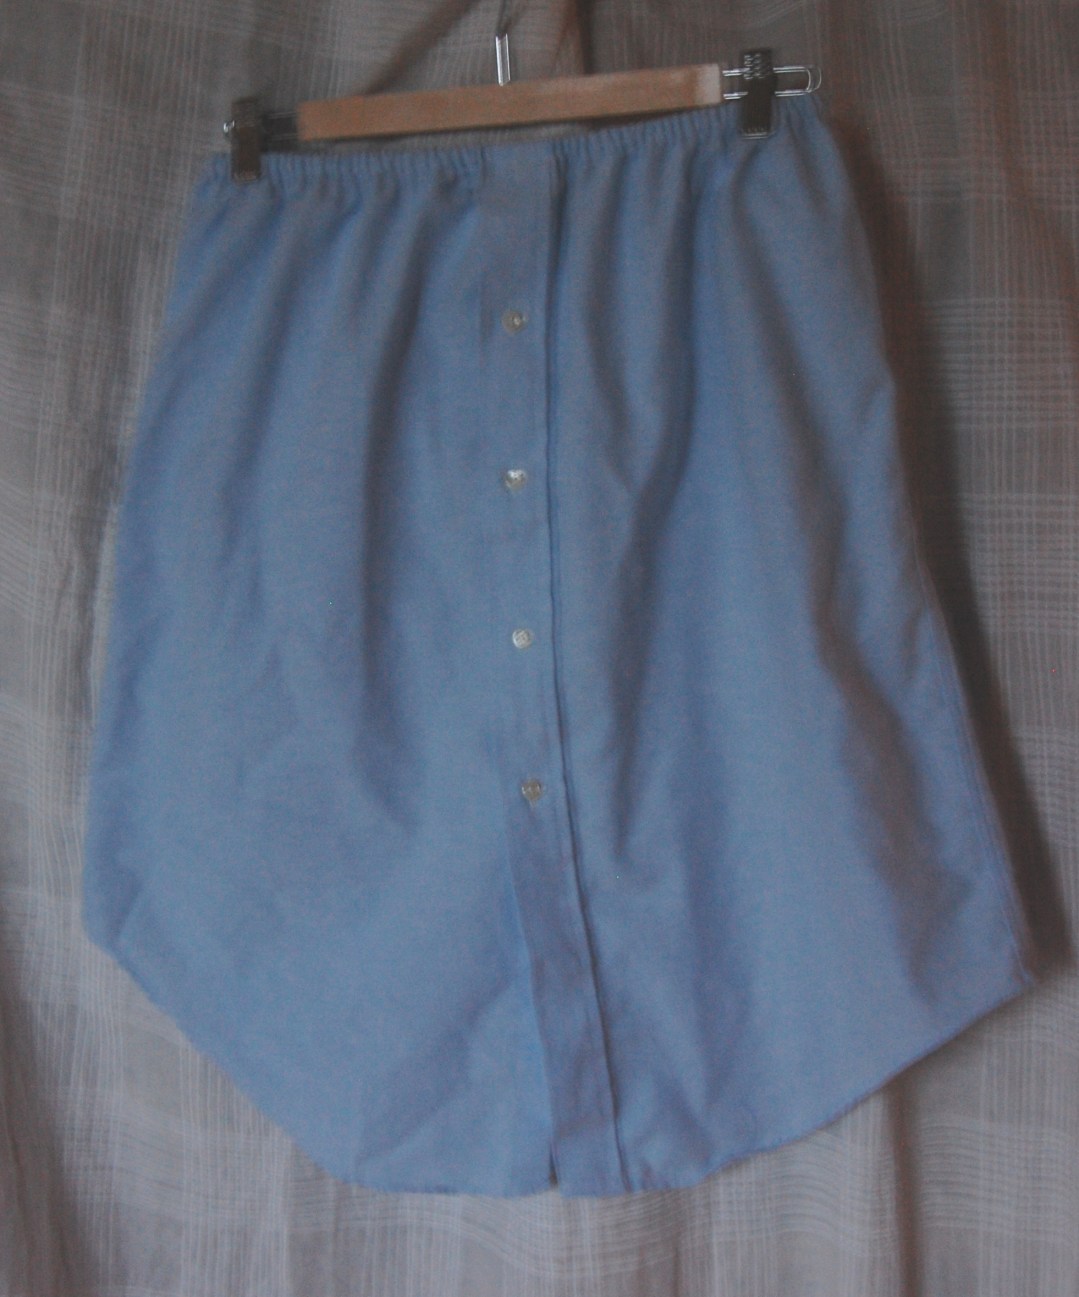
2. Finish the top edge of your fabric with a serger or by zig-zagging over the edge, then make a casing for your elastic, leaving a small opening. Measure your waist and cut a piece of elastic to a comfortable length (test it out on your waist before cutting!), then thread it in your casing.
3. Sew the edges of your elastic loop together, making sure it’s not twisted, and sew closed your casing.
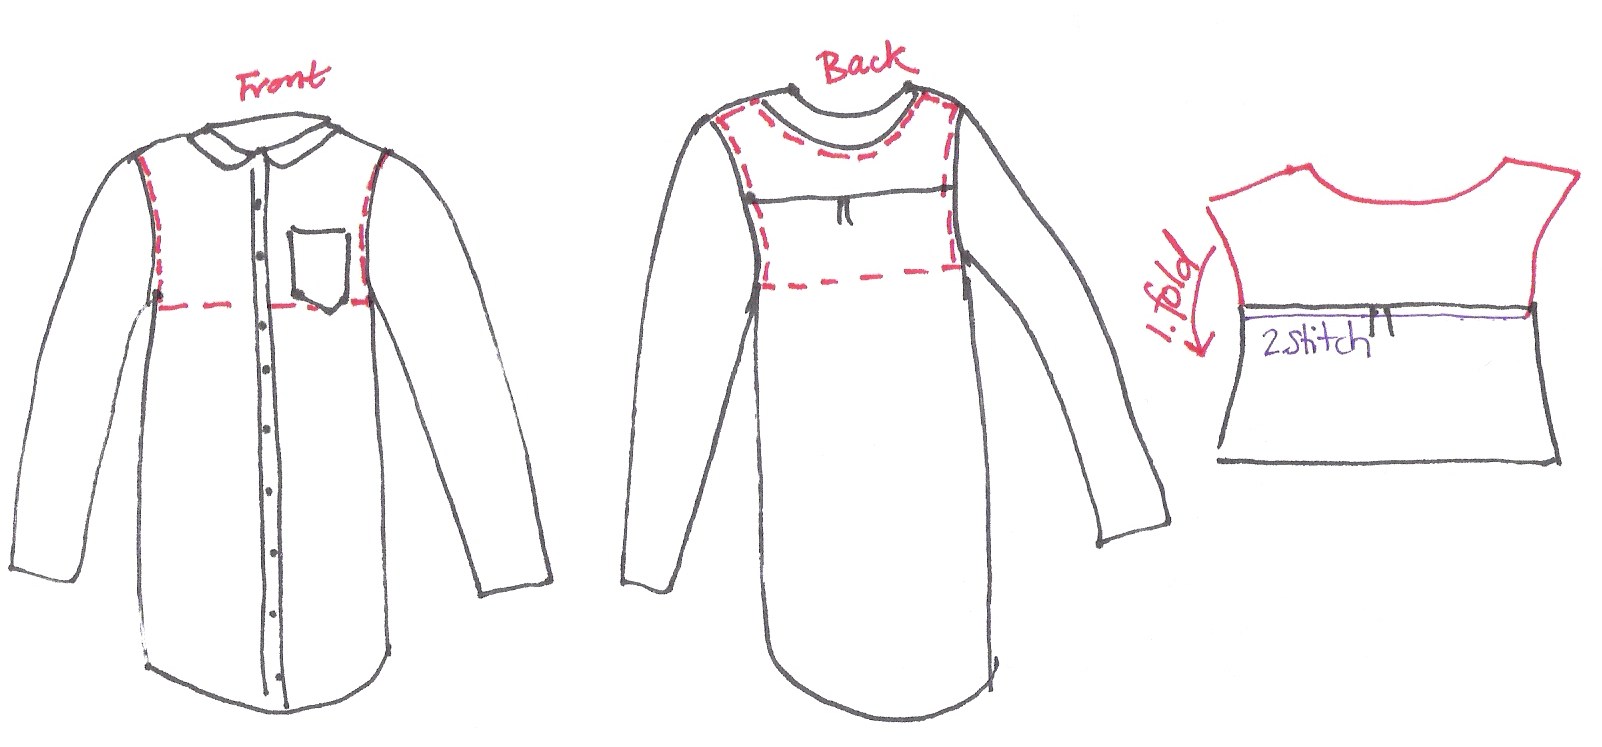
4. If you have a pocket that’s in the way, remove it. You should’ve already cut across the chest and back under the arms. Cut up the rest of your shirt according to the following diagram:
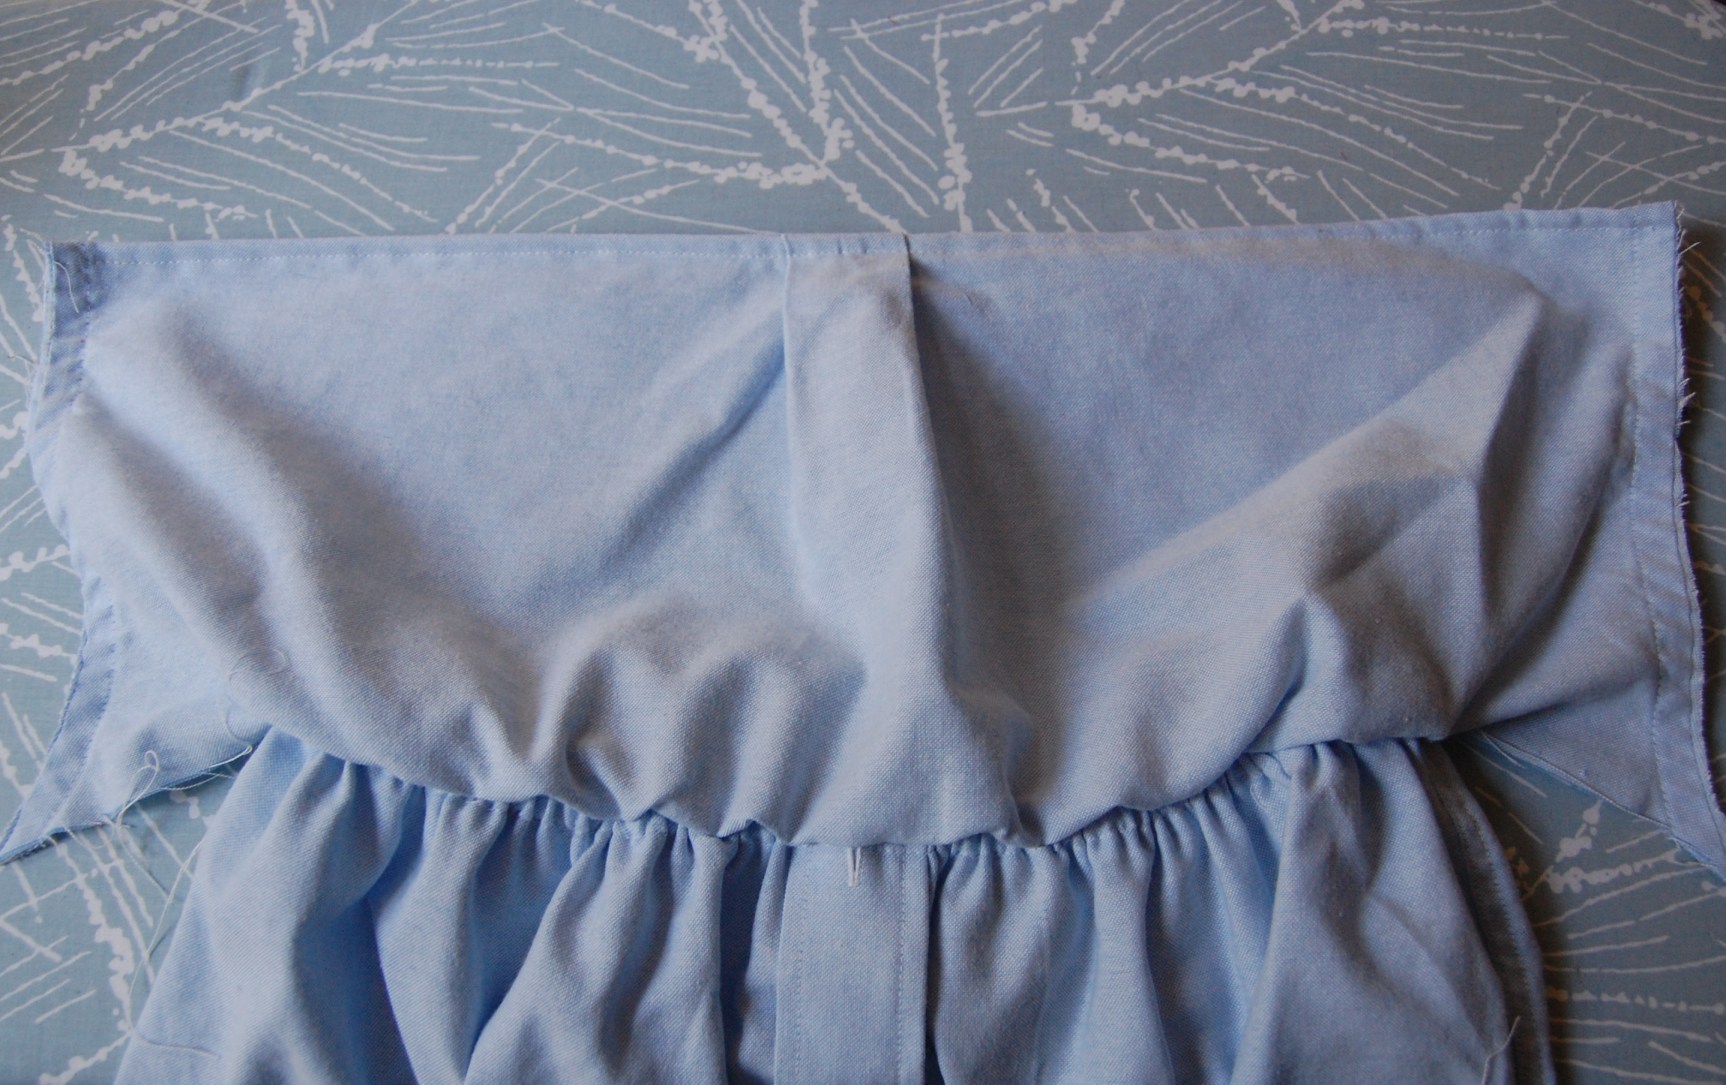
5. To make the front bodice, take the resulting back piece and fold the top yoke part under, as shown. Iron flate and stitch across the top of the vent.
6. Stretching as you pin, pin the front bodice piece to the skirt. Yes, I know, you have no back. Carefully climb into your pinned dress, hold up the bodice, and measure how much of your back needs to be covered. Add a couple of inches to this measurement in the horizonal direction (I should’ve added more to mine).
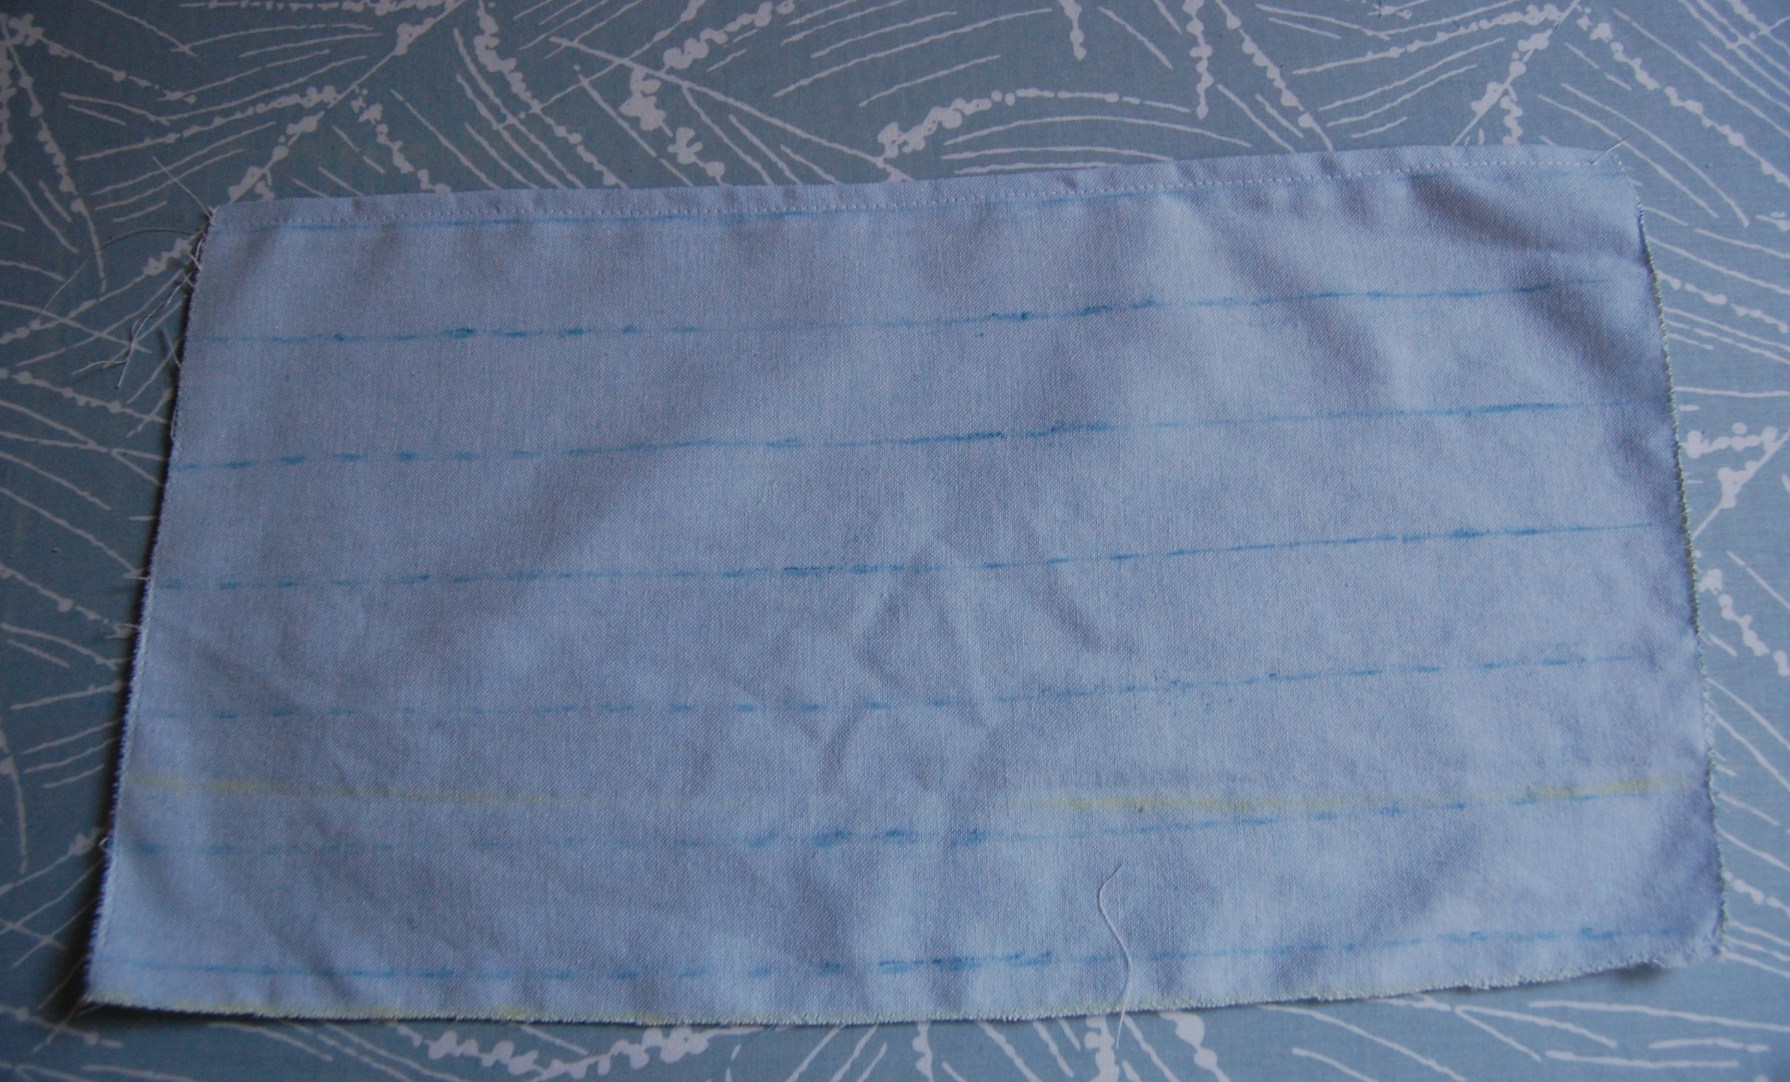
7. Take one of your sleeves and cut out a rectangular piece in these dimensions, adding 2 inches vertically and at least 4 inches horizontally.
8. Hem the top edge of the back rectangle. You’re going to use the elastic thread to shirr the back, so use a ruler to draw lines an inch apart on this rectangle.
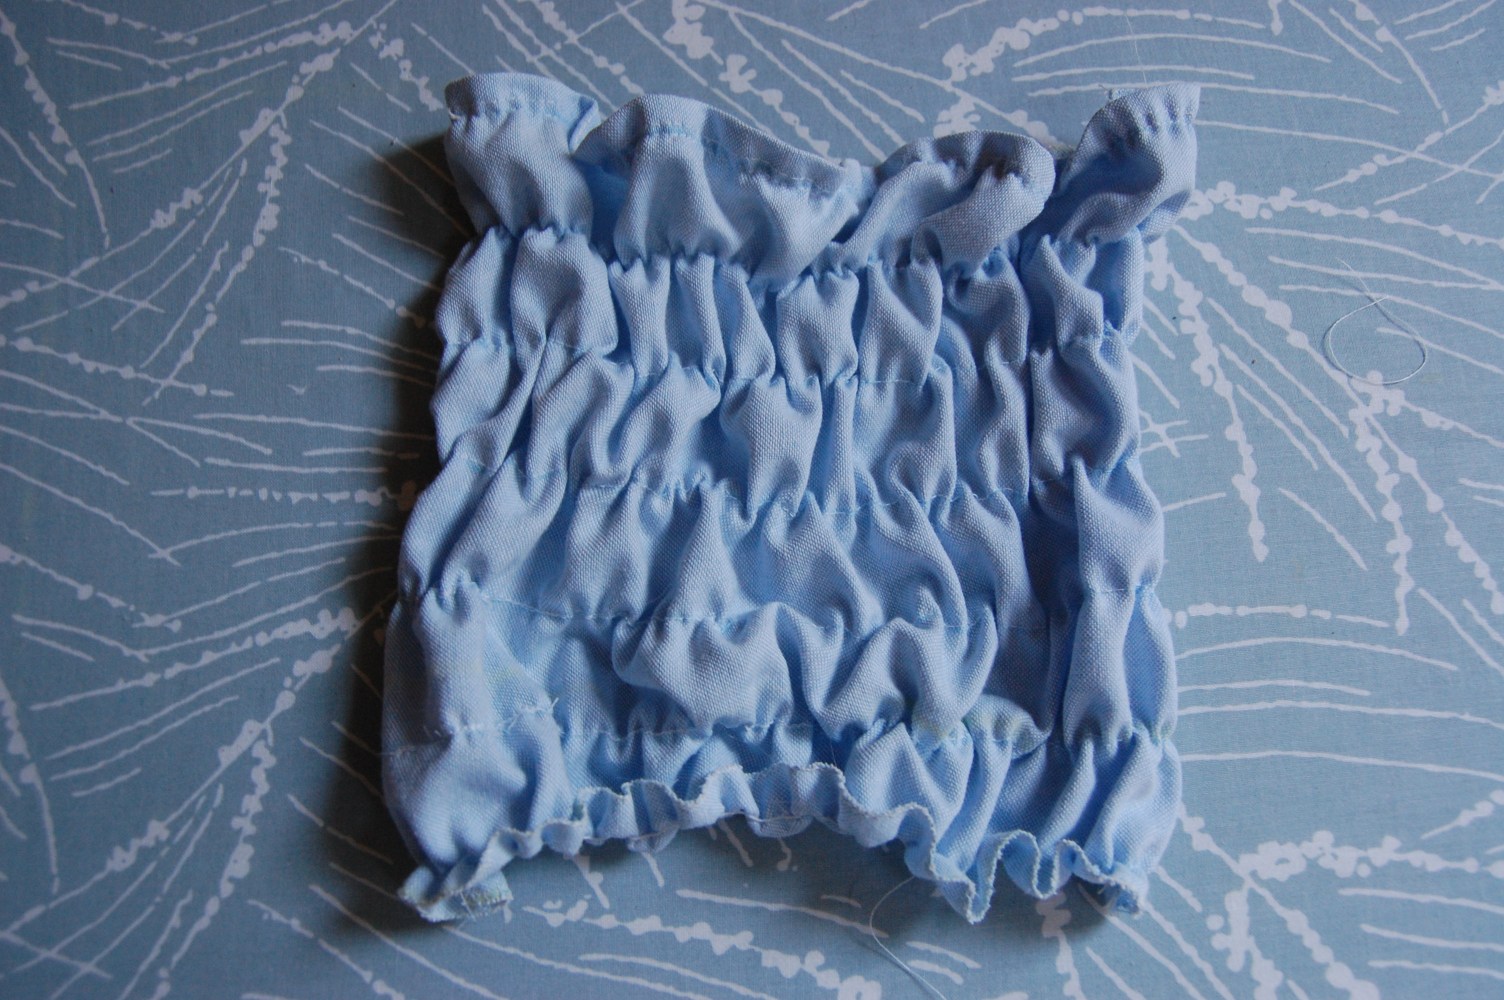
9. Here is a really helpful shirring tutorial, and here’s another. I’ll let you look at those for instructions. They say that it’s easy, but I had all kinds of difficulty with my elastic thread breaking like crazy. Anybody want to give me any tips on that? Maybe it’s because my elastic thread is pretty old. Anyway, after you do your shirring your back piece should look about like this:
10. Unpin your front bodice from the skirt and pin the front and back of the bodice together at the sides. Sew ‘em up with regular thread.
11. Stretching the skirt piece, pin the bodice to the skirt. Use the elastic thread and a stretch stitch and sew your bodice to the skirt piece.
12. Cut out two strips for straps from the other sleeve of the shirt. I cut mine 3 by 20 inches. By sewing the long edge of each strip, create two tubes, then turn them right-side out. Iron them flat with the seam in the middle of one of the sides, then topstitch on the long edges.
13. Put on your dress and pin your straps in place with safety pins to get the placement correct. I criss-crossed mine in the back, but you could leave them straight, too.
14. Sew your straps in place.
Ta da! Ready for spring!

Facebook Conversations