Gift Wrapping Tutorial
This is going to be one looooong post. I took a lot of pictures so I could show you step by step, exactly how I wrap a gift. I divided this tutorial into two parts. The gift wrapping tutorial, and then the bow making tutorial. Please comment if you have any questions. I would love to help!

Step 1: Start by gathering your supplies. I NEVER wrap a gift without putting it into a box first. You can find some great boxes here
Other than that, all you need is, of course, wrapping paper, scissors and tape. You can find great paper at Old Navy {only available in stores}, here
The black and white paper shown is from Old Navy and was $8.00 for 2 rolls. This paper is awesome! It is super thick and very easy to work with. The red and white paper I found in Target’s dollar zone. It is very thin, but I love the print, so I will make it work.
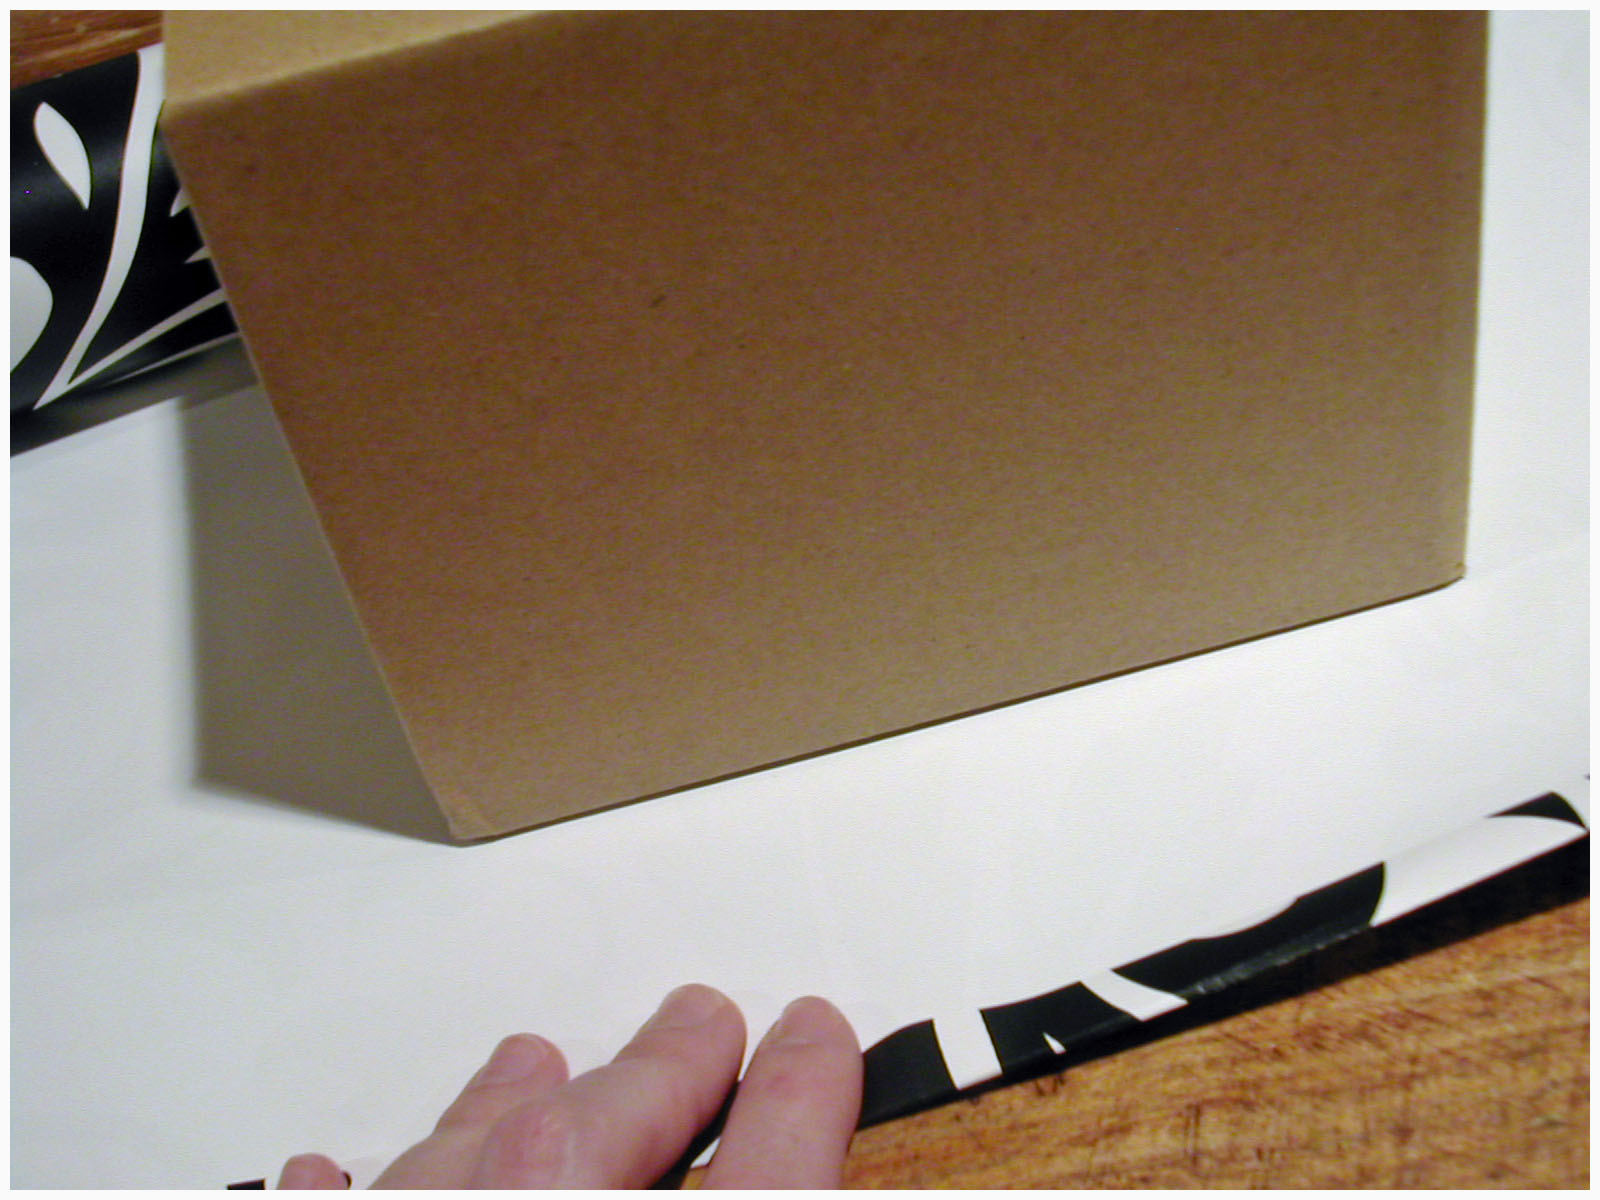
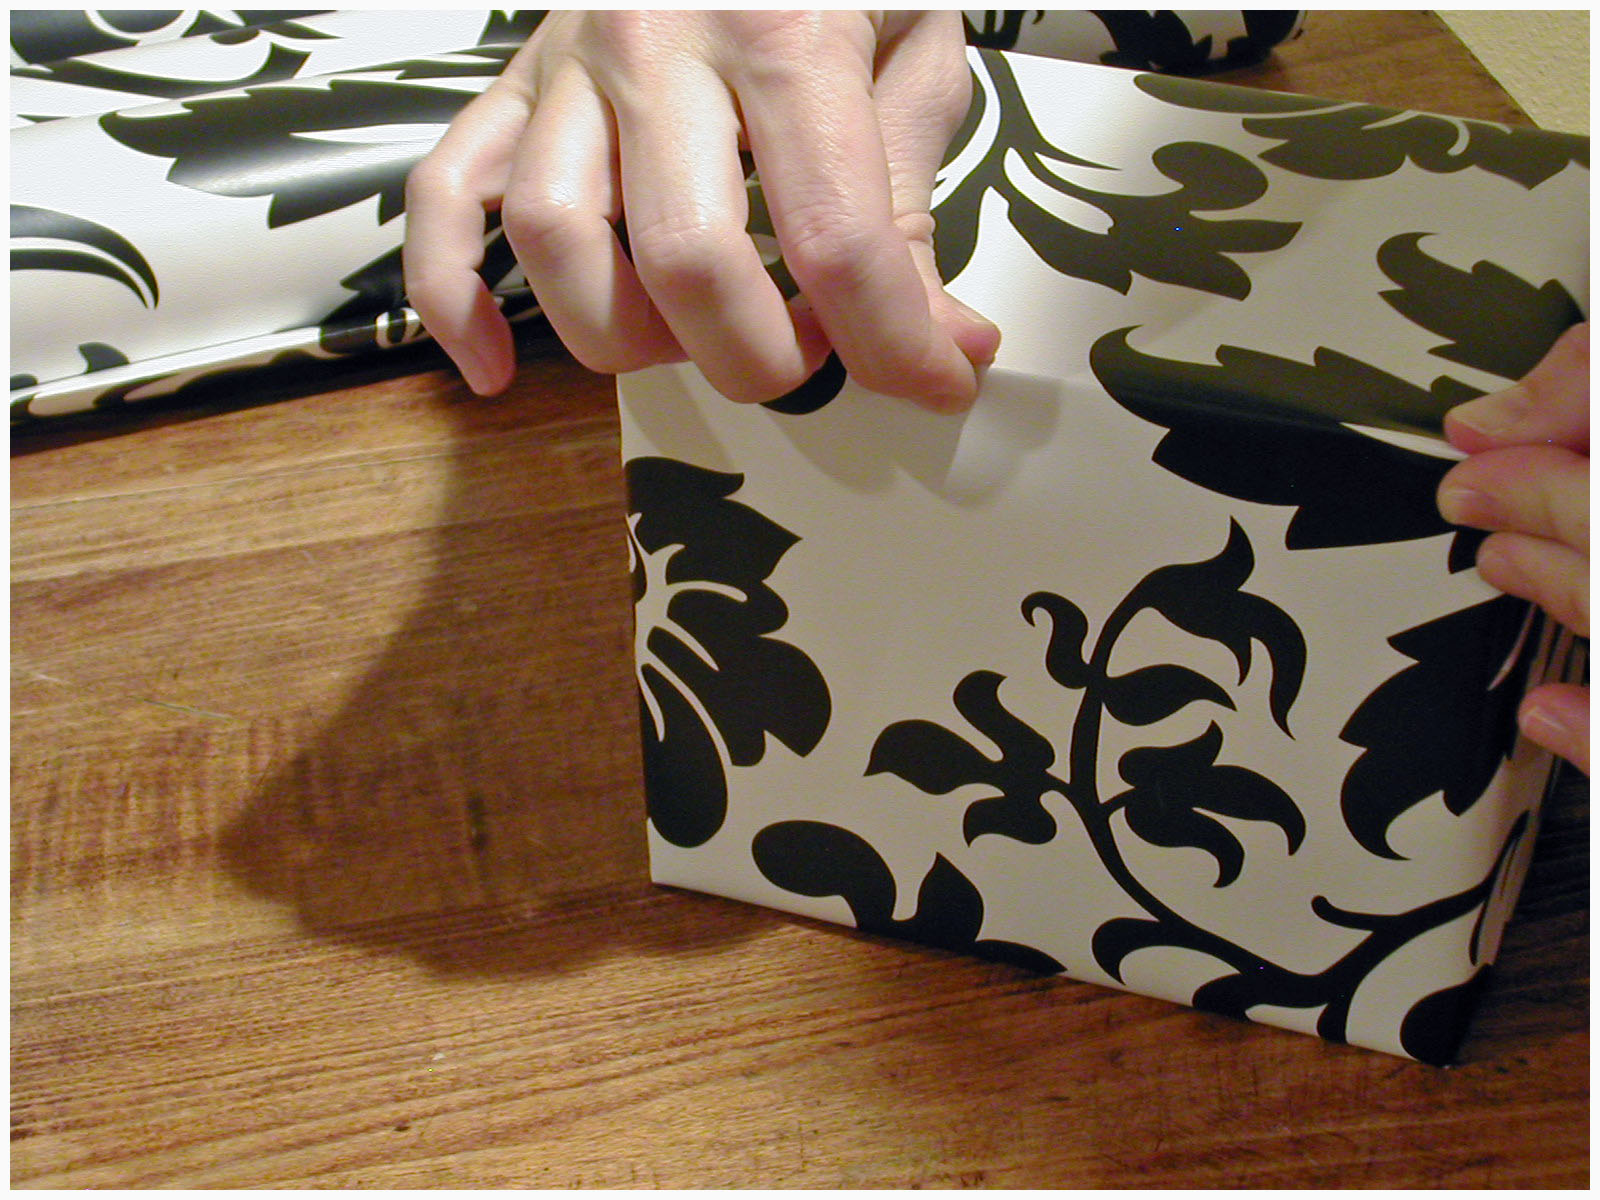
Step 2: Place your gift on the wrong side of the paper {the side without the print} and fold over a 1/2″ edge.
Step 3: Pull the folded edge over the package into the center of the box and tape. {folding over the raw edge of the paper before taping to the center of the box makes your package look pretty}

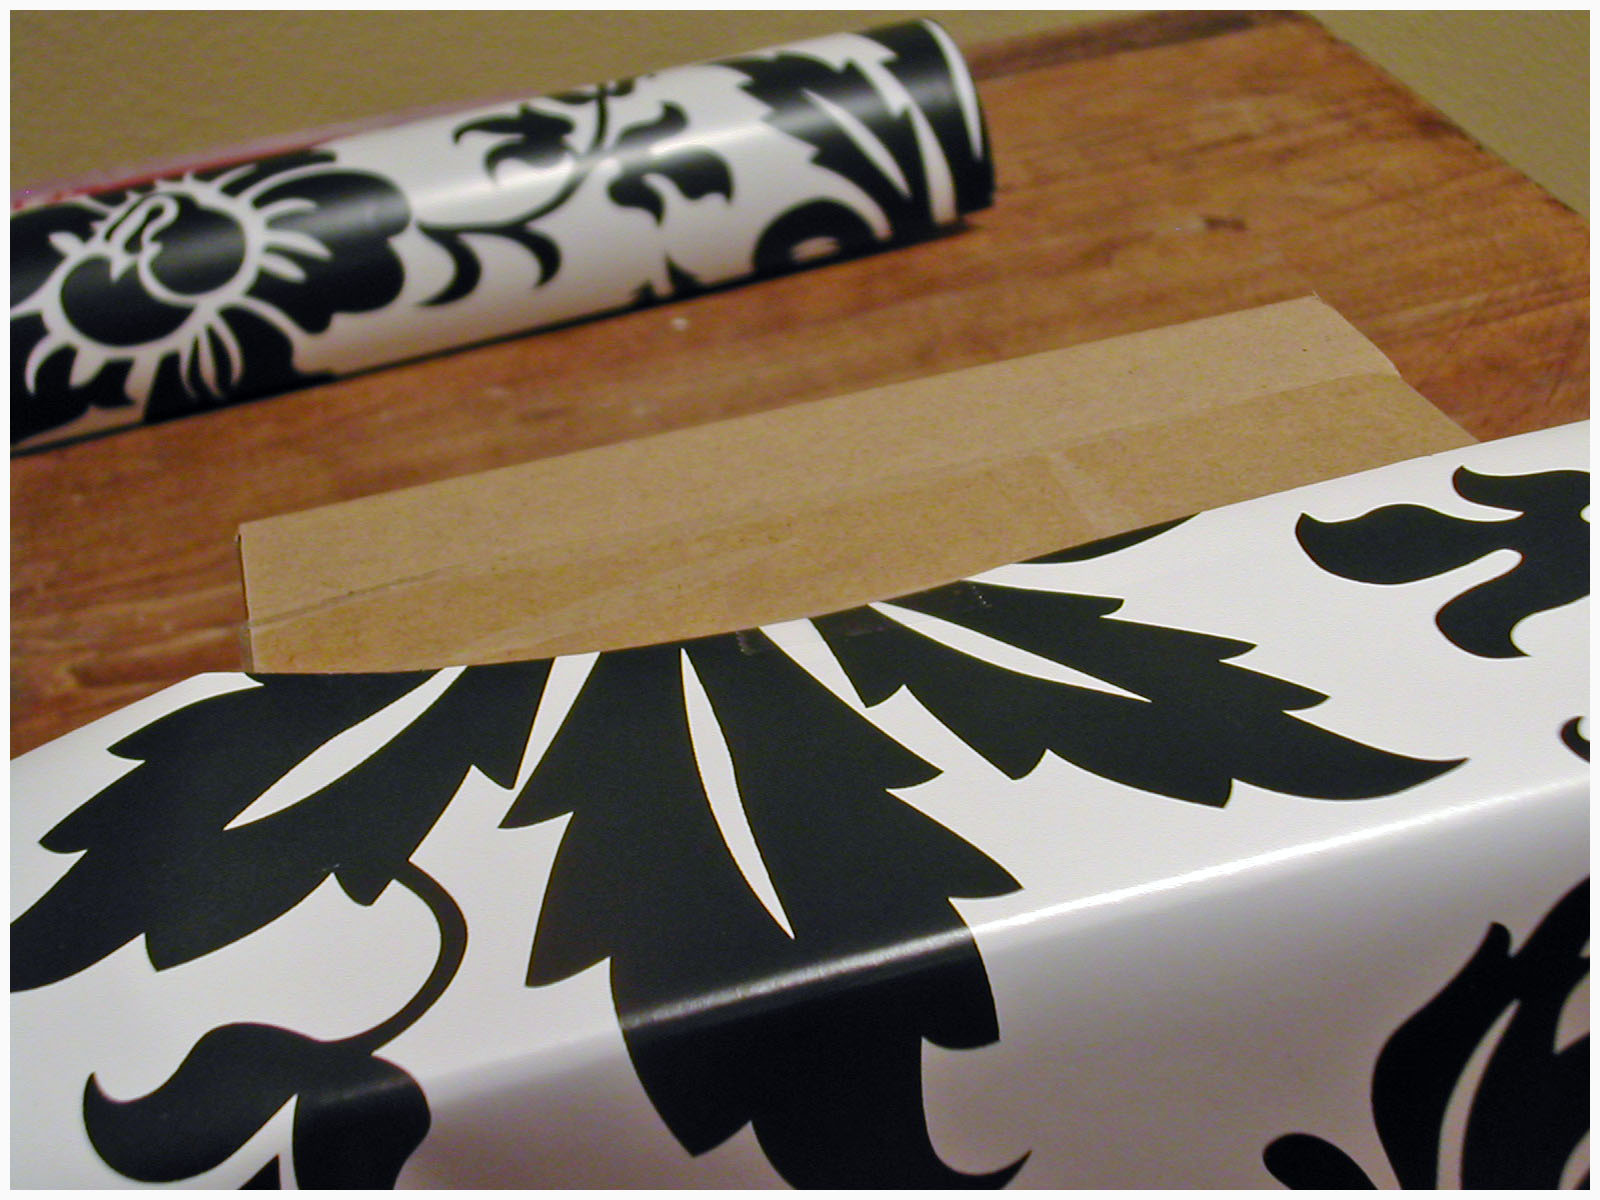
Step 4: Trim the opposite edge of the paper 3″ from the center of the box and fold under the raw edge just as you did in Step 2.
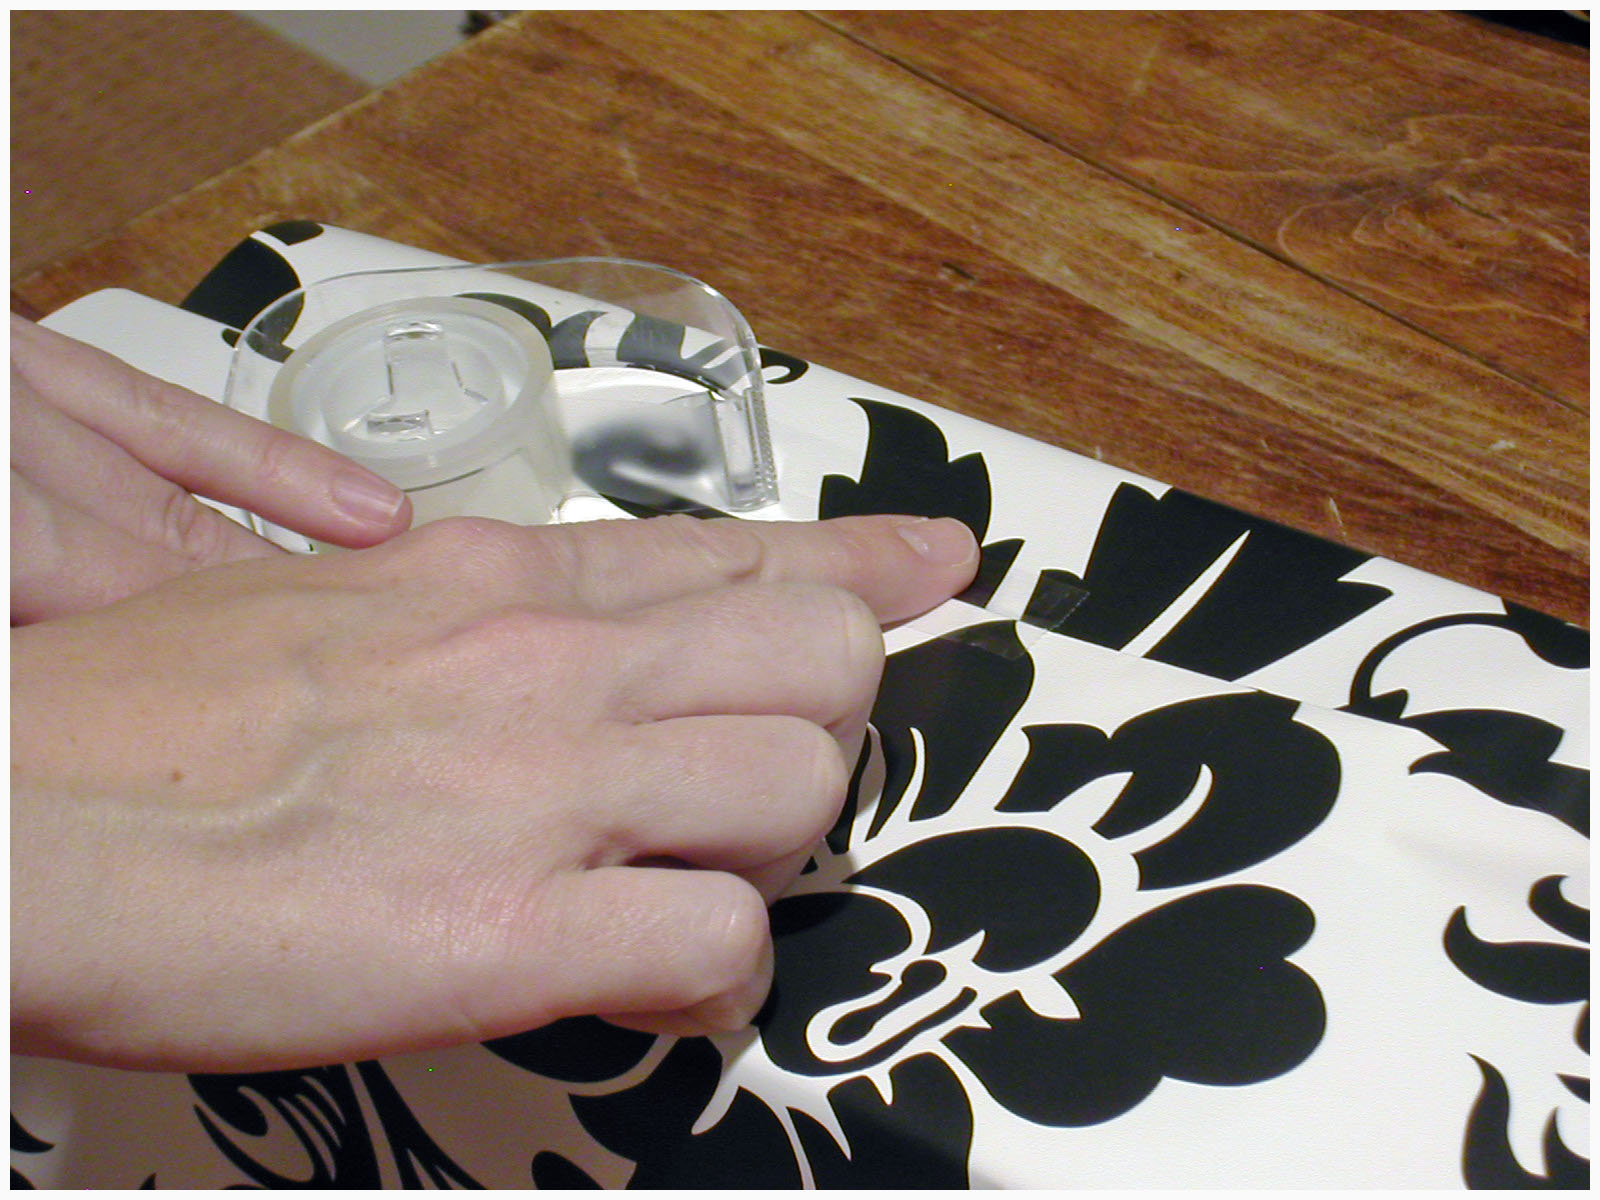
Step 5: Tape second folded edge into place.
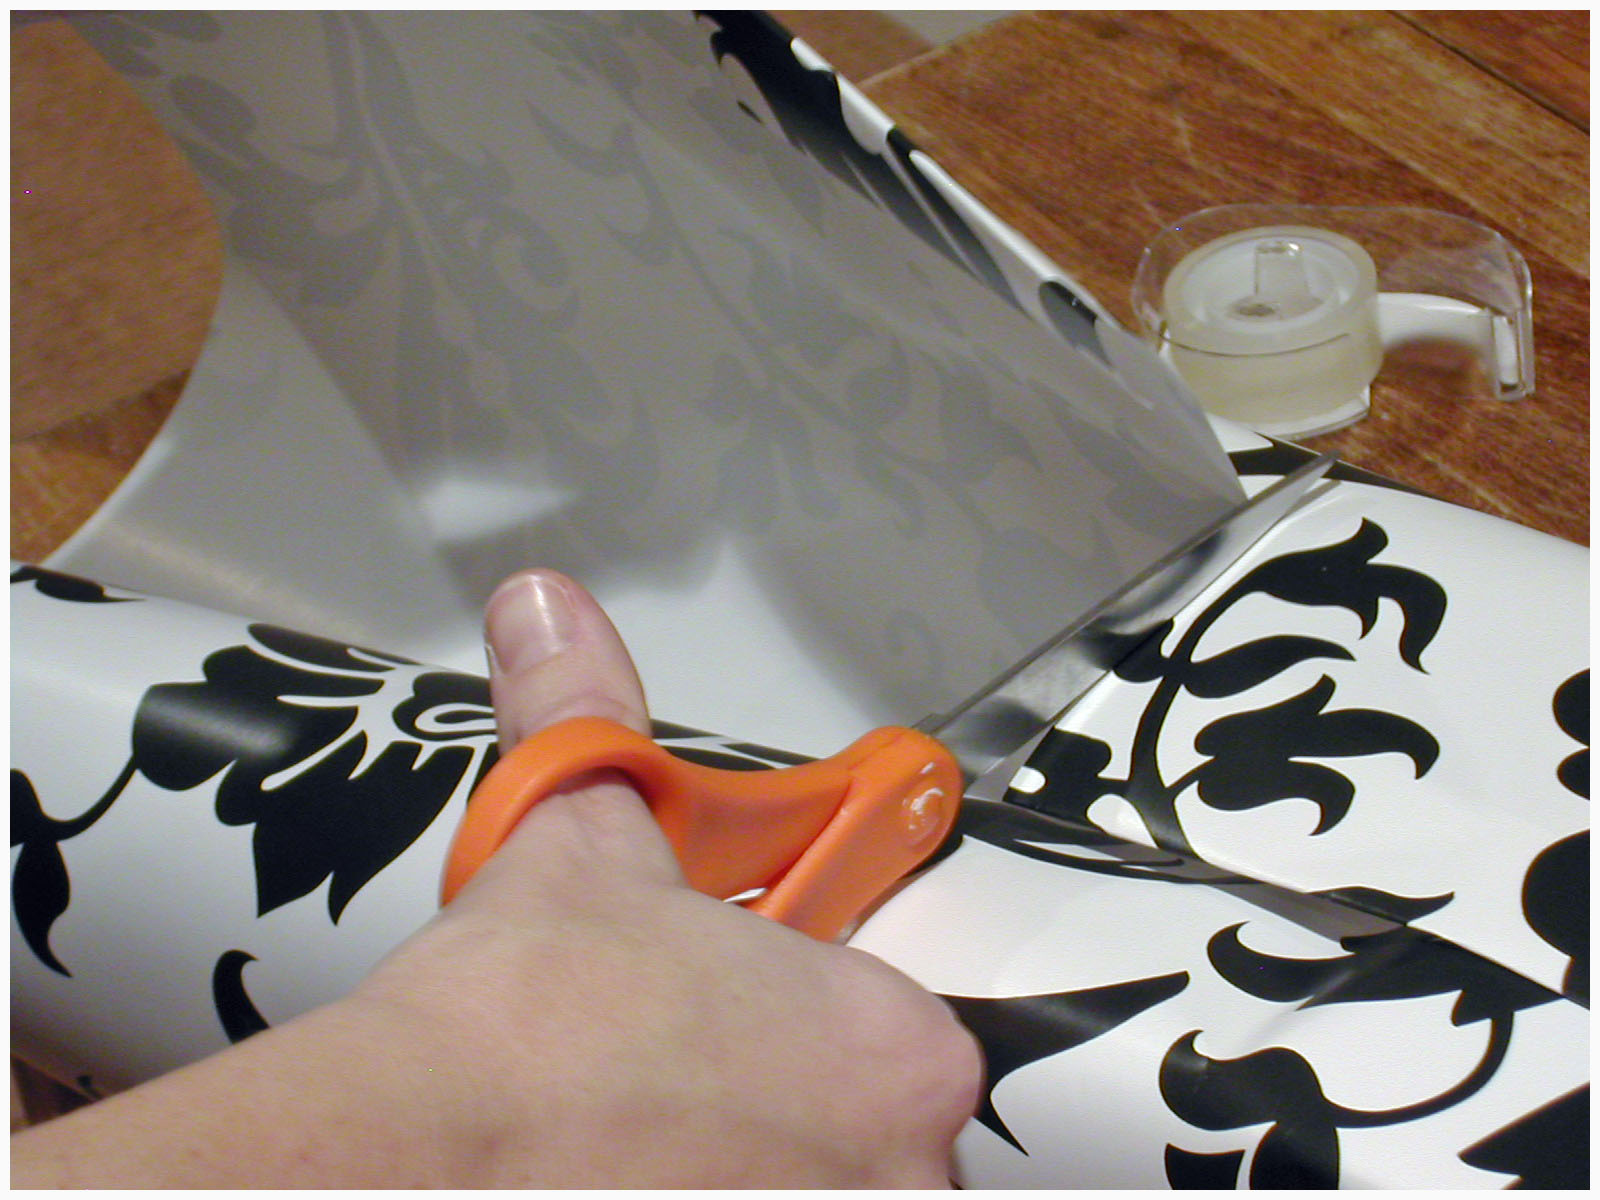
Step 6: Trim both open ends of the paper 3 1/2 ” from the end of the box.
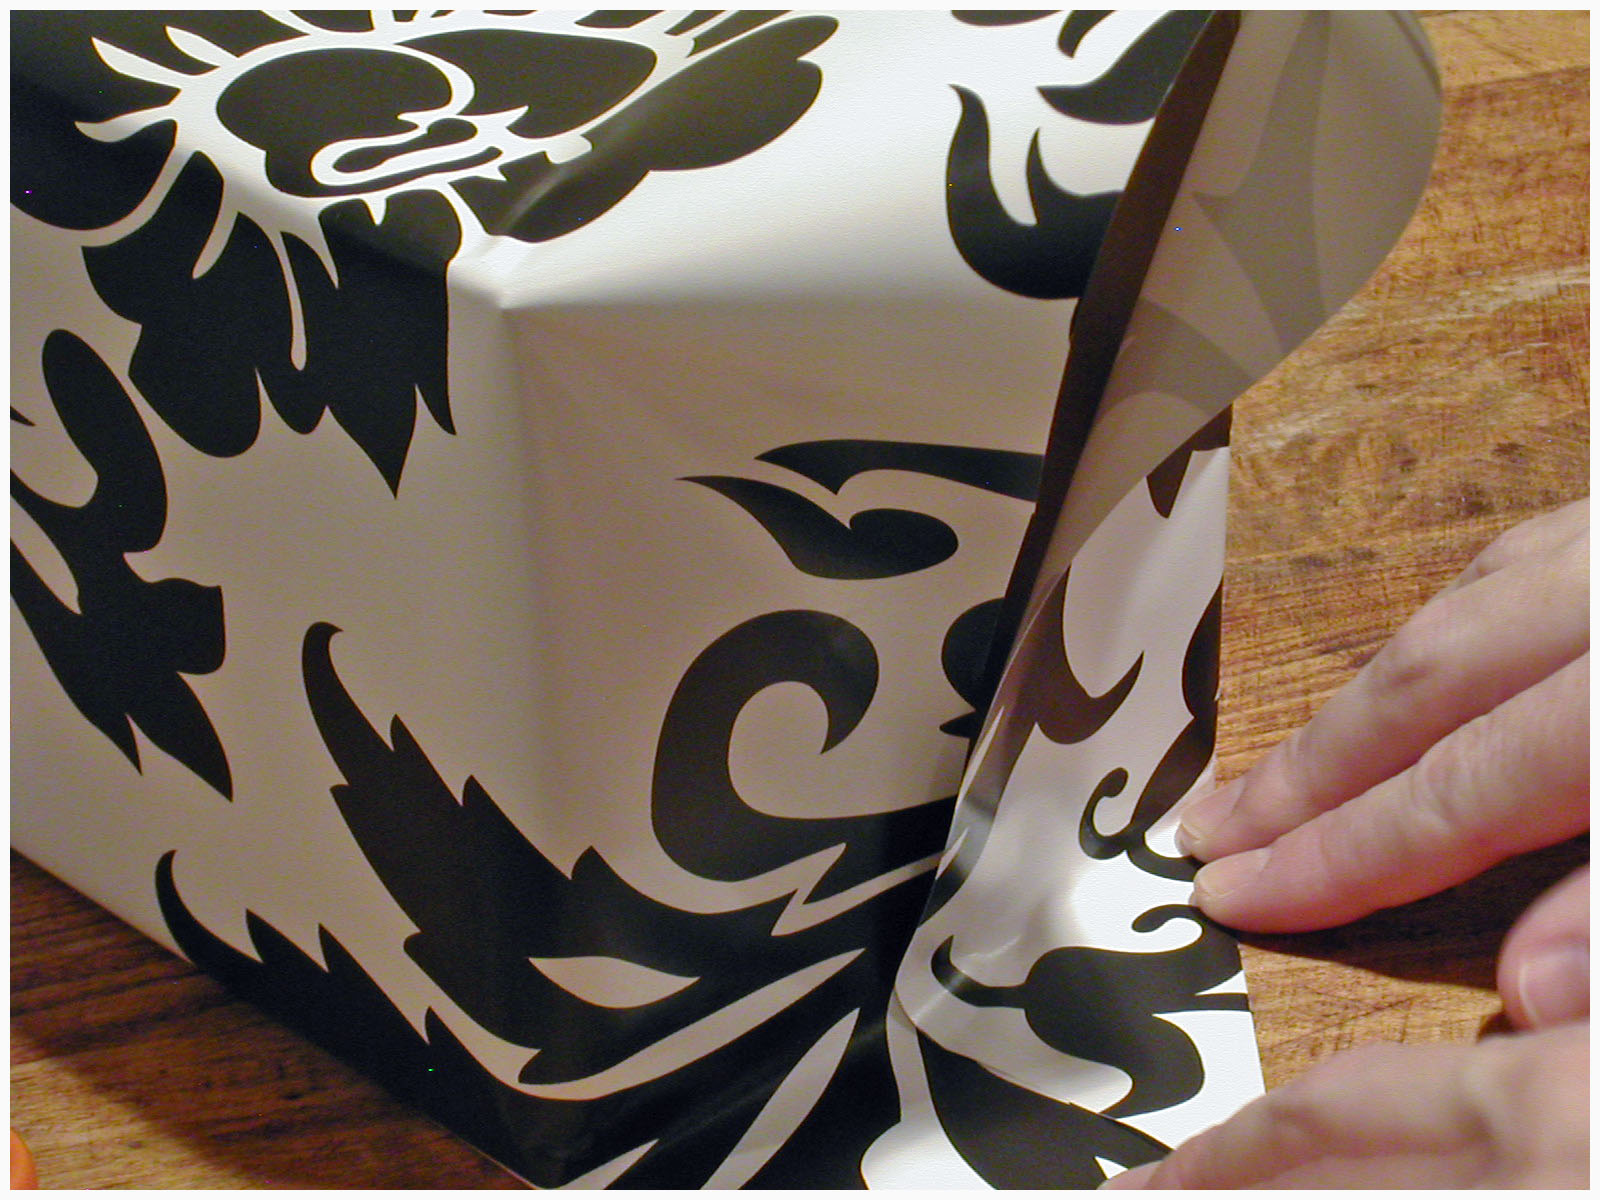
Step 7: Both ends of the package are still unwrapped. Pull the left and right sides of the paper towards the center and form the lower and upper ends into triangles. {If you do this right, both tips of the triangles should meet}

Step 8: Secure with a small piece of tape.
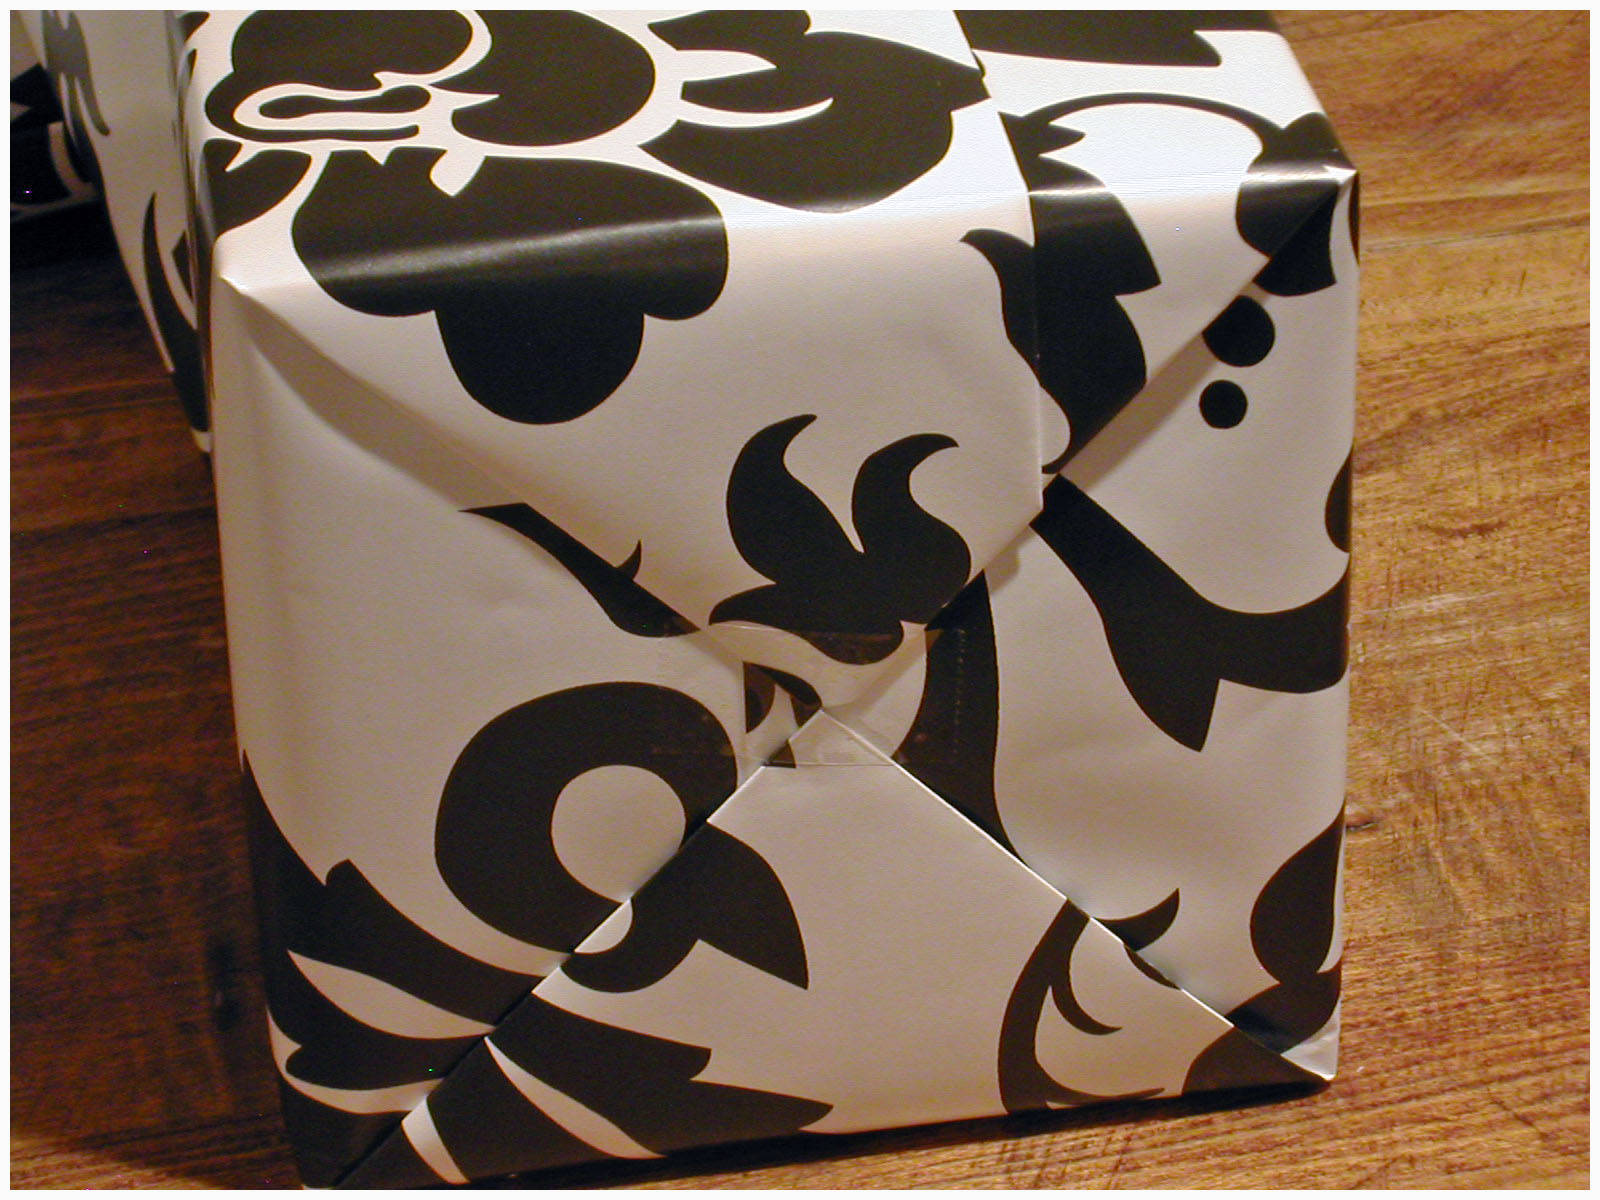
Step 9: Repeat Steps 7 and 8 on opposite end.
Step 10: Once the package is completely wrapped, I run my thumb and forefinger over every edge of the gift. This gives your creases and edges a very crisp and “finished” look.
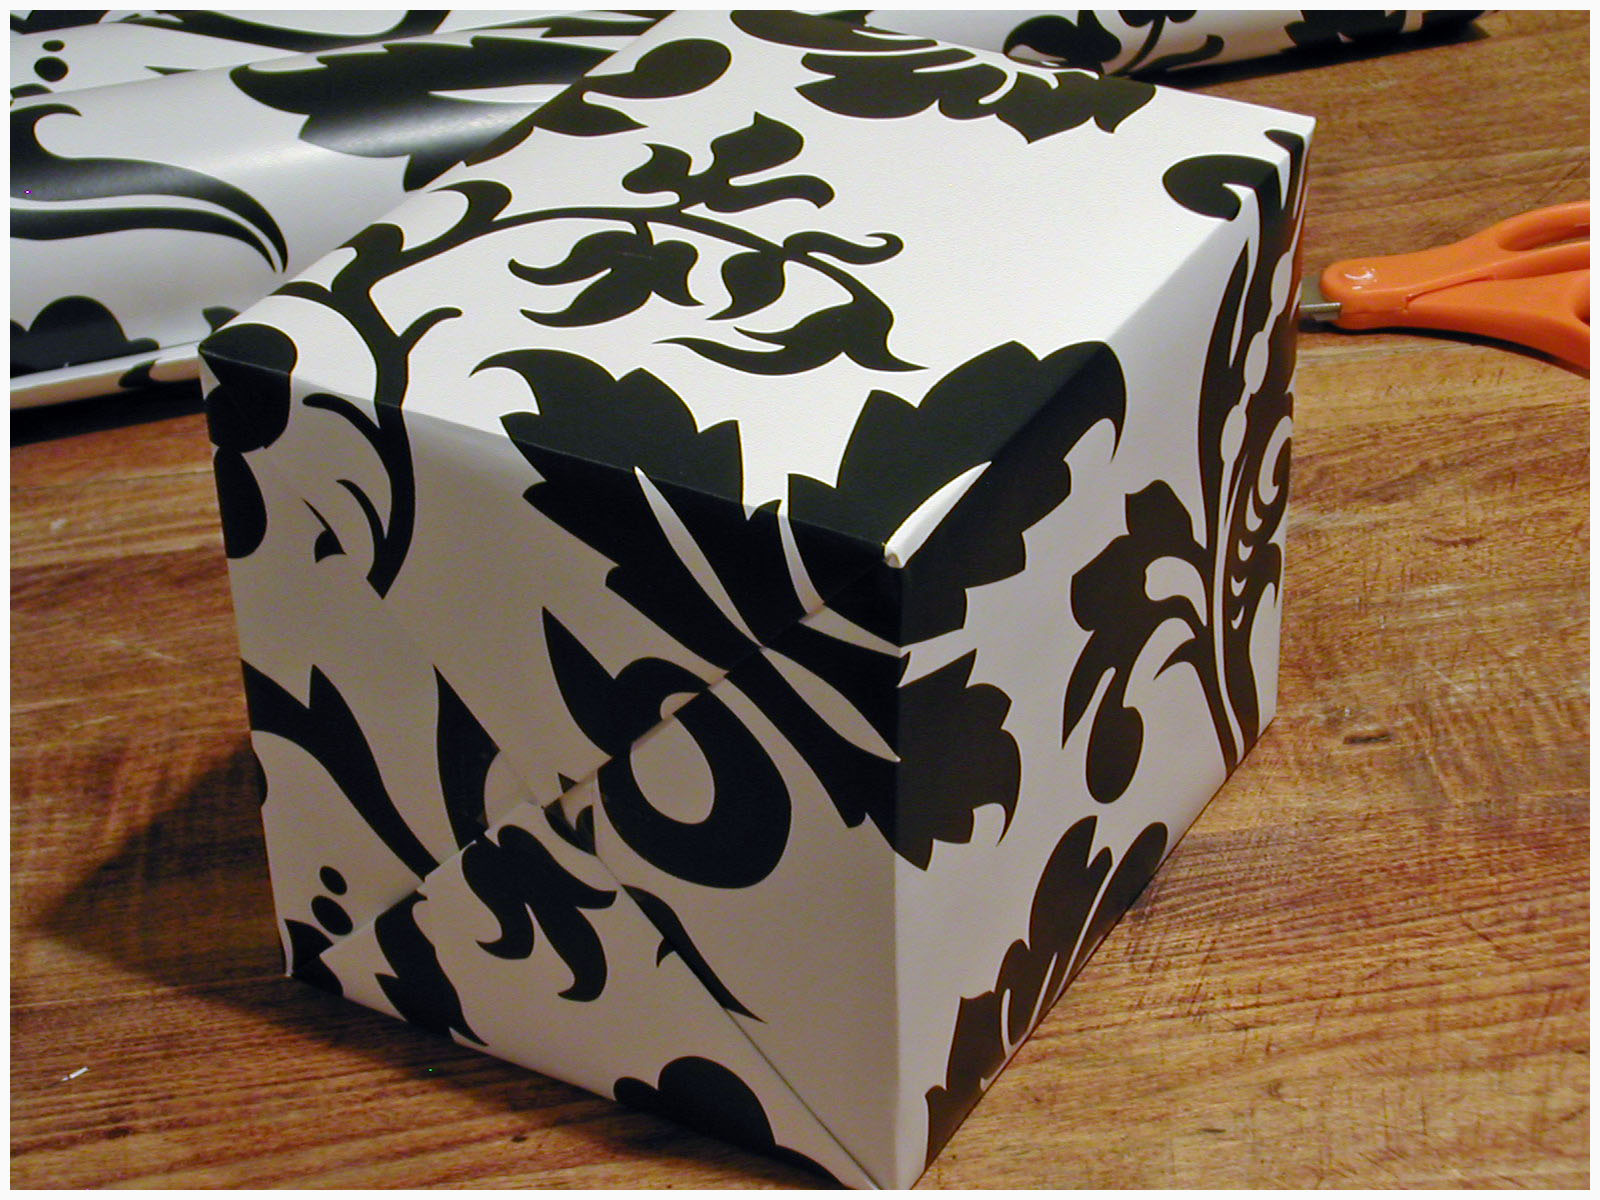
Now you’re ready for ribbon!
Facebook Conversations